Summary
Looking for a powerful solo Trampler build in SAND: Raiders of Sophie? This optimized Broadside setup combines strong reactor protection, high maneuverability, four cannons, SAND: Raiders of Sophie Crown, and smart internal layouts to survive intense PvP raids and take down enemy Tramplers.
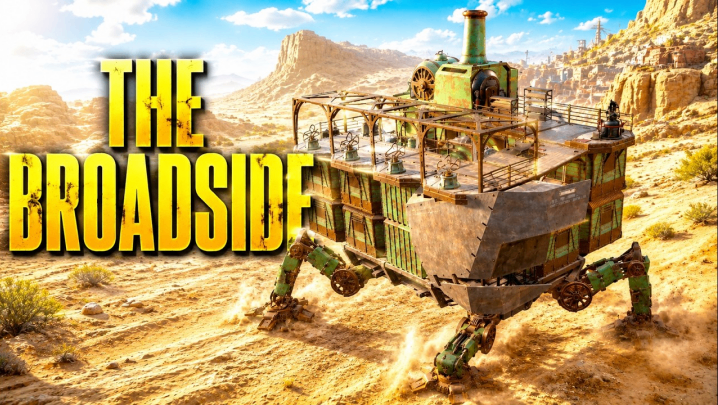
The Best Broadside Solo Build in SAND: Raiders of Sophie
In SAND: Raiders of Sophie, choosing the right Trampler configuration can completely change how you approach a raid. A strong build needs more than powerful weapons. It must balance protection, mobility, access points, cargo capacity, and combat positioning.
This Broadside build has been tested across several raids and is designed specifically for solo players who want a durable combat Trampler. It is also flexible enough to work in duo situations, making it an excellent option for players who want to fight aggressively without sacrificing survivability.
The latest version improves on an earlier design by changing the positioning around the reactor. The goal is simple: protect the vulnerable rear section while keeping the weapons and steering system functional during extended fights.
Recommended Chassis and Reactor
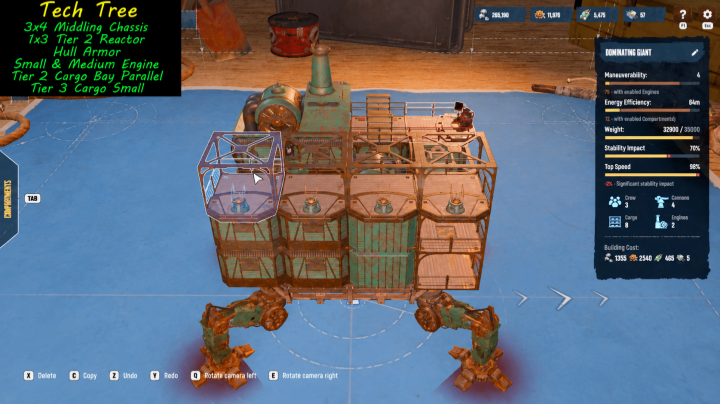
The build uses a Middling Chassis with a 3x4 layout. Compared with smaller alternatives, this chassis provides enough room to create a layered interior without making the Trampler unnecessarily difficult to maneuver.
For the reactor, the recommended setup uses a Tier 2, 1x3 reactor. Its direction is extremely important. Make sure the reactor is positioned correctly rather than accidentally building it backward, because the rest of the structure is designed around this orientation.
The front section uses L-shaped cargo components arranged in parallel. These pieces add useful protection while creating additional space for the internal layout.
Crew Compartments and Internal Protection
The build uses two small Tier 3 cargo compartments with two doors. These are positioned carefully to create useful access routes while keeping important systems protected.
Supporting frames are placed above the reactor, while auxiliary corridors connect different sections of the Trampler. Although these corridors are relatively fragile, they make moving around the vehicle much easier during combat and repairs.
A two-person crew cabin is placed toward the right side. A ladder connects the cabin to the rest of the structure, creating a practical route between the lower and upper sections.
Above the crew area sits a Tier 1 Captain's Compartment. Because the Middling Chassis has limited weight capacity, using the lighter compartment is an important part of keeping the overall build balanced.
Mobility Is a Major Advantage
One of the strongest features of this Broadside build is its maneuverability.
The setup uses two engines, including a small engine and a medium engine. Together, they can provide roughly 92 maneuverability, giving the Trampler significantly better movement than a heavily armored design might normally have.
This mobility is especially useful in PvP. You can reposition quickly, escape dangerous situations, chase damaged opponents, or maintain the ideal angle for your cannons.
For a Broadside build, positioning is everything. You generally want enemies on your right side so your weapons can maintain consistent firing opportunities.
Four-Cannon Broadside Weapon Setup
The Trampler is equipped with four cannons using frame turret decks. The recommended combination includes 80mm, 70mm, and 40mm options, although players can adjust the final cannon according to their preferred playstyle and available equipment.
The 80mm cannon is particularly useful when targeting enemy legs. Damaging a Trampler's legs can dramatically reduce its ability to escape or reposition.
Rather than carrying four perfect cannons, the build can also be economical with equipment. Three strong or pristine cannons combined with one less valuable weapon can still provide excellent combat performance.
This makes the setup more practical for repeated raids instead of forcing players to risk their best equipment every time.
Tier 3 Armor and Reactor Protection
Armor is another critical component of the build. The recommended setup uses Tier 3 armor, particularly around the stern and reactor area.
However, armor orientation matters. Incorrect placement can block your cannon firing angles or interfere with the steering wheel. The armor should be positioned so it protects critical systems without restricting your weapons.
The reactor deserves special attention because damage to its exposed weak area can be extremely dangerous. Protecting this section should always be a priority.
The build also leaves enough room for repair access, allowing players to jump onto the reactor area and use repair kits when necessary.
Doors, Hatches, and Combat Access
Small structural details make a major difference in a Trampler fight.
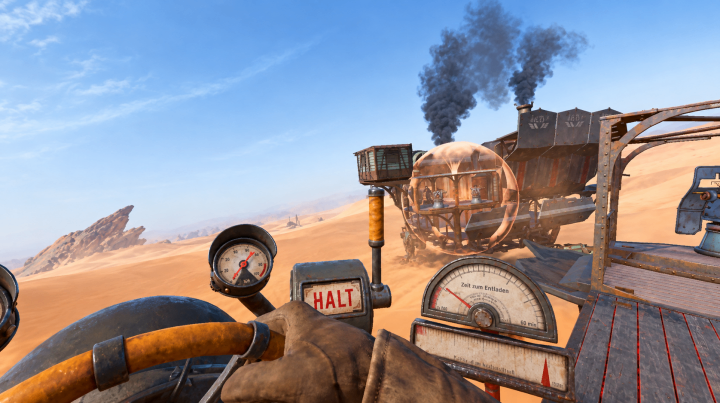
The build uses doors and hatches wherever possible. These provide faster movement between compartments and give players multiple options when entering or defending different areas.
A hatch near the reactor is particularly useful because it allows quick movement from the steering area toward the lower sections of the Trampler. Another hatch can make looting and accessing internal components easier.
These access points also create tactical opportunities. If an enemy is watching a particular door, players can move around the exterior structure, climb onto the upper section, and attack from an unexpected angle.
How the Broadside Build Performs in PvP
The build was tested across multiple raids and performed strongly in aggressive PvP situations. Its combination of mobility, armor, and broadside firepower makes it particularly effective against opponents who underestimate its survivability.
The most important combat technique is to target enemy legs whenever possible. Instead of simply firing at the main body, damaging mobility systems can leave an enemy Trampler vulnerable and unable to escape.
The build's maneuverability also makes it easier to maintain distance and continuously adjust your firing angle.
However, players should remember that the Broadside setup is not invincible. Poor positioning, missed shots, depleted fuel, or damaged engines can quickly turn an advantageous fight into a dangerous situation.
Final Verdict
This SAND: Raiders of Sophie Broadside Solo Trampler Build is an excellent choice for players who want a balance between offense, defense, and mobility. The 3x4 Middling Chassis provides enough space for a layered structure, while the Tier 2 reactor and Tier 3 armor improve survivability.
With two engines delivering around 92 maneuverability and four cannons providing strong side-fire capability, cheap SAND: Raiders of Sophie Crown, the build is well suited to aggressive PvP raids.
Most importantly, the setup is practical. It does not rely entirely on expensive perfect equipment, and its internal layout gives solo players multiple routes for movement, repairs, and combat.
For players who enjoy hunting enemy Tramplers, controlling the battlefield, and winning through positioning rather than brute force, this Broadside design is definitely worth trying.