Completing a Zombies DLC 2 challenge run means clearing a set group of maps—including Mob of the Dead from Black Ops 2—back-to-back without letting a single bad boss fight derail the whole attempt. Players often ask why these runs fail so often and which map causes the most trouble. Based on a recent livestream attempt, the answer comes down to random item drops rather than skill alone. This guide breaks down how the DLC 2 challenge works, which maps carry the highest risk, and what players should prioritize before starting their own run. It fits speedrun-minded players and anyone chasing a full-year Zombies challenge list.
What Is the DLC 2 Run?
A DLC 2 challenge run groups several Zombies maps together as one completion goal, rather than treating each map separately. In this case, the set included Cold War Outbreak, Call of the Dead, Mob of the Dead, Zetsubou No Shima, and Ancient Evil. The goal is to clear every map in sequence to check the entire set off a yearly challenge list. Progress is tracked map by map, and one failed boss fight can force a full restart on that map. This structure matters most to players building their own multi-map challenge lists, since it shows how one weak link affects the whole run.
Why RNG Decides Success
Random item drops control most outcomes in this challenge, more than raw skill. On Call of the Dead, the run depends on pulling the VR11 from the mystery box early; one attempt reportedly took hours to get it, while a later attempt found it almost immediately and finished far faster. Cold War Outbreak runs similarly rely on getting crystals and helicopter support before the boss fight. Missing these drops creates real risk even for experienced players. This matters most to players who assume a failed run means poor play—often it's the box, not the strategy.
Mob of the Dead Risk Factors
Mob of the Dead sits inside this same DLC 2 set and was tracked closely for pace against prior attempts during the stream. The streamer monitored whether the run was ahead or behind split times throughout, treating small RNG setbacks as pace killers rather than run enders. Since Mob of the Dead has fewer forced RNG checkpoints than Call of the Dead or Outbreak, it's often the more consistent map in a DLC 2 set. Returning players familiar with the map's layout can lean on that consistency to bank time—or even practice in Black Ops 2 Bot Lobbies—before tackling riskier maps later in the run.
The table below compares how each DLC 2 map behaved during this run, based on what was reported on stream.
Map | Game | Key RNG Dependency | Reported Risk Level |
Call of the Dead | Black Ops | VR11 from mystery box | High |
Cold War Outbreak | Cold War | Crystals and helicopter support | High |
Mob of the Dead | Black Ops 2 | Fewer forced item checks | Medium |
Zetsubou No Shima | Black Ops 3 | Plant/resource RNG | Medium |
Ancient Evil | Black Ops 4 | Trial progression speed | High |
The clearest takeaway: maps requiring a specific wonder weapon or resource pull carry the highest failure risk, while layout-driven maps like Mob of the Dead stay more predictable.
Why Does Outbreak's Boss Fight Fail So Often?
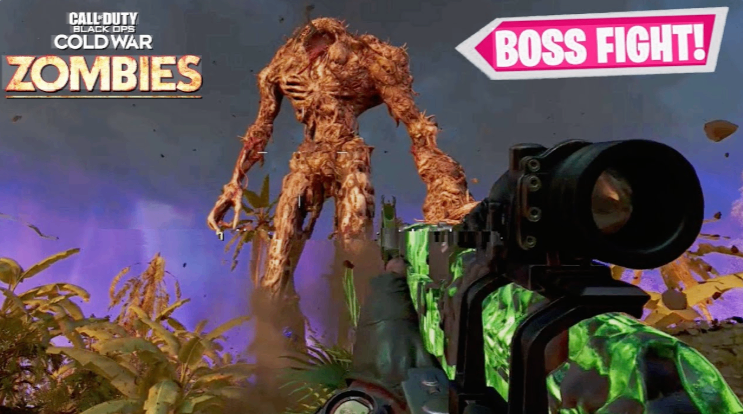
The Outbreak boss fight fails most often when players go in without crystals or helicopter support secured beforehand. Without those, the fight becomes far riskier even with strong gunplay, since the extra support is what keeps the fight manageable under time pressure.
Is Ancient Evil the Hardest DLC 2 Map to Speedrun?
Based on this run, yes—it was called the slowest map of the week due to poor trial progression and difficulty locating required items. Players attempting a DLC 2 set should expect Ancient Evil to eat the most time, especially on an off day.
Should Players Attempt the Full DLC 2 Set in One Sitting?
Not necessarily. Since one bad RNG map can stall the entire run, some players find it more reliable to bank easier maps like Mob of the Dead first, then attempt the higher-risk maps like Call of the Dead separately.
Quick Tips
· Secure Outbreak's crystals and helicopter support before starting the boss fight.
· Treat Mob of the Dead as a pace-banking map early in a DLC 2 set.
· Expect Ancient Evil to run long; don't rush trial progression.
· Track splits per map, not just overall time, to spot where RNG cost the most.
Who Benefits Most?
Speedrun-focused players get a clearer picture of which DLC 2 maps carry the highest RNG risk before committing to a full run. Returning players relearning Mob of the Dead can use its lower RNG dependency to build confidence before harder maps, and they can also practice efficiently in cheap CoD BO2 Bot Lobbies. Challenge-list players tracking yearly Zombies goals get a realistic view of how one map can stall an entire multi-map set.
Players planning their own DLC 2 run should sequence maps by risk, saving Call of the Dead and Ancient Evil for when time and patience allow, rather than opening with the highest-variance maps first.