
Summary
Path of Exile 3.29, the Allflame League, has significantly changed the best ways to farm experience. With Breach receiving a nerf and Abyss getting a major rework, Abyss has moved from being one of the strongest XP strategies to arguably the best option for fast and relatively safe leveling.
The strategy is straightforward: increase the number of Abyss Pits, make those pits spawn as many monsters as possible, and clear them quickly without dying. At level 99, this setup can produce around 65 million XP per hour, while players in the mid-90s can exceed 100 million XP per hour. At lower levels, several hundred million XP per hour is possible. To sustain this high-speed farming, buy POE currency and stock up on scarabs.

Why Abyss Is the Best XP Strategy in 3.29
Experience and Death Penalties
Experience farming in Path of Exile becomes increasingly difficult as you approach level 100. Characters receive less XP as they level, while each new level requires more experience. Dying in maps also removes 10% of your current level's experience.
This makes the final levels particularly demanding. Moving from level 90 to 98 can actually feel faster than progressing from 98 to 100 because the death penalty becomes increasingly painful at high levels.
For an effective XP strategy, therefore, raw monster density is only half the equation. You need a mechanic that creates huge numbers of enemies without making your character excessively vulnerable.
Omens of Amilaration can reduce the death penalty to 2.5%, but only one can be used per map. The better solution is still to build a strategy around killing large numbers of relatively easy monsters while avoiding deaths entirely.
Why Abyss Beats Charts and Voyages
Allflame League has two particularly attractive options for safe XP farming: the league mechanic, Charts and Voyages, and Abyss.
Charts and Voyages are extremely forgiving and difficult to die in, but their XP rate is relatively slow. Abyss offers a much better balance because the monsters spawning from Abyss Pits are significantly less dangerous after the 3.29 rework.
The result is a farming strategy that is both fast and comparatively safe.
Core Abyss XP Farming Setup
Use Triple Abyss and Two Multitude Scarabs
The recommended Scarab setup is simple: use three Abyss Scarabs and two Multitude Scarabs.
Multitude Scarabs increase the number of monsters spawning from Abyss Pits, and the setup can use two of them. The remaining three slots are filled with Abyss Scarabs, which provide additional Abyss Pits.
According to the strategy, this produces at least six additional pits on top of those generated through the Atlas passive tree. Multitude also provides roughly 200% increased monsters from the pits, creating enormous monster density.
At that point, your biggest practical problem may not even be the monsters—it may be your frame rate.
Choose a Fast-Clearing Build
The basic gameplay loop is extremely simple: enter the map and kill monsters as quickly as possible.
Shrines are recommended because their bonuses can help you clear faster. They effectively act as a budget version of Headhunter, while also stacking with Headhunter if you already have one.
The faster you clear each pack, the more monsters you can kill per hour, which directly improves your XP rate.
Map and Atlas Setup
Choose Dunes and Eight-Mod Maps
Dunes is the preferred map for this strategy. The Abyss Astrolabe is also considered the best option for the strategy because it provides bonuses that increase monster numbers and Abyss-related rewards.
For your actual maps, eight-mod maps are recommended. Their increased pack size means more monsters, and more monsters ultimately means more experience.
Delirium can also be added depending on your build. It creates additional monsters, but the extra difficulty and potential slowdown can make the overall XP-per-hour gain questionable. Tier 16.5 content is also considerably more dangerous, so only use these additions if your character can clear them efficiently.
Avoid Dangerous Map Mods
The ideal map is one that maximizes monster density without introducing unnecessary threats.
The exact mods you can safely run depend on your build, but several modifiers are generally undesirable. Increased monster attack and cast speed can make enemies significantly more dangerous. Minus maximum resistances can also be deadly for many characters.
Other potentially problematic modifiers include reduced recovery, no regeneration, inability to leech, and reduced effectiveness of non-curse auras.
The priority is always the same: maximize XP while keeping your death risk as close to zero as possible.
Atlas Passive Tree Recommendations
Prioritize Abyss and Monster Density
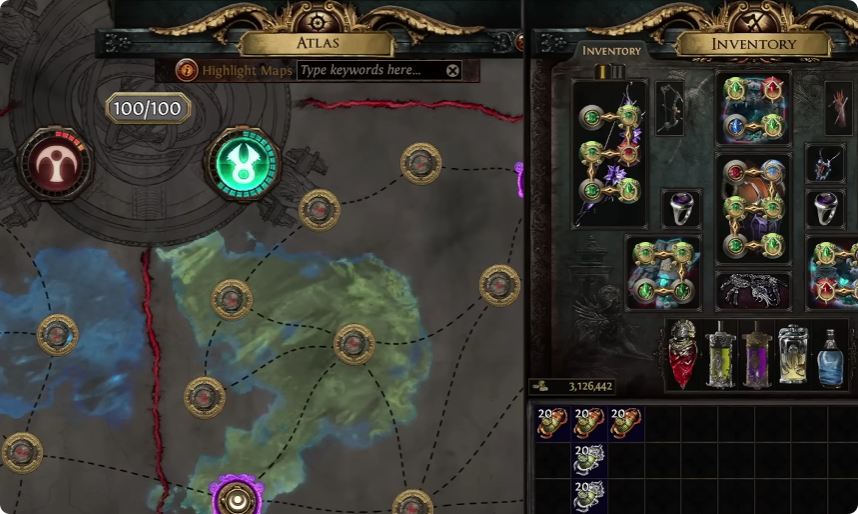
The Atlas passive tree should focus heavily on Abyss nodes. The goal is to create more Abysses, more Abyss Pits, and more monsters emerging from those pits.
Nodes that increase pack size are also valuable. Shaping the Mountain, for example, provides additional rare monsters, which can translate into substantially more XP when combined with Abyss's bonuses.
Underground Kingdom and other Abyss-related passives help increase the number of Abysses and the monsters generated by them.
Take Shrine and Pack-Size Nodes
The strategy also takes all available Shrine nodes essentially. Since Shrines improve clearing speed, they support the main goal of moving through maps as quickly as possible.
Pack-size bonuses from other Atlas mechanics are useful as well. Eater of Worlds pack-size options can increase the number of monsters in your maps, while rare-monster bonuses provide additional XP opportunities.
Scarabs themselves are not the primary focus of this Atlas setup. The purpose is to increase monster density rather than maximize Scarab income.
Take Abyss XP Bonuses
The most important reason Abyss works so well is that it is one of the few mechanics with direct increased-XP bonuses on the Atlas passive tree.
The strategy described uses these bonuses alongside additional Abyss monsters and Abyss Pit modifiers. The result is increased XP combined with a huge number of enemies.
Abyss Astrolabe bonuses can add even more increased XP, making the two systems work together particularly well.
Optional Choices and Risks
Skip Beyond for Safer XP
Beyond can be added if your build is strong enough, but it is not recommended for this XP-focused setup. Beyond monsters are significantly more dangerous and can dramatically increase your chance of dying.
The same principle applies to excessive Abyss juicing. Certain setups can make Abyss extremely dangerous, which defeats the purpose of a safe leveling strategy.
Consider Inspired Darkness for More Rewards
Inspired Darkness is an optional choice for players who want additional loot. It causes most Abyss Pits to provide rewards.
The strategy does not recommend Abyss Scarab of Crystals for maximum XP because the resulting monsters become tougher. Although stronger enemies can provide better rewards, they take longer to kill and create more opportunities for death.
For pure XP farming, the goal is to burn through large numbers of easy enemies rather than spend extra time fighting tougher monsters.
How to Run Each Map
The actual farming loop requires very little complexity. Enter your eight-mod map, activate your Abyss content, and move through the map while clearing every monster pack as quickly as possible.
You can boss rush if desired, and strong builds may also be able to use favorable Eldritch Altar modifiers. However, juicing the map boss is generally discouraged because bosses tend to be more dangerous than normal monsters.
The central rule remains simple: maximize monsters killed per hour while minimizing the chance of dying.
Final Tips for Reaching Level 100
Abyss is particularly effective because it combines monster density, direct XP bonuses, and relatively safe encounters after the 3.29 rework.
At level 99, approximately 65 million XP per hour is achievable with the described setup. Players in the mid-90s can exceed 100 million XP per hour, while lower-level characters can potentially reach several hundred million XP per hour.
Your exact results will depend on your build, character level, clear speed, map layout, and ability to survive.
For the most efficient Allflame League leveling strategy, prioritize triple Abyss Scarabs, two Multitude Scarabs, eight-mod maps, Abyss-focused Atlas passives, Shrine bonuses, pack size, and XP modifiers. Avoid unnecessary mechanics that increase danger or slow your clear speed. To cover the cost of these scarabs and map rolls, POE currency can help you maintain a steady supply.