Summary
The Eagle Gas Strike looks simple, but testing reveals that it is much more versatile than a standard gas Stratagem, making it a useful addition to your collection of Helldivers 2 Items. It lasts for around 20 seconds, covers a huge area, and has 50 Demolition Force, allowing it to destroy several important objectives. It is not an S-tier Stratagem on its own, but with the right build, it can become an extremely useful A-tier option.

1. Eagle Gas Strike vs. Orbital Gas Strike
The biggest difference is area coverage.
Eagle Gas Strike: Large area, roughly football-field sized
Orbital Gas Strike: Much smaller coverage
Gas duration: Around 20 seconds for the Eagle version
The Eagle version is better when you need to control a large area or stop enemies from pushing through a specific location.
2. How the Strike Actually Lands
The Eagle Gas Strike launches three missiles.
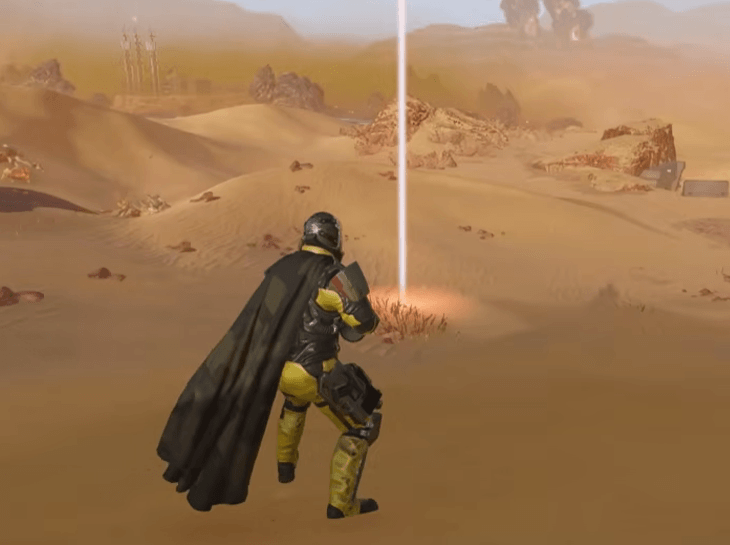
The center missile lands directly on the red targeting beam, while the other two land on either side.
This makes positioning extremely important.
For Bug Holes, place the targeting beam directly on the hole. The center missile can destroy it while the surrounding gas damages and confuses nearby enemies.
3. Don't Waste It in Cities
The Eagle Gas Strike works best in open areas.
Buildings and trees can interfere with the missile trajectory, especially in Mega-City and forest biomes. Even if your target is nearby, the strike can hit the environment instead.
Tip: Always check for obstacles before throwing the beacon.
4. Its Biggest Advantage Is Demolition
The 50 Demolition Force gives this Stratagem far more utility than its gas damage suggests.
It can destroy or damage several valuable targets, including:
Strategy Jammers
Bot Fabricators
Warp Gates
Warp Ships
Rogue Stations
Large Bug Holes
Bioprocessors
This means you can sometimes eliminate an objective without having to fight through its entire defensive position.
There is one major exception: Bulk Fabricators cannot be destroyed by the Eagle Gas Strike alone.

5. Gas Damage Isn't the Main Attraction
Testing shows that different gas weapons deal roughly 25 gas damage.
This includes the Eagle Gas Strike, Orbital Gas Strike, gas grenades, and gas mines.
So don't choose the Eagle version because you expect each gas tick to hit harder.
Its real advantages are coverage, duration, crowd control, and demolition utility.
6. Best Armor for a Gas Build
If you're building around gas, Advanced Filtration is the obvious choice.
The strongest combination is:
Heavy Advanced Filtration + Vitality Enhancement
This setup can dramatically reduce incoming gas damage, with testing showing that the heavy version can effectively negate gas damage when combined with Vitality Enhancement.
Without Vitality Enhancement, gas damage becomes much more dangerous.
7. Recommended Gas Loadout
A strong gas-focused build can combine several effects:
Stratagems
Eagle Gas Strike
Orbital Gas Strike
Dog Breath
Flamethrower
Quasar Cannon
Grenade
Gas Grenade
The strategy is straightforward:
Gas → Confusion → Fire → Heavy Weapon
Gas disrupts enemy formations, fire can force enemies away, and the Quasar Cannon provides an answer for heavy targets.
8. Eagle Gas Strike: Pros & Cons
Pros:
Huge area of effect
Around 20-second duration
50 Demolition Force
Can destroy Strategy Jammers
Useful against Bug Holes and Bot Fabricators
Excellent crowd control
Cons:
Only two uses
Easy to waste in dense environments
Not a reliable standalone damage tool
Cannot destroy Bulk Fabricators by itself
Final Verdict
The Eagle Gas Strike is an A-tier Stratagem when used as part of the right build, but it isn't an S-tier all-purpose weapon.
Its real value comes from combining gas damage, enemy confusion, area denial, and high demolition power, making it a useful option for players looking to buy Helldivers 2 Items for different loadout needs.
For players who know when and where to deploy it, the Eagle Gas Strike can do much more than simply cover enemies in gas.