
Raven 2 Stella's Guide - How Stellas, Amp Points, and More
If you’re playing Raven 2 and finally diving into the Stella system, it can feel confusing at first. Many players get stuck wondering which Stellas to equip, whether effects stack, or how to reroll amplifications without wasting valuable Terammon. This guide breaks everything down clearly and simply so you can improve your character without burning resources.
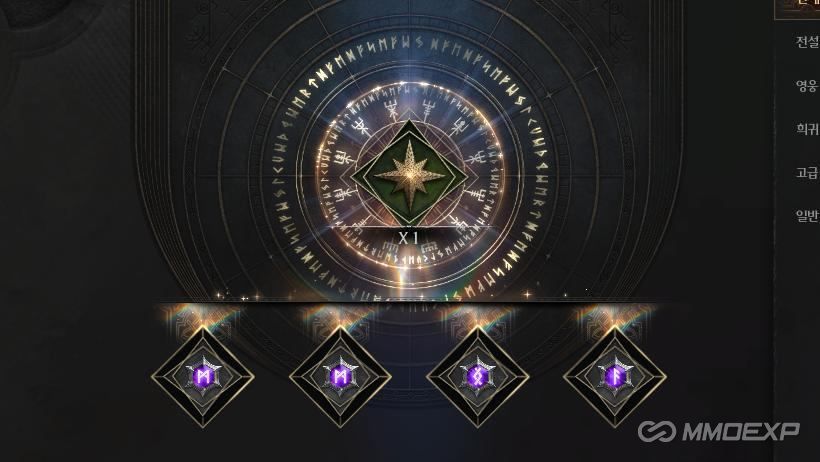
What Stellas Are and How They Work
Stellas are special nodes you place on your Stella board. Each one has a rarity, a small passive effect, and contributes to your total Amp Points. As you level up, you unlock more Stella slots, and you can also save up to three separate Stella builds. Most players create separate builds for mob grinding, boss fights, and PvP.
The important thing to understand is that the actual effects listed on individual Stellas are not the main focus. Most Stella effects have low activation chances or very minor benefits, so they rarely make a noticeable difference in gameplay. Instead, the biggest value comes from the Amp Points they give you.
Focus on Rarity, Not Effects
Because the effects are mostly low-impact, the best strategy is simply to equip the highest-rarity Stellas you have. Higher-rarity Stellas give more Amp Points, and Amp Points are what determine your amplification level and set bonuses.
You’ll also notice that certain Stellas provide bonus Amp Points when grouped into matching sets. These set bonuses are much more important than the individual effect text. When choosing what to equip, prioritize completing sets and raising your total Amp Point level rather than trying to chase specific Stella abilities.
Do Stella Effects Stack
This is one of the most common questions among Raven 2 players, and the truth is that there is no consistent proof. Some players claim effects stack when using duplicates, others claim they don’t. Because of the uncertainty and the fact that individual effects are weak anyway, it’s better to use common sense.
If your class uses basic attacks constantly (like archers), then effects that trigger on basic attacks are slightly more useful. For classes that rely on skills, skill-based effects make more sense. Just don’t equip duplicates expecting double the benefit.
Amplification – The Most Important Part of Stellas
Amplification is where Stella's actually become powerful. Each amplification slot offers a stat bonus that you can reroll using Stella Carving Knives and Terammon. These stats include things like attack, final damage, resistances, accuracy, max HP, and more.
Early amplification rolls require common knives. As you unlock more slots, the game requires higher knife rarities such as uncommon, rare, and heroic. You can craft higher-rarity knives by combining multiple lower-tier ones, but crafting and rerolling both cost Terammon, which is one of the rarest resources in the game.
Terammon Is the Real Bottleneck
Terammon controls everything. You need it for rerolling, crafting, and locking stats. The more stats you lock during a reroll, the more Terammon it costs. For example, locking one good stat might cost only a few Terammon, but locking two or three can drain your entire stash.
This is why you should be very careful with locking. Only lock high-value rolls, especially red (mythic-grade) stats. Examples of good stats worth locking include final damage amplification, attack percentage, high max HP, and accuracy, depending on your class.
Understanding Stat Grades
When rerolling amplification stats, each stat can appear as purple (heroic), yellow (legendary), or red (mythic). To unlock stronger tier bonuses, all three stats must meet the grade requirement. If you have two reds and one purple, you only receive the heroic-grade bonus because the lowest stat determines the outcome.
If you want the legendary bonus, all three rolls must be yellow or better. For the mythic bonus, all three must be red. This makes chasing high-tier bonuses very expensive, especially because you need to lock your best stats while rerolling the weaker ones.
Reroll Strategy
The best way to approach amplification rerolling is to be patient. Don’t waste Terammon chasing perfect stats too early. First roll freely until you land a strong red stat. Lock it, then roll the remaining slots. When you get two strong stats, lock both and cautiously roll for the last one only if you have enough Terammon.
Also, pay attention to the roll rates. Some good stats have a very low chance, so understand how rare your target actually is before you spend hundreds of rerolls trying to hit it.
Final Tips
The key to the Stella system is understanding that individual Stella abilities matter very little. What really matters is increasing your Amp Points and upgrading your amplification stats. Use your highest-rarity Stellas, complete matching sets when possible, and be smart with your Terammon usage. In addition, Raven 2 Crystal is also very important, as it can make you stronger. Once you understand this approach, the Stella system becomes much easier to manage and far more rewarding.
MMOexp Raven 2 Team