
How to Defeat Zahmir in Path of Exile 2
Zahmir is one of the Anomaly bosses in Path of Exile 2, serving as the final challenge within the Sacred Reservoir map. This fight is inspired by Azmadi, the Faridun Prince, and takes place during the closing moments of Interlude 2: The Stolen Barya. While Zahmir is not quite as frustrating as the infamous Manoki encounter, he still presents a serious threat thanks to his multi-stage mechanics, combo-based attacks, and time-altering abilities.
For players pushing deeper into the endgame and farming valuable POE 2 Currency, learning this fight efficiently is essential. Zahmir's mechanics reward patience, positioning, and awareness rather than brute force, making preparation just as important as raw damage output.
How to Reach the Sacred Reservoir
Before you can challenge Zahmir, you'll need to locate the Sacred Reservoir map. This area is found by exploring Atlast around the desert regions, where you should keep an eye out for a Temporal Sandstorm. This storm blocks access to the map and must be removed before entry.
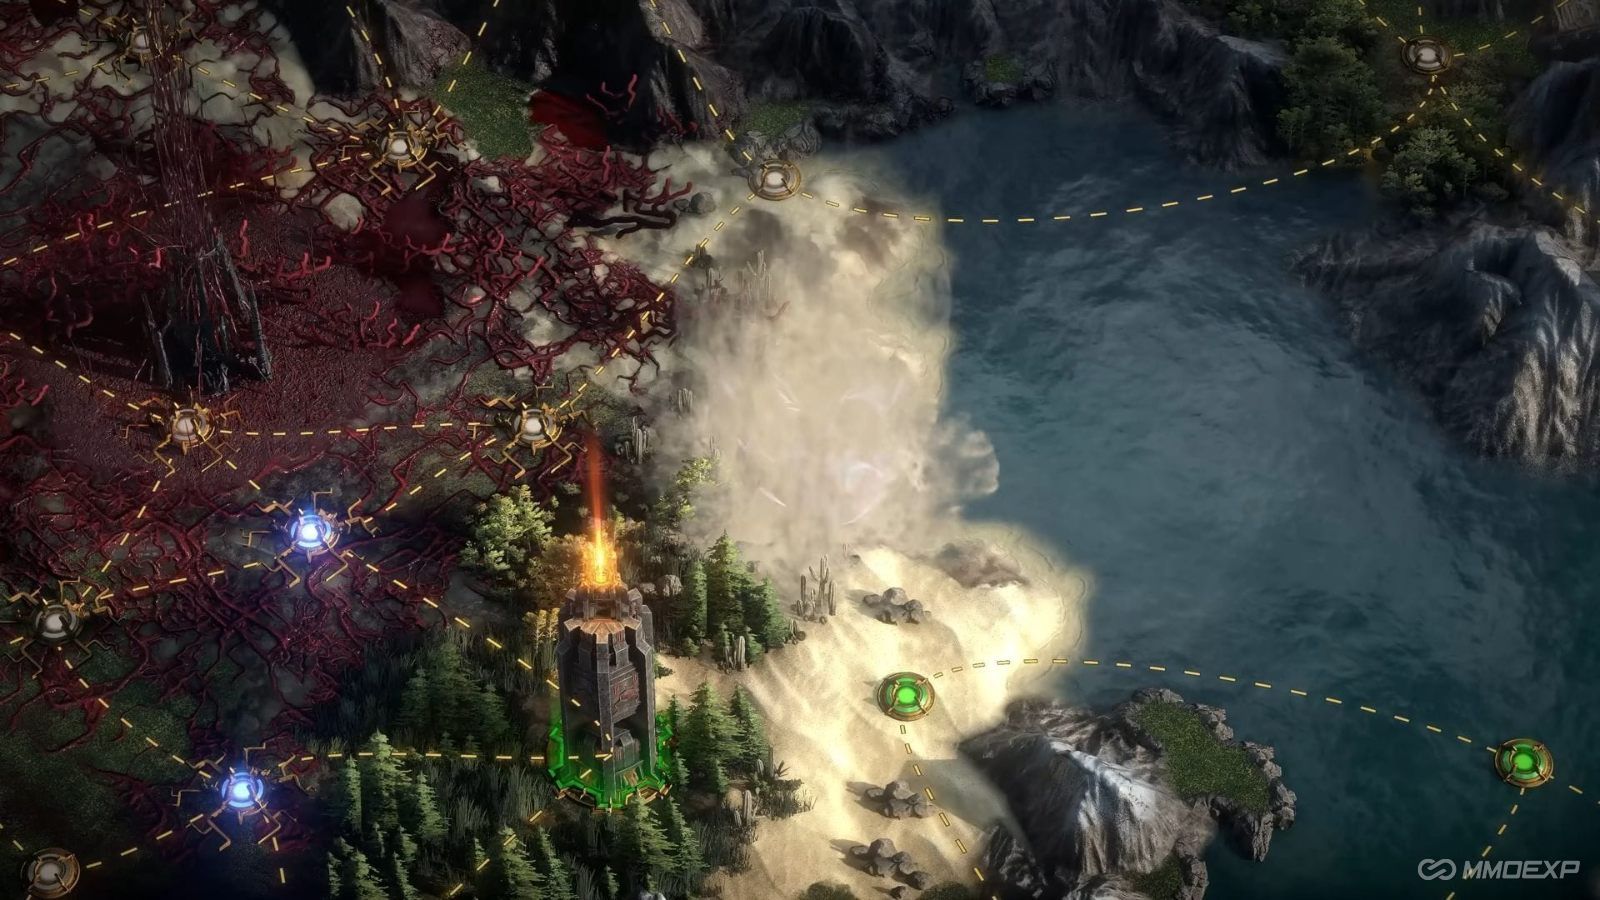
To dispel the storm, players must locate and disable three Temporal Tethers spread across the connected maps. Each tether is guarded, so expect resistance before reaching the boss arena. Once all three are disabled, the storm dissipates, granting access to the Sacred Reservoir. The layout of this map closely resembles the Qimah Reservoir, so players familiar with that area will feel right at home navigating its corridors.
Zahmir Boss Fight Overview
The encounter with Zahmir is divided into two distinct phases, each escalating in difficulty and complexity. Understanding these phases is critical to surviving the fight, especially for builds that rely on positioning or sustained damage over time.
Phase One: Precision and Combos
As soon as you enter the arena, Zahmir's illusions dissolve, signaling the true start of the battle. He immediately draws his sword and begins a series of aggressive melee-focused attack chains. While his individual attacks are fairly predictable, the danger lies in how they are chained together.
Zahmir excels at combo pressure. Many of his strikes can stagger or briefly stun your character, and if you're caught out of position, it's easy to become locked in place while he continues his assault. Players should prioritize mobility during this phase, using movement skills or dodge rolls to break distance after each exchange.
The key objective in phase one is to reduce Zahmir's health by approximately 40%. Once this threshold is reached, the fight takes a dramatic turn. Zarokh, the Temporal, intervenes by freezing time and restoring Zahmir to full health. From this point forward, the encounter becomes significantly more dangerous.
Phase Two: Time-Bending Chaos
With Zahmir now empowered by temporal energy, phase two introduces a suite of time-based abilities that define the remainder of the fight. These attacks are visually distinct and often have a delayed activation, giving players a brief window to react.
The delay is both a blessing and a trap. While it allows you to observe the direction and shape of incoming attacks, some of Zahmir's abilities curve unexpectedly or expand outward, catching players who dodge too early. Timing is crucial—wait until the trajectory is clear before committing to a movement.
One critical rule in phase two is to keep Zahmir on-screen at all times. Many of his strongest attacks originate off his position rather than your own, and losing sight of him removes your ability to anticipate what's coming next. This is especially dangerous for ranged builds that may instinctively kite too far away.
Positioning and Survival Tips
Stay mid-range when possible to maintain visibility
Avoid cornering yourself near arena edges
Save movement skills for combo-breaking moments
Watch for delayed attack indicators before dodging
Managing flasks and cooldowns effectively during this phase can be the difference between victory and a costly death.
Rewards for Defeating Zahmir
Successfully defeating Zahmir is well worth the effort, especially for players focused on progression and farming POE 2 Currency. The boss has a chance to drop several powerful and unique rewards, including:
Varashta's Blessing
Khatal's Rejuvenation
Zarokh's Refrain
Garukhan's Resolve
These POE2 items can significantly enhance your build or be traded to acquire other valuable resources. Zahmir also represents an efficient farming opportunity once mastered, making him a strong target for repeat runs.
Final Thoughts
Zahmir is a mechanically rich boss that tests awareness, patience, and positioning more than raw damage. While the fight can feel overwhelming at first, understanding the rhythm of his attacks and respecting the delayed mechanics in phase two will dramatically improve your success rate.
For players looking to optimize their Path of Exile 2 experience and build up POE 2 Currency, mastering the Sacred Reservoir and Zahmir encounter is a worthwhile investment. With preparation and practice, this once-intimidating boss becomes a reliable stepping stone toward greater rewards and deeper endgame progression.
MMOexp POE 2 Team