
Path of Exile 2: The Great White One Boss Guide
The world of Path of Exile 2 is filled with dangerous beasts and corrupted monstrosities that test every player's patience and precision. Among the most memorable of these foes is The Great White One, a terrifying shark-like creature that lurks beneath the sands of Whakapanu Island. This boss combines high burst damage, area denial mechanics, and relentless bleed effects, making it one of the most challenging early encounters in the campaign.
In this comprehensive guide, we'll break down everything you need to know to defeat The Great White One, from where to find it, to how to counter its devastating attacks, and finally what kind of rewards you can expect.
Where to Find The Great White One
You'll encounter The Great White One during Act Four of Path of Exile 2. To locate this boss, head to Whakapanu Island, a coastal zone teeming with aquatic horrors and hidden treasures. Once there, explore until you reach an area aptly called The Shark Pit. This location sits along the island's shoreline, and as soon as you approach, you'll trigger the boss's dramatic entrance.
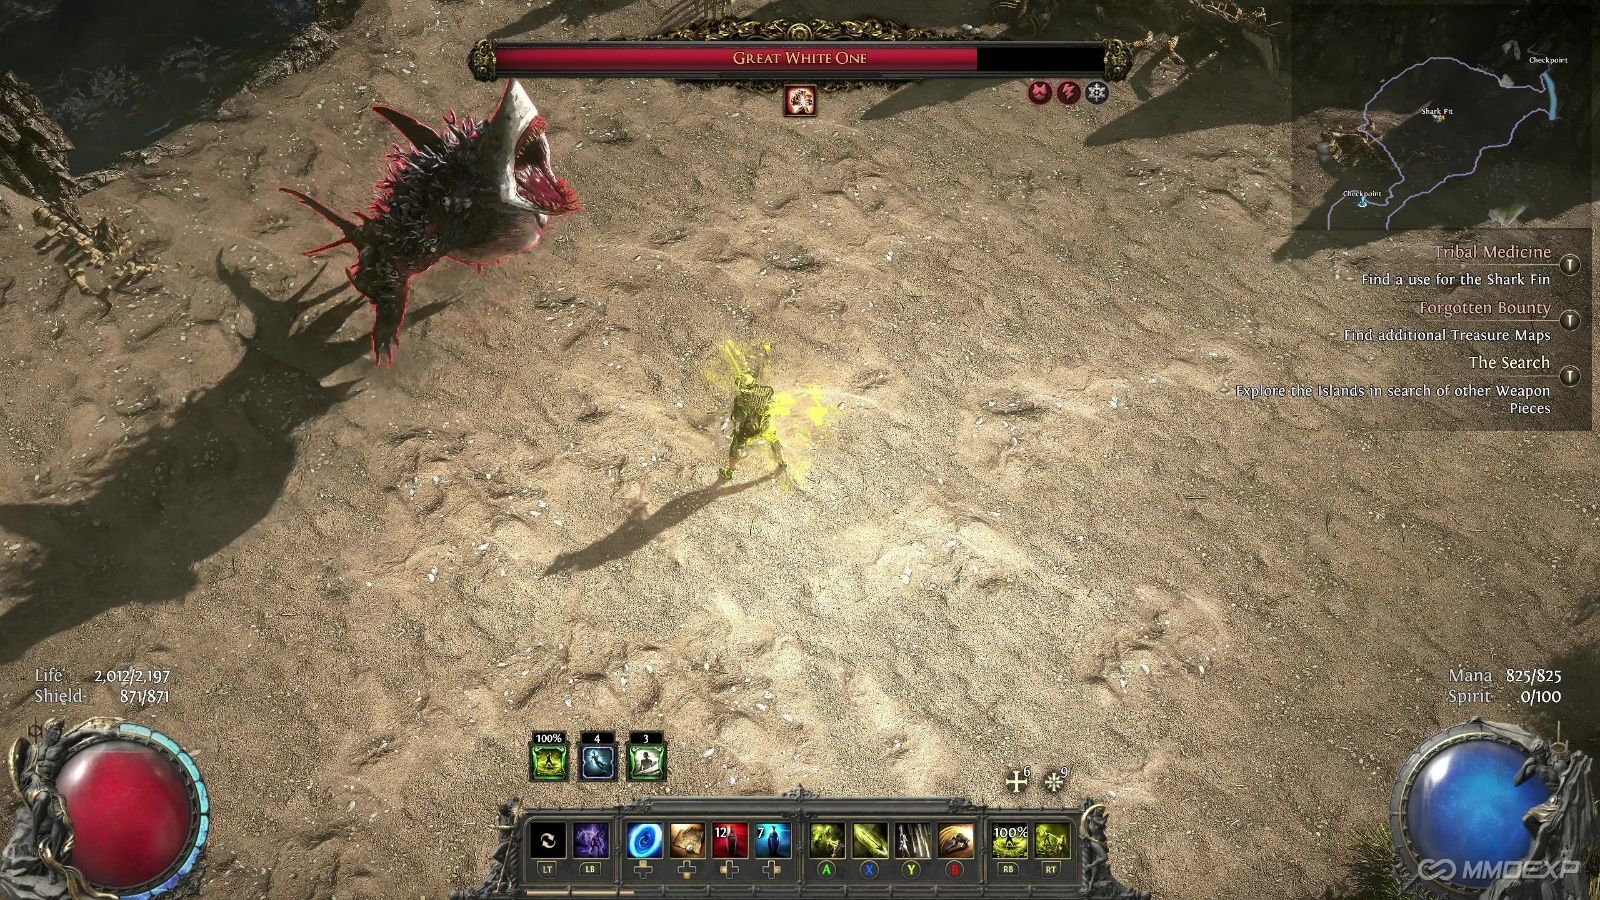
In true Path of Exile fashion, The Great White One doesn't simply appear; it erupts from the water, thrashing its massive body onto the beach before sinking beneath the sand. From that point forward, you're locked in battle with one of the game's most unsettling predators.
Understanding The Great White One's Abilities
The Great White One's attacks reflect its monstrous hybrid nature. Though shark-like in appearance, this creature moves through sand as easily as water, allowing it to ambush players from unexpected angles. Its offensive kit revolves around bleed damage, area control, and tracking debuffs, all designed to keep you constantly moving.
Here's a closer look at its core abilities:
1. Sand Maelstrom
This is one of The Great White One's most dangerous moves. It dives underground and spins violently, creating a swirling Sand Maelstrom around itself. The swirling sand acts as quicksand, significantly slowing your movement speed. The danger isn't just the slow, once it resurfaces, the boss lunges forward with a devastating leap attack that can instantly chunk your health bar.
How to counter it:
As soon as you see the boss burrow beneath the ground and the sand begin to swirl, move away from the affected area immediately. Keep your distance until the creature resurfaces, then punish it during the brief recovery window before it can burrow again. Movement skills like Dash or Flame Warp are particularly effective here.
2. Piranha Puddles
Later in the fight, The Great White One will create Piranha Puddles, pools of water filled with ferocious fish that deal physical damage over time. Standing in these puddles can quickly drain your health, especially if you're already bleeding.
How to counter it:
Avoid the puddles entirely. Use the open sand to kite the boss around while maintaining a clear escape route. If you get cornered, use mobility skills to leap or dash across the puddles to safety.
3. Bleed and "Prey" Mechanic
Most of The Great White One's melee attacks apply Bleed, a damage-over-time effect that continues to hurt you as you move. What makes this mechanic unique is that the bleed stacks eventually mark you with a debuff called "Prey." This mark allows the boss to track you more easily, even when it dives underground.
How to counter it:
Stock up on flasks or gear that reduce bleeding effects before the fight. Items with the "of Staunching" suffix or skills that provide immunity to bleed will make a world of difference. Managing your flasks and staying mobile are crucial to surviving this phase of the fight.
How to Beat The Great White One
While The Great White One is powerful, it does have a notable weakness, Lightning Damage. This vulnerability gives you a clear path to victory if you build around it.
Consider equipping Lightning-based spells or attacks such as Arc, Lightning Tendrils, or Storm Burst. If you're playing a physical build, socket support gems that add lightning conversion or elemental penetration. The faster you can deal burst damage during its stun windows, the shorter the fight will be.
Speaking of stuns, when you manage to stagger The Great White One, you'll have a large window to unleash damage. Time your heaviest skills, flasks, and buffs during this opportunity. Builds that can chain stuns or apply shock effects will have an easier time keeping the monster under control.
Rewards
Defeating The Great White One yields a satisfying pile of loot. You'll typically receive:
A Shark Fin, a unique crafting component tied to certain island-themed recipes.
Random rare and magic items, including weapons and armor with bleed resistance mods.
A small chance at currency orbs that can be traded or used for crafting.
While the loot itself is good, the real payoff comes in the form of POE 2 Currency opportunities. Many players farm this boss repeatedly for valuable drops that can be sold on the trade market. With each successful kill, you'll collect currency like Transmutation Orbs, Alchemy Orbs, and potentially Chaos Orbs, all of which are vital for gear upgrades and crafting later in the game.
If you're progressing through the campaign or working on your trade stash, consider selling The Great White One's drops for extra POE 2 Currency. These early bosses provide a solid foundation for your economy before you start farming endgame maps.
Pro Tips for the Fight
Keep moving. Standing still is death. This boss punishes slow players, especially when the sand starts to swirl.
Use terrain wisely. The Shark Pit has several rocky outcroppings you can use to break line of sight during burrow phases.
Prepare your flasks. Bring bleed removal and quicksilver flasks to stay mobile and healthy.
Use Lightning damage. It's the fastest route to a clean victory.
Final Thoughts
The Great White One is one of Path of Exile 2's most creative and intense early-game encounters. It tests your ability to read animations, manage debuffs, and exploit elemental weaknesses. By staying mobile, leveraging lightning-based attacks, and keeping bleed under control, you'll turn this terrifying predator into just another trophy on your list of conquests.
And don't forget, every successful kill not only moves you forward in the campaign but also helps you stockpile POE 2 Currency, giving you the resources you need to power up your character for the even deadlier bosses that await ahead.
MMOexp POE 2 Team