Summary
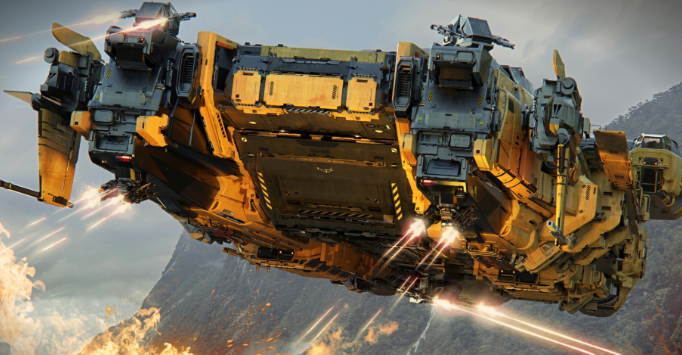
The Dreadnought is the ultimate prize in SAND: Raiders of Sophie—a massive wrecked battleship that appears as the final extraction point in Storm Dive matches. Behind its five locked doors lies the best loot in the game, including pristine weapons, experimental gear, and rare crafting materials—the true SAND: Raiders of Sophie Crown of any successful raid. But reaching it and escaping with the goods requires precise execution. This guide covers everything you need to know, from key progression to efficient looting and extraction.
What Is the Dreadnought?
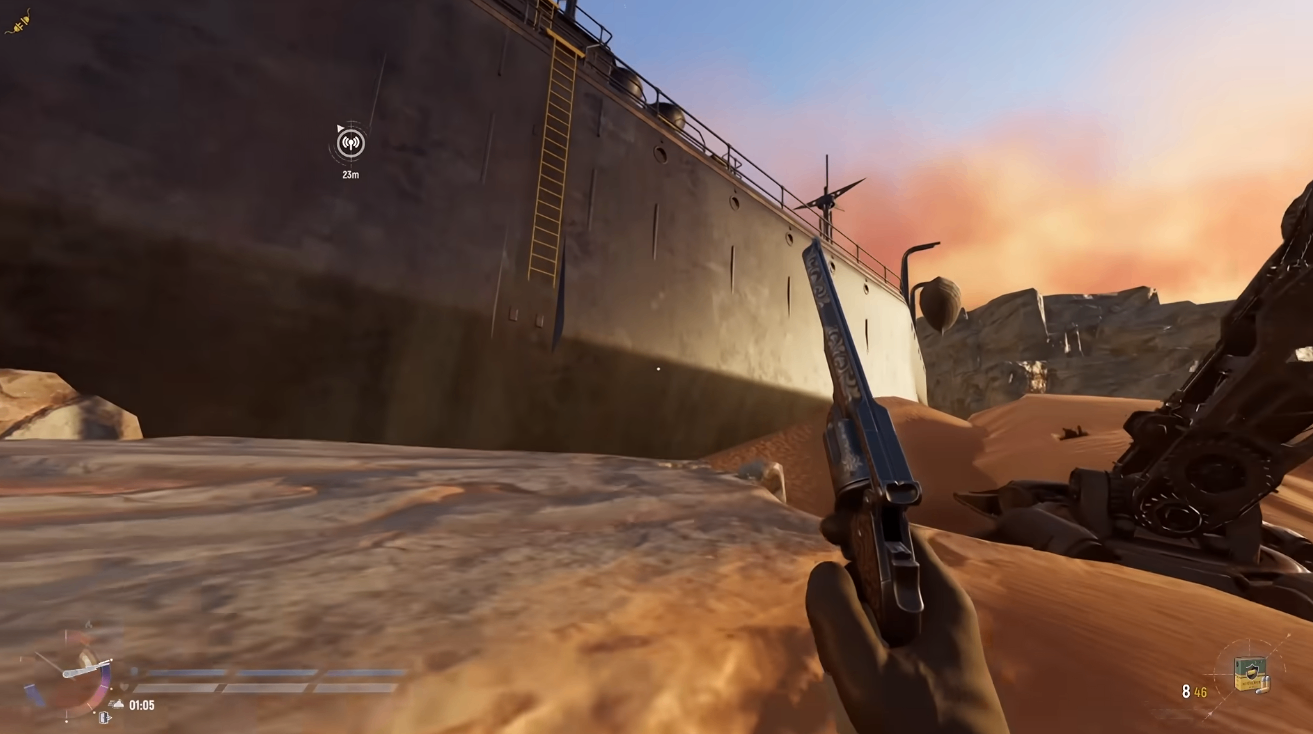
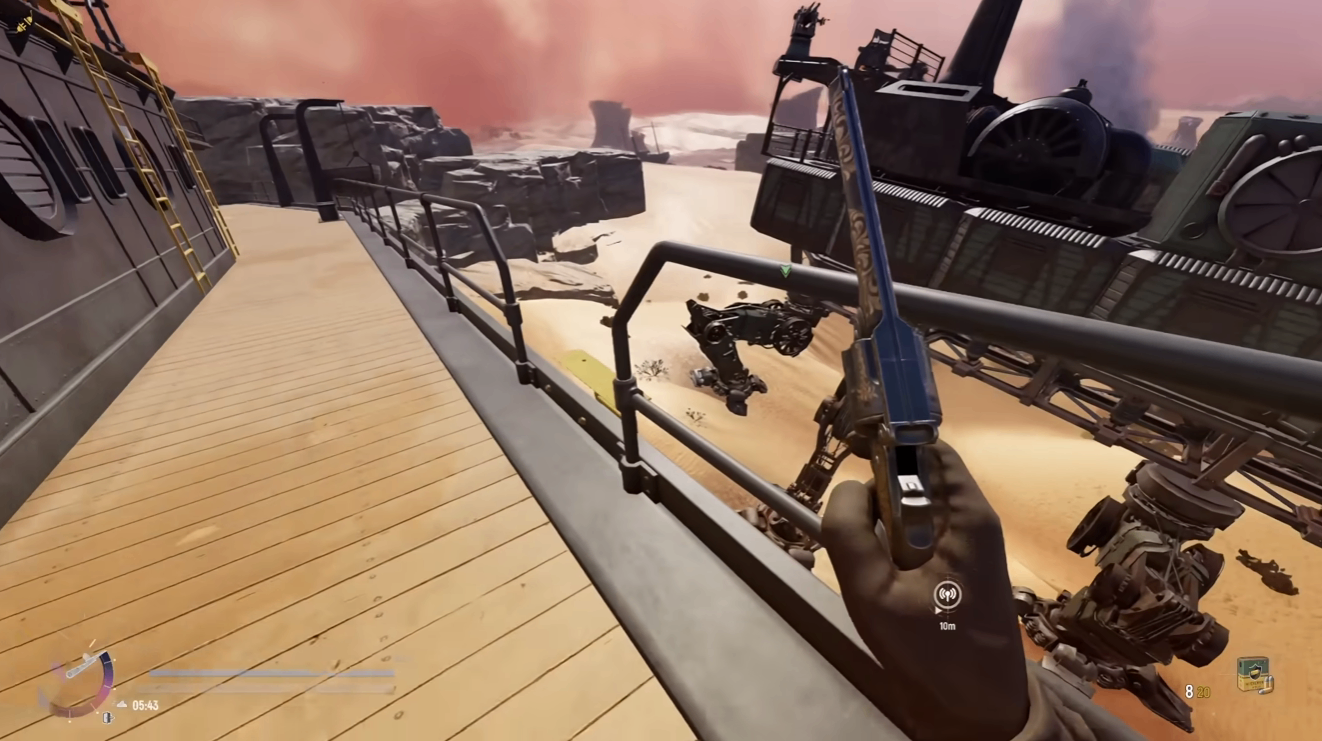
The Dreadnought is a rare final extraction point that only appears in Storm Dive mode during the late-game phase . It's a giant black ship jutting out of the sand, and nearly every surviving player will converge on it—expect intense PvP fights . Inside, you'll find multiple storage rooms behind colored doors, plus the legendary Black Door that requires a Black Key to open .
Important: The Dreadnought is Storm Dive exclusive. It does not appear in Voyage mode .
The Key Chain: From Green to Black
To unlock all five doors on the Dreadnought, you need to follow a fixed key progression chain that spans multiple matches. The keys carry over between games only if you extract with them in your inventory or in a box on your trampler's storage shelf . Dying resets your progress to the start of the chain.
Step 1: Finding the Green Key
The Green Key is the only link in the chain that comes down to luck. It can be found inside Rare and Very Rare Valuable Safes scattered across towns and downed boats . Rarer safes offer better odds, and heavily guarded landmarks hold the best containers. If you don't find one in a match, extract and try again.
Pro tip: Secure the Green Key and extract immediately rather than pushing your luck for more loot. Losing the key means starting over .
Step 2: Blue Key – Kaiserplatz
Travel to Kaiserplatz and head to the large church-like structure at the highest point of the town. On the ground floor, you'll find a Green Door on the left side. Use the Green Key to unlock it, and inside you'll find the Blue Key on the central desk .
Step 3: Red Key – Meeresauge
Head to Meeresauge in the southern part of the map. The Blue Door is not in the main city—go to the dock area on the southwest side and find a two-story building at the base of the dock. Use the Blue Key at the entrance, and you'll find the Red Key resting on a partially sand-buried chair inside .
Step 4: White Key – Segen
Travel to Segen and enter the bank building at the far back of the city. Climb to the third floor and use the Red Key on the Red Door. Inside, the White Key sits on a desk in the left corner .
Step 5: Black Key – Fort Istria
Warning: This step requires explosives . Fort Istria is heavily defended, and its front doors are sealed behind reinforced barriers. You'll need to destroy them using your trampler's cannons, a timed bomb, or a grenade .
Once inside, move to the right side of the fort, destroy another red door, and continue downstairs to the basement. Use the White Key on the White Door, and the Black Key is waiting on the desk to your left .
Alternative: The Black Key can also drop directly from elite military commanders or sector bosses. If you get one this way, you can skip the entire chain .
Opening the Dreadnought's Five Doors
Once you have the Black Key, enter a Storm Dive match and survive until the Dreadnought appears as the final extraction point . Here's the looting sequence from the match footage:
Door 1 – Black Key Room (Storage Room)
The first room you'll enter contains valuable loot including:
Energy rods (crafting materials)
Smokeless (rare resource)
Biometers and reflectors (components)
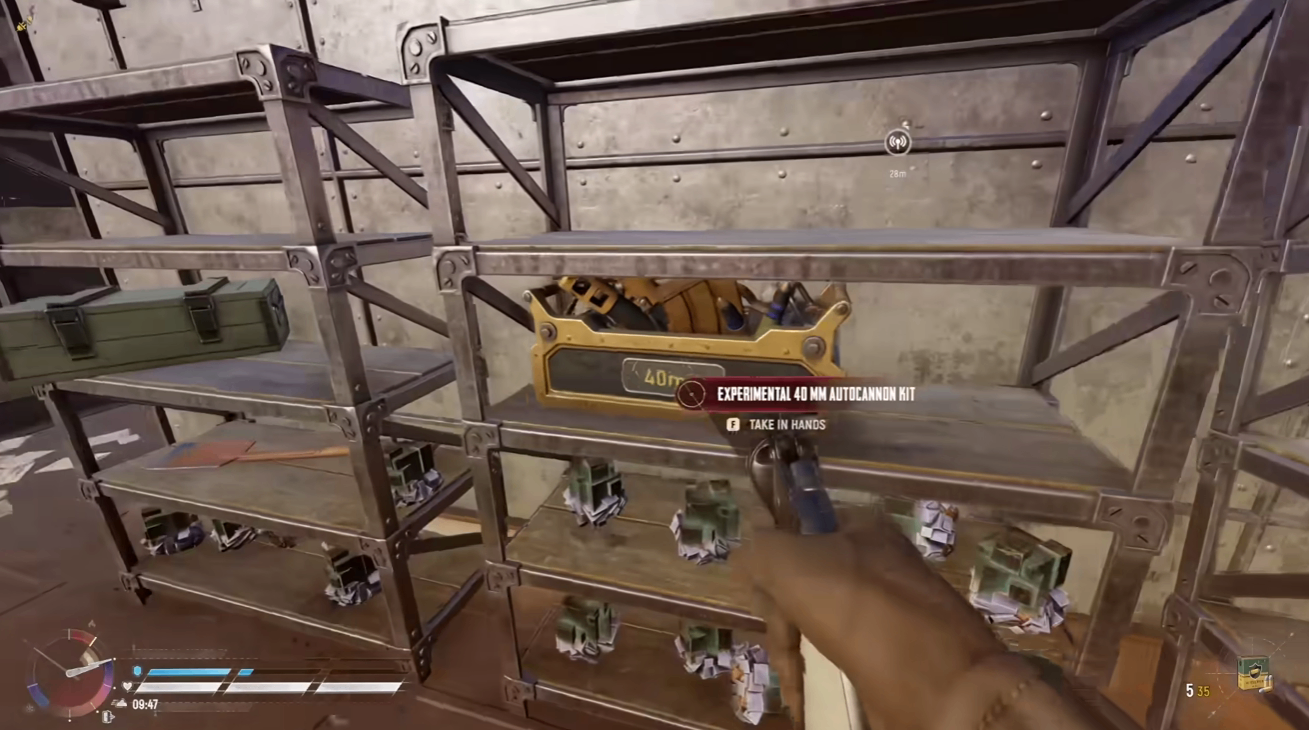
Experimental 40 (high-tier weapon)
Door 2 – Green Key Storage
A second storage room with similar high-tier loot.
Door 3 – Dome Room
One of the rooms contains a dome—likely a valuable defensive item.
Door 4 – Additional Loot Room
More storage with pristine items and amplifiers.
Door 5 – Main Loot Room (Red Door)
The final room requires booming the red door (destroying it with explosives). Inside:
Two pristine cannons (ultra-rare weapons)
Amplifiers (high-value components)
Additional Experimental 40s
Pristine experimental gear
Efficient Looting Strategy
The Dreadnought's loot room is massive, but time is extremely limited. Here's how to maximize your haul:
Use Boxes
Your character's inventory is tiny. Loot by grabbing empty green boxes (spares in your fridge) and carrying them to items. Walk up to crates and the loot pours directly into your box .
Transfer Whole Ammo Stacks
When loading gear, pick up the cannon kit (or stand at the storage box), hold Tab, and transfer the entire stack of ammo directly into it. Don't load round by round—this saves critical seconds .
Prioritize High-Value Items
From the footage, the priority looting order was:
Pristine items (especially pristine cannons and experimental 40s)
Experimental 40 (high-tier weapons)
Amplifiers and reflectors (valuable components)
Piss boosts (consumable buffs)
FMJ ammunition (500 rounds from a single box is massive)
Assign Roles
If you're in a crew, split responsibilities:
One person opens doors
Others focus on looting specific areas
One person manages boxing and shelving gear
Don't Get Greedy
The sandstorm is closing in. As seen in the footage, the crew had to abandon some loot to avoid dying in the storm . Survival matters more than the last box.
Extraction: Getting Out Alive
Extraction from the Dreadnought follows the same rules as any Storm Dive extraction:
Call the ship by climbing the radio tower and using the radio
A green flare launches, visible to all remaining players—expect a fight
Wait for the extraction ship to arrive
Get off the trampler—your ship and character extract separately
Grab the rope that drops from the ship to escape with your loot
Critical: Your loot only counts if it's on storage shelves inside your trampler. Anything left loose on the floor when you extract is lost .
Final Tips
Bring explosives before visiting Fort Istria—you can't progress without them
Extract after each key upgrade rather than risking fights and losing progress
Check your match clock—if you don't have enough time, extract and try again in another match
Use your pocket map for reading points of interest—it's easier than the one at your trampler's helm
Clear the lobby before the Dreadnought spawns—fighting other players while trying to loot is a recipe for disaster
The Dreadnought is one of the most rewarding experiences in SAND: Raiders of Sophie—and also one of the most dangerous. Master the key chain, move fast, and don't get greedy. Good luck out there, raiders. With the right strategy, you won't need to search for cheap SAND: Raiders of Sophie Crown from outside sources, as your own loot runs will provide everything you need. If you do want a head start, MMOEXP offers reliable options to complement your gameplay.