Weekend Drop -













Summary
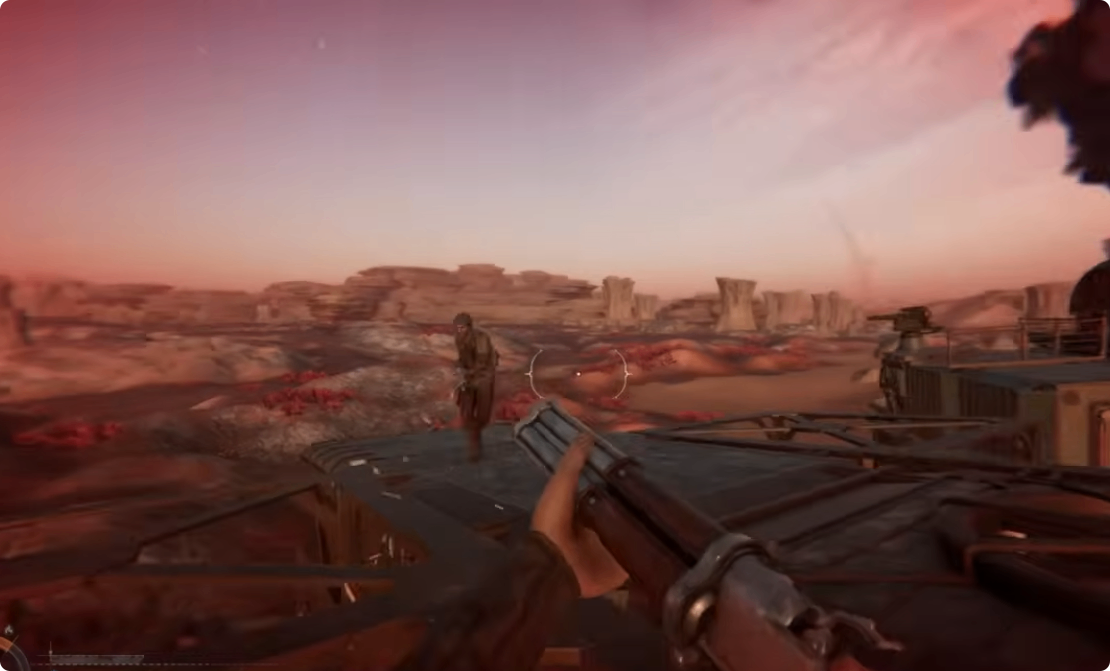
This guide covers everything needed to win more PvP encounters in SAND: Raiders of Sophie. While particularly useful for small and large crews, solo players will also find valuable information. The guide is divided into five segments: naval combat, boarding, engaging fights, experimental items, and trampler organization.
Part 1: Naval Combat
The 70mm Shotgun Cannon
The 70mm shotgun cannon is the most important cannon on the trampler. It has three ammo types. Regular shells are super strong for killing players. Slugs are useful for chasing players, destroying legs, and killing ironclads. Smoke shells are the absolute king for PvP.
Optimal Strategy:
Start by smoking the enemy with a smoke shell
Break the distance and get up close
Teammates pummel with 40mm cannons
Switch to normal shells and clear the deck
Tier Progression:
Rusty: Slowest reload, largest spread
Worn: Better spread and reload speed
Pristine: Best reload speed and spread
Experimental: Two shots per reload, extremely powerful
The 40mm Autocannon
The 40mm autocannon has the highest DPS of all cannons and is the go-to for destroying enemy tramplers and reactors. It has three ammo types: regular rounds, long-range rounds, and low-recoil rounds.
Tier Progression:
Rusty: Overheats fastest, worst accuracy
Worn: Better accuracy, slightly faster fire rate
Pristine: Long to overheat, good accuracy, fast fire rate
Experimental: Shoots faster as it overheats—absolutely insane for destroying tramplers
The 80mm Cannon
The 80mm cannon has four ammo types. Regular ammo is standard. High-velocity ammo shoots faster and further. Proximity fuse ammo explodes near the enemy trampler. EMP rounds turn off the enemy's engine if they hit the reactor, but they are incredibly rare.
Best Uses:
Destroy enemy cannons with proximity fuses
Shoot the enemy's legs while they are running away
Tier Progression:
Rusty: Very slow reload, very bad accuracy
Worn: Good accuracy, slow reload
Pristine: Really good accuracy, best reload speed
Experimental: Rail gun with no bullet drop, excellent for long-range leg destruction
Finding Better Cannons
Military ships have approximately a 50% chance to drop worn cannons. The tech tree in Kaiser's Friends allows crafting:
Naval cannon: 1 box of wine
Shotgun cannon: 1 box of fish
Autocannon: 1 district's officer's box
Part 2: Boarding
When to Board
Board when the enemy is going to outdamage the team. If the answer is yes, boarding is the right call. Intuition develops with practice.
Why Board
Remove Ammo: Taking ammo from enemy cannons buys approximately 10 seconds in a fight, even if the border dies. This can change the tide of battle.
Cause Chaos: Killing enemies creates panic, stopping their cannon fire. Turning off their engine gives teammates free reactor hits.
Boarding After Losing the Trampler
If the trampler is destroyed, hide inside it with C4. Wait for the enemy to come and finish the team off. Keep killing them until they run out of weapons and armor. Then board, blow through doors, and kill every enemy encountered. Remove food from shelves to limit respawns. Find the captain's quarters and interact with the terminal for 10 seconds to steal the trampler.
Part 3: Engaging in Combat
Rushing the Enemy
The best time to rush is when the enemy has just finished a fight and is already weak. Use a smokeless energy rod to reduce smoke visibility, then a red speed boost for a massive speed boost to close the gap.
Focus Fire Priority
If they are running away: Shoot legs to slow them down
If legs are destroyed: Shoot the reactor if visible
If the reactor is not visible, shoot the wheelhouse to maneuver around it
Against large tramplers: Focus fire on the wheelhouse and cannons
If the reactor is well-armored, destroy every compartment until the reactor is exposed
When to Be Patient
Before rushing, check the surroundings for third parties. If there is someone behind or to the side, smoke the enemy in front or boost away. Let other teams fight first, then third-party the winner.
Part 4: Experimental Items
Experimental Weapons
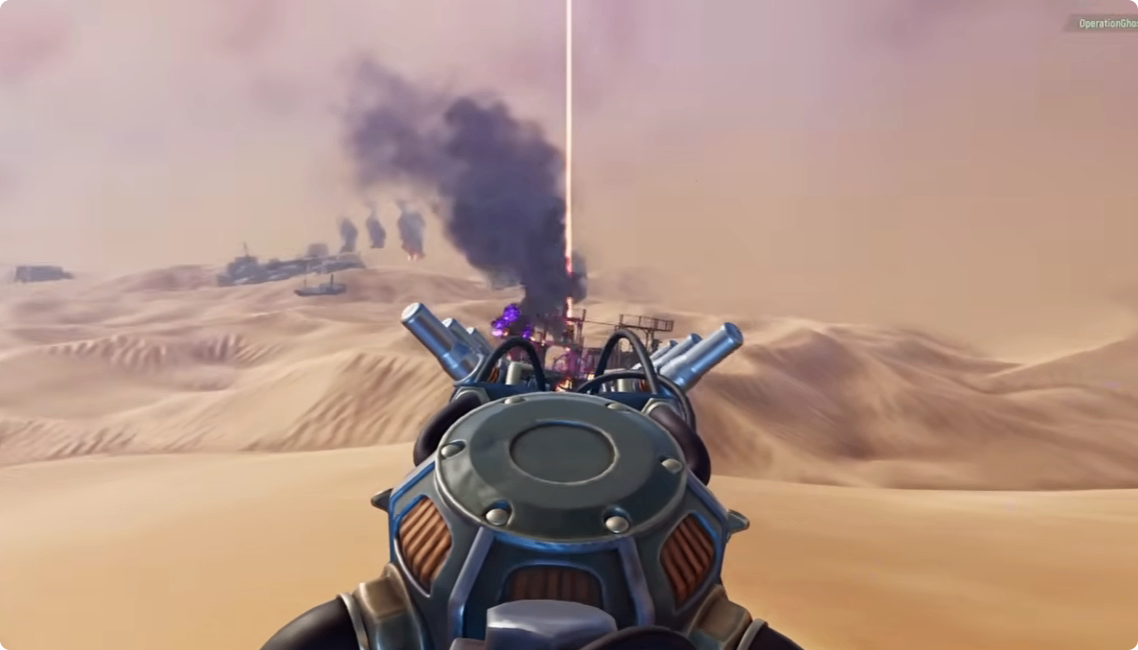
Orbital Strike Launcher: Calls an orbital strike on a location. Each bomb hits for 2,500 damage. Best used when the enemy is immobilized or paired with a Great Silence.
Great Silence: A single-shot beam that turns off the reactor if it hits. Takes 1 second to charge. Extremely powerful when paired with the Orbital Strike.
Walk Bomb: The rarest and most powerful experimental. Activates a 20-second countdown with a huge red dome. When the dome hits the ground, it creates a massive explosion with approximately a 200-meter radius. Can only be found inside the Dreadnought.
Experimental Utility
Smokeless Energy Rod: Reduces reactor smoke by approximately 95%, making the trampler much harder to see at range.
Modified Energy Rod: Provides a massive speed boost for around 30 seconds. Can be found by killing ironclads.
Smoke Grenade: Creates a mountain of smoke. Can cover the entire royal chassis, making it impossible for enemies to see anything.
Experimental Box Items
Protective Dome: Creates a shield bubble that absorbs approximately 8,000 to 10,000 damage. Can be destroyed quickly by 40mm cannons.
Amplifier: Lasts 90 seconds and gives all cannons in the radius double damage.
Reflector: Cannot be destroyed. Lasts 90 seconds and creates a large wall that blocks all incoming fire.
Where to Find Experimentals
Dreadnought: All experimental items except the walk bomb can be found here
Forts: Decent chance to spawn experimentals
Lighthouses: Great Silence, Orbital Strike, or Smoke Grenade can spawn at the top
Black Tarps and Umbrellas: Secret locations with insane loot potential
Important: Experimental items can only spawn in Storm Dive, except the modified energy rod, which can be found by killing ironclads.
Part 5: Organizing the Trampler
Cargo Compartments
Use the six cargo pages to organize supplies. Dedicate page six to cannons, ammo, repair kits, and experimental items. This allows the team to get the ship up and running quickly.
Recruits (Respawn Kits)
Place a box inside the sleeping quarters with spare guns, armor, explosives, medkits, and anything needed after death. Each crew member should have their own page (e.g., page five for one player, page four for another) to avoid mixing boxes.
Food Storage
Place food in every storage container. This ensures that even if one cargo bay is destroyed, the team can still respawn.
Crew Roles
Cannon Reloader: Someone must reload cannons after every fight. Empty cannons mean game over.
Lookout: Always have someone watching all directions. Never loot or repair without a lookout. If someone sneaks up, everything is lost.
Repair Man: Always have a dedicated repair person. Even small damage from sand dunes or ironclads can cost a fight. After a battle, everyone should repair before looting.
Ship Organization
Keep a storage room near the cannons. Place cannon ammo directly behind the cannons. Place repair kits next to the ammo. Place orbital strikes, great silences, and smoke grenades above for emergency situations. Keep recruits inside sleeping quarters. Keep a reactor room box with energy rods.
Key Takeaways
70mm shotgun cannon is the most important PvP cannon
Smoke shells win fights when used correctly
40mm autocannon has the highest DPS for destroying tramplers
Board to remove ammo and cause chaos
Rush enemies when they are weak from a previous fight
Third-party whenever possible
Experimentals are game-changing but rare
Reflector is the most powerful utility item
Organize cargo by page for quick access
Always have a lookout to avoid third parties
Conclusion
Winning PvP encounters in SAND requires understanding the cannon meta, knowing when to board, and mastering experimental SAND: Raiders of Sophie Items. The 70mm shotgun cannon with smoke shells is the foundation of successful PvP. The 40mm autocannon provides the DPS needed to destroy tramplers. Boarding creates chaos and buys time. Experimentals can turn the tide of battle.
Organization is equally important. Dedicated cargo pages, recruits, and crew roles ensure the team is always ready for the next fight. With practice, these strategies become second nature. Good luck, Captain. May your victories be numerous.