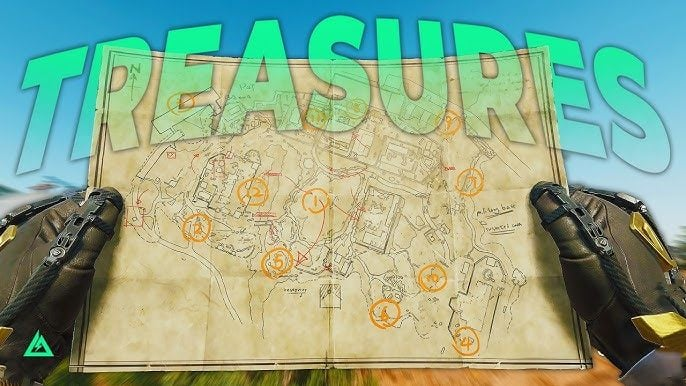
Where are ALL the Fortune Run treasure points hiding this year? Which map has the toughest guaranteed red? And how do you snag two free legendary rewards before you even start digging? The 2026 Fortune Run event drops 12 treasure points on every map, with one location on each map always guaranteeing a red-tier reward. Below is the complete breakdown — every box, every crate, every dig spot — organized map by map so you can plan your route instead of wandering in circles.
Before You Dig: Free Loot and Event Basics
Every map runs the same core system: 12 static treasure points that never move, meaning you can farm the same map repeatedly and always find loot in the same spots. You need the matching treasure map to unlock each corresponding box — think of it as a key. Point number eight on every single map is special: it always guarantees a red-tier item, and it always has two possible variants depending on which map you're holding, so you'll need to dig instead of simply opening a crate.
Don't skip the freebies first. Head to the events tab, select "Special," then "Relics of the Porcelain Capital" to claim a free red vase — just click the glowing dragon eye icon on the artifact, and it ships straight to your mailbox. There are also 2,600 free tickets available just for logging in and completing event challenges, like finishing a single match of Operations. Treasure maps themselves drop from travel bags (August 8–13), field supply boxes (August 14–September 7), and the Lucky Ratty Rocket starting August 14.
Who this helps: New players or anyone who hasn't touched the event tab yet — this section alone hands you free currency and a free red item before you spend a single minute searching.
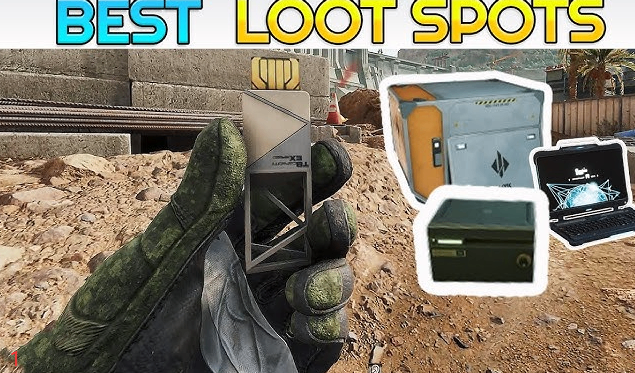
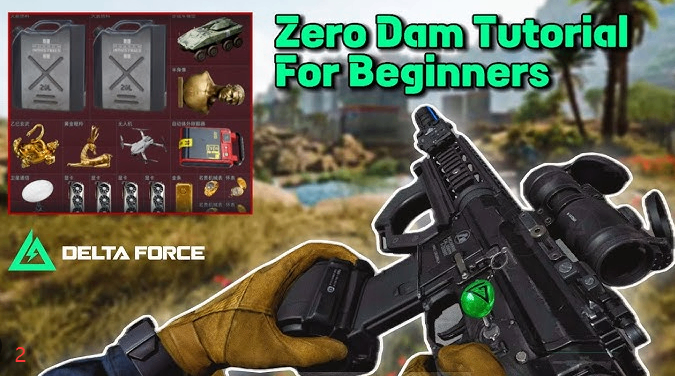
Zero Dam: 11 Standard Points Plus the Split Eighth
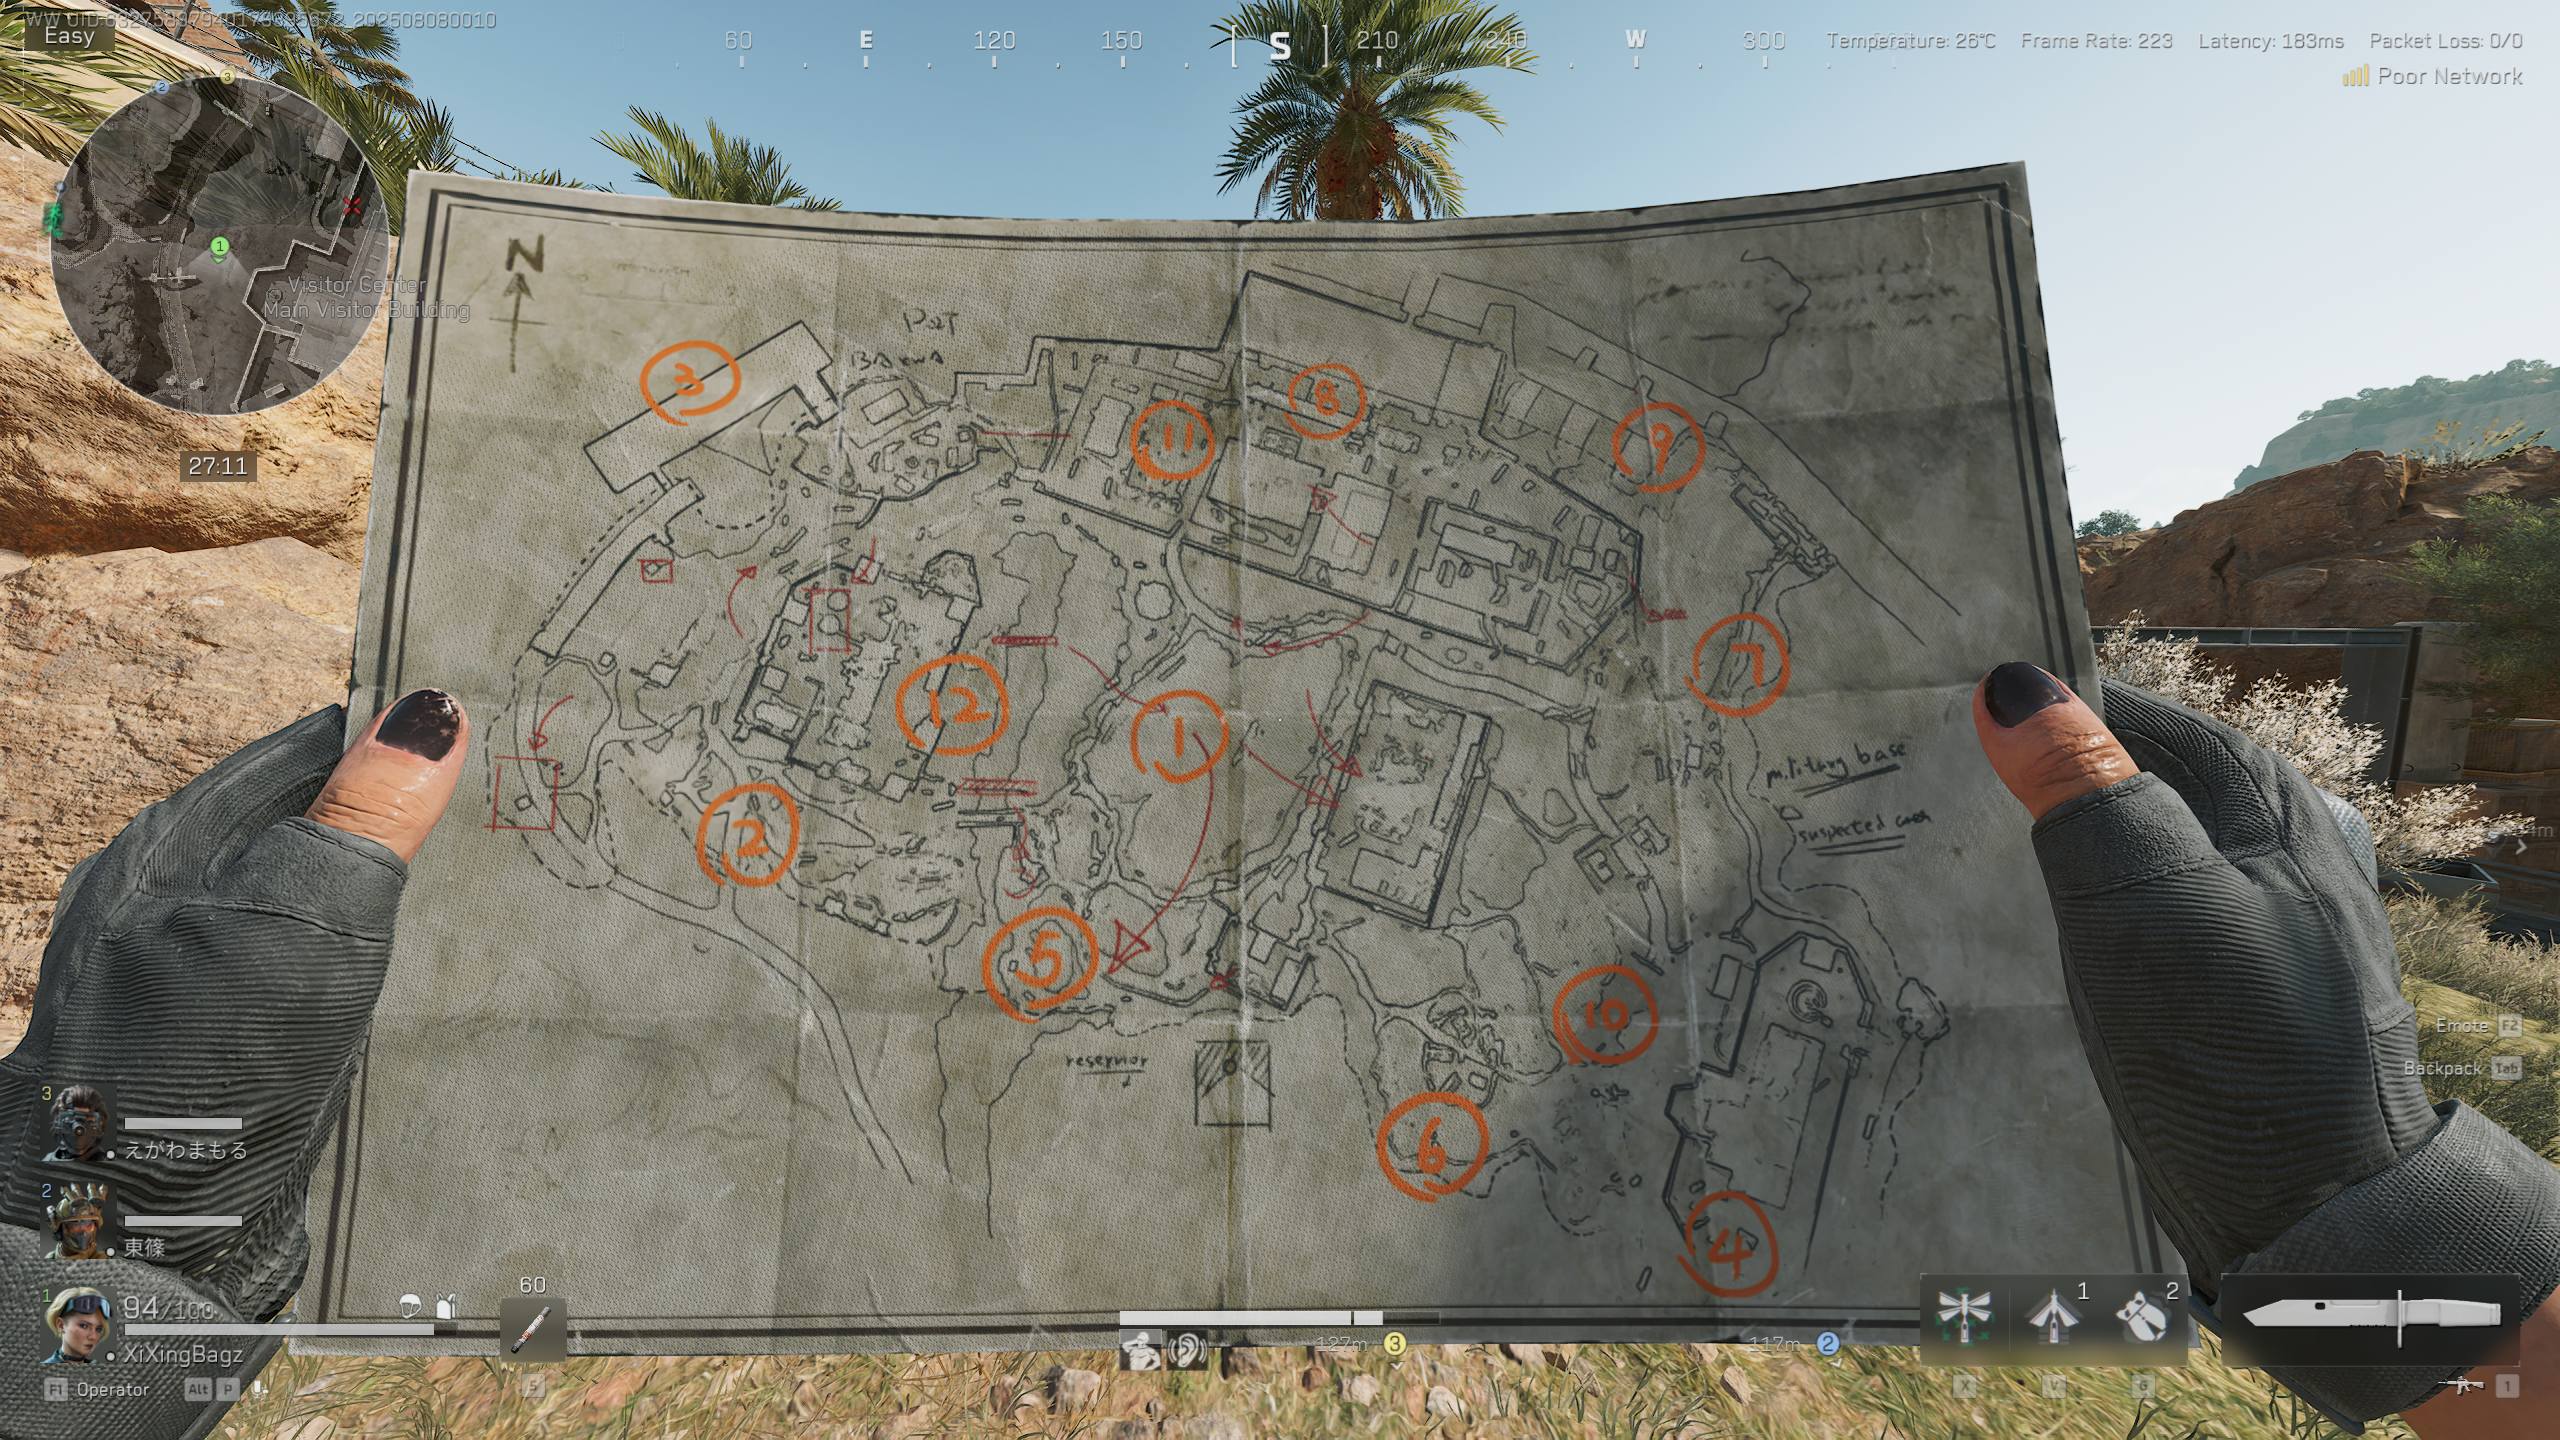
Zero Dam rewards players who know the map's industrial backbone — construction yards, tunnels, and the admin complex. Point one sits in a pipe between the highway and cement plant, while point two is just down the road in a tunnel system behind boxes near a large tree. The river system holds point three inside a secondary pipe, and the elevated "heaven" area hides point four beneath a stairwell before the zipline balcony.
Camp tents near the major substation conceal point five inside a red crate, while the visitor center bathroom's back-left stall hides point six underneath the stall itself. Point seven sits behind plywood near the admin parking lot's red crates. The split eighth point depends entirely on your map: one variant sends you digging by the visitor center wall, the other to a spot near an Asura symbol at the bottom-middle of the map. Round out the map with barracks (nine), the admin basement ladder area (ten), and the mini substation's flight case room (eleven).
Who this helps: Players grinding Zero Dam rotations who want a full checklist without backtracking — ideal if you're farming this map repeatedly for the guaranteed red.
AZ-3: The Radioactive Swim and the Hardest Puzzle in the Event
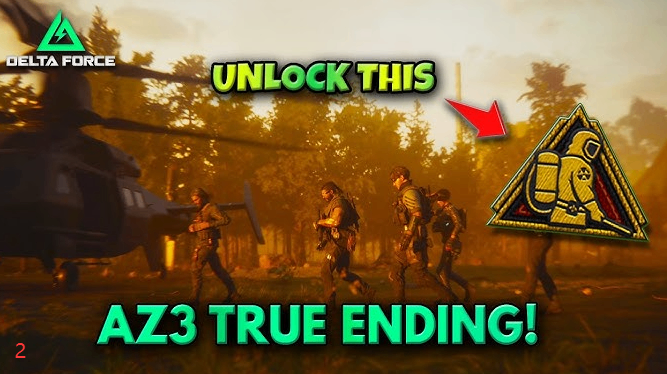
AZ-3 is where things get genuinely tricky. Point one hides behind a blue box near a stairwell by the old Academy of Science, and point two sits below stairs near the thermal power station. Point three, however, requires swimming into radioactive water near the pier — and swimming back the same way, so budget your health accordingly. Point four is tucked under a truck ramp near the seaside office, and point five sits under the main desk inside the bulletproof-glass extract building.
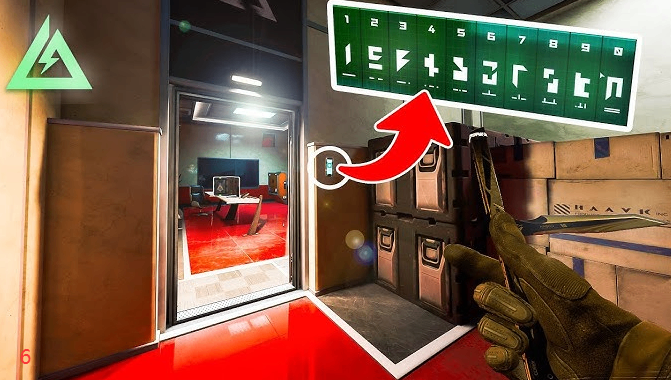
Point six waits in a back corner under a desk near the wastewater storage building, but point seven is arguably the single hardest treasure in the entire event: it's locked behind the sarcophagus area's Easter-egg door, requiring a zipline traverse, careful parkour, and reading a numeric code off in-game visuals to unlock the door itself. The guaranteed eighth point splits between an easy grass patch near the fuel plant and a brutal swim out to rocks in the water. Points nine through eleven round out the kitchen, the Academy of Science's lower shelving, and the reactor building's third-floor office.
If all this swimming and code-cracking sounds like a grind, remember you can always buy Delta Force Tekniq Alloy at mmoexp, save your sanity, and enjoy the real endgame instead of burning hours chasing every cosmetic the hard way — sometimes the smartest move is skipping the grind and going straight for what you actually want.
Who this helps: Completionists and puzzle fans — AZ-3's seventh point is a genuine skill test, so this section is your cheat sheet if you don't want to waste an evening on trial and error.
Layali Grove: Farmland, Villages, and a Waterfall Dig
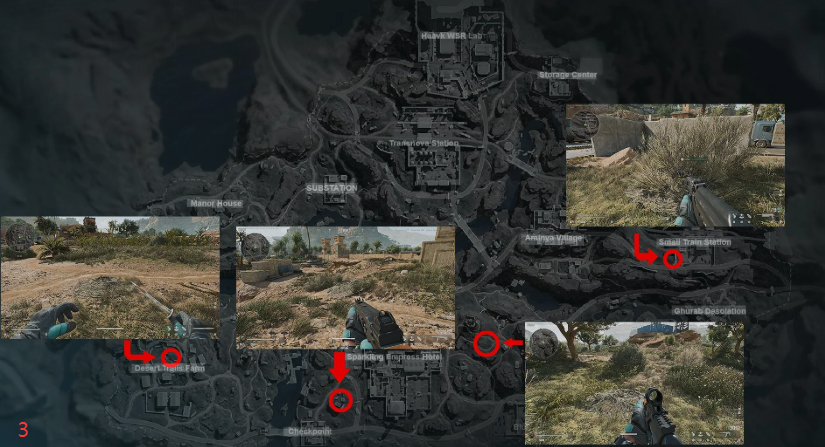
Layali Grove spreads its points across agricultural and residential zones. Point one hides in a farm-field tunnel system behind a leaning board, while point two is wedged between a wall and crates near the checkpoint's east side. Point three sits under wooden planks near a river-adjacent shack, and Amina Village holds two points — one inside a red crate atop a table, another sandwiched between boxes in a tent on the road below.
The Gurab Distillation area hides point six behind a tarp near a bookshelf, and Blue Wharf's western side conceals point seven near a tree and retaining wall. The split eighth point offers a scenic contrast: one variant digs out a rock beneath a waterfall near the storage center, the other digs beside a garden tree near the Empress Hotel. Points nine through eleven finish at the storage center's Iron Dome garage, the pre-labs building, and a cabana behind a couch near the Empress Hotel pool.
Who this helps: Players who prefer scenic, lower-risk farming routes — Layali Grove has fewer combat-heavy or swim-required points than AZ-3, making it a solid pick if you want steady progress without extra risk.
Space City: Rockets, Labs, and a CEO's Office
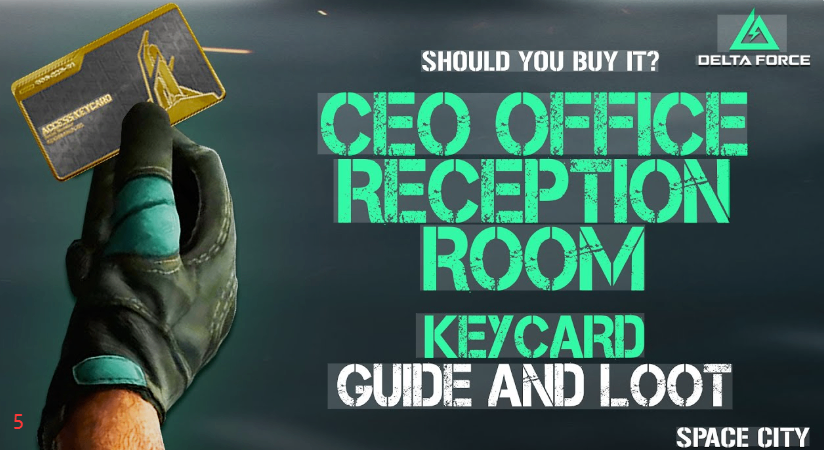
Space City's points cluster around its sci-fi architecture. Point one hides behind a box near the loading dock close to central command, and point two sits just past the printing and hoisting area behind a barrier. The buoyancy lab's water-filled second level hides point four behind stacked boxes, while the launch area conceals point five against a wall near a blue box before the rocket stairs.
Points six and seven continue toward the workshop (hidden in a truck) and the test range (under a desk in the front room). The guaranteed eighth point again splits: one dig is beneath a giant cactus at the dorms parking lot, the other in a grassy patch between a ladder and zipline at Hudson's dock. The centrifuge building, the CEO's office overlooking the rocket, and the black chamber beneath the CEO platform close out points nine through eleven.
Who this helps: Players already running Space City contracts for other rewards — since several points overlap with common patrol and objective routes, you can loot treasure without detouring.
Brackish: Hotels, Towers, and the Final Stretch
Brackish wraps up the map rotation with points spread across its coastal towns. Point one hides on a top shelf inside the old hotel in Sherry Town, while point two sits inside stacked chairs in the Blue River Hotel stairwell. A slanted crate tunnel near the museum conceals point three in nearby grass, and point four hides behind a trash can under a dresser in a parking-lot building.
Azure Town's rooftops hold point five wedged between box and wall, while the path toward Asara camp hides point six behind a red tarp near the rocketeer spawn. Point seven sits behind a barrier near the helipad's doctor contract area. The guaranteed eighth splits between a dig under a tree in the Hamam courtyard and a dig in a bush on an elevated Tower of Babel platform. A sewer system near the reservoir holds point nine, a couch-and-chair gap in the Hamam building holds point ten, and the main museum's atrium — hidden behind a couch — closes out the entire event with point eleven.
Chasing every guaranteed red across five maps is genuinely time-consuming, so if the swimming, parkour, and code puzzles start feeling like a second job, it's worth remembering you can buy Delta Force Tekniq Alloy at mmoexp, save your sanity, and enjoy the real endgame rather than treating farming itself as the goal.
Who this helps: Anyone finishing their treasure checklist — this is the last map, so pair it with the earlier sections for full-event completion.
Quick Tips Before You Start Digging
· Farm points aren't consumable — revisit the same location as many times as you want as long as you hold the matching map.
· Always confirm which variant of point eight you're holding before traveling; the two versions are on opposite sides of each map.
· Stack treasure-map farming with daily challenges to earn free tickets without extra effort.
· Save the AZ-3 radioactive swim and the sarcophagus puzzle for when you have full health and time to focus — don't rush them mid-match.
Final Takeaway by Player Type
· New or casual players: Grab the free vase and event tickets first — guaranteed value with zero risk.
· Grinders and completionists: Use the map-by-map breakdown to hit all 12 points per map without wasted travel time.
· Players short on time: Skip the tougher swim-and-puzzle points and lean on coin purchases to unlock cosmetics faster instead of grinding every location.
· Puzzle enthusiasts: AZ-3's locked-door treasure is the standout challenge of the entire event — worth tackling for bragging rights alone.