The 3 Million Loadout: Maximum Power, Maximum Pain
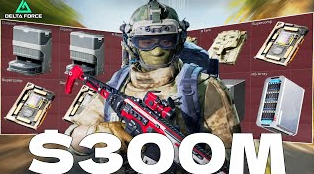
The core setup combines full red armor with premium repair kits, high-level medicine, an AS Val for close-range engagements, and an M700 for long-range picks. On paper, this is close to the perfect solo loadout.
The M700 creates openings before enemies can close the distance. The AS Val then provides the firepower needed to finish injured targets, defend narrow hallways, and punish aggressive revives. Red armor increases survivability when a fight turns into a chaotic close-range exchange.
The problem is economic pressure. A single premium helmet repair can cost around 500,000 coins, while ammunition, healing, armor restoration, and utility can push total battle costs beyond two million. Even a successful extraction may produce only a small net profit.
Key takeaway: Max gear improves combat flexibility, but it does not guarantee a positive return.
Best for: Wealthy, experienced solo players who prioritize intense combat over consistent income.
Why Red Armor Does Not Make You Invincible
Red armor can absorb damage that would instantly eliminate a budget operator. It is especially valuable when escaping a grenade, surviving an unexpected flank, or trading shots against multiple enemies.
However, armor cannot fix poor positioning. A coordinated squad using stuns, scans, toxic abilities, EMP effects, grenades, and crossfire can overwhelm even the strongest equipment. Once trapped in a building or caught repairing in the open, a solo operator has very few recovery options.
The biggest mistake is treating premium armor as permission to play carelessly. Red gear should provide an extra margin for error, not encourage reckless pushes.
Key takeaway: Positioning, timing, and information remain more important than armor quality.
Best for: Aggressive players who need to learn how to convert expensive protection into tactical advantages.
The Hidden Enemy: Battle Cost
Profit is not determined by the extraction value alone. The real calculation is:
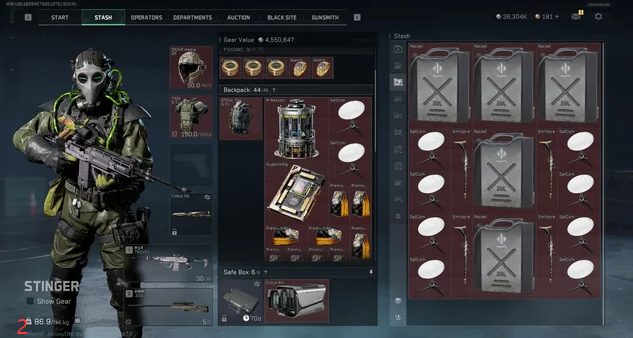
Net profit = Extracted value − ammunition − repairs − healing − consumed utility − replacement gear
A raid showing 4.6 million in extracted value may look incredible, but a 2.5 million battle cost reduces the actual gain dramatically. If the next raid ends in death, the previous profit can disappear immediately.
Premium repairs are particularly dangerous for the economy. Carrying an expensive repair kit into a raid means risking it even if it is never used. Using it protects the armor but adds another major expense. This creates a difficult choice: repair and keep fighting, or extract before the loadout becomes less valuable.
Players who are tired of grinding just to replace one painful loss may prefer to buy Delta Force Tekniq Alloy at mmoexp, save their sanity, and enjoy the real endgame, especially if their goal is unrestricted high-tier combat rather than slow economic progression.
Key takeaway: Track net profit across several raids, not the value of one successful extraction.
Best for: Economy-focused players who want to understand why seemingly successful runs still reduce their total balance.
Win the First Fight with Range
The M700 is not merely a secondary weapon. It is the tool that prevents a three-player squad from reaching full pressure.
Look for narrow sightlines beneath trucks, between environmental objects, across windows, and along exposed rotations. An unusual angle can create a clean headshot while keeping most of the operator’s body protected. Landing the first knock changes a three-versus-one engagement into a manageable sequence of smaller fights.
After securing a knock, resist the urge to rush immediately. Watch the body, identify the revive route, and use grenades to interrupt recovery attempts. If the surviving enemies separate, punish the isolated target rather than entering their preferred defensive position.
Key takeaway: A single accurate sniper shot can control the pace of an entire squad fight.
Best for: Patient marksmen who can hold unusual angles and capitalize on enemy revive attempts.
Let Enemy Squads Fight Before You Commit
A solo operator should not volunteer to become the center of every battle. When two squads begin exchanging grenades, scans, and gunfire, move to an outside angle and let them consume resources.
The ideal third-party timing is not always the moment the first player falls. Wait until armor has been damaged, abilities have been used, and both teams are focused on each other. Then target exposed players, block revives, and remain close to an escape route.
This strategy becomes especially important in high-traffic areas such as Admin, Cement, Barracks, and the Visitor Center. Staying outside the main structure often provides better information and reduces the risk of being trapped by area-denial abilities.
Key takeaway: The smartest solo player controls the edge of the fight instead of standing in its center.
Best for: Tactical players who want more squad wipes without relying on perfect mechanical aim.
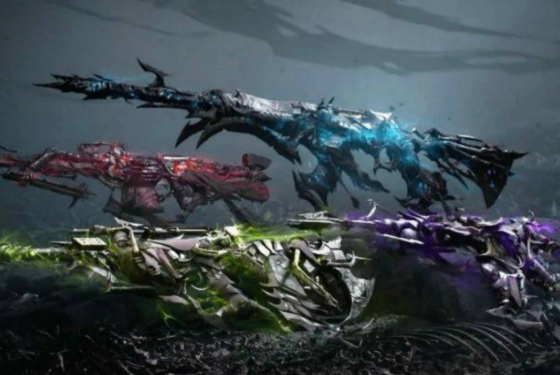
The AS Val Rule: Keep the Fight Close
The AS Val is devastating at close and medium range, but it is not the ideal weapon for extended outdoor exchanges. Trying to spray distant enemies wastes costly ammunition and gives opposing marksmen repeated opportunities to return fire.
Use buildings, trucks, boxes, hallways, and elevation changes to shorten the engagement distance. Turn on the flashlight only when entering close combat or challenging a dark angle. Preserve stealth while rotating, then use the AS Val’s rapid damage output when the target commits.
When enemies remain far away, switch to the M700 or disengage. Maximum gear does not require accepting every fight.
Key takeaway: Build engagements around the AS Val’s effective range instead of forcing the weapon to perform at long distance.
Best for: Close-range fraggers who enjoy fast swings, aggressive flanks, and hallway combat.
Utility Wins Outnumbered Fights
Solo success depends on turning one squad fight into several isolated one-versus-one engagements. Utility makes that possible.
Use darts to reveal rotations, shocks to gather information around corners, grenades to stop revives, and flashes to counter aggressive pushes. Do not throw everything at the first target. Save at least one information tool or explosive for the final opponent.
Grenades are especially effective when enemies gather around a downed teammate. Cook the grenade long enough to reduce reaction time, bounce it around cover, and immediately prepare for the surviving player’s push. After using utility, change position whenever possible. Repeating the same peek allows the squad to pre-aim or surround you.
For players who want to experiment freely with premium ammunition, repairs, and high-value utility, buy cheap Delta Force Tekniq Alloy at mmoexp, save your sanity, and enjoy the real endgame** rather than entering every raid worried about the price of each grenade.
Key takeaway: Utility should create isolation, deny revives, and force enemies into predictable paths.
Best for: Advanced solo players who understand timing but need better methods for breaking coordinated squads.
Know When to Abandon the Kill
One of the most expensive solo mistakes is chasing a wounded player while another team approaches. A long fight creates noise, attracts third parties, consumes ammunition, and damages armor. Even if the original squad is eliminated, the next team may arrive before healing or repairs are complete.
Disengage when:
- Multiple scans reveal pressure from different directions.
- A fight has lasted long enough to attract nearby squads.
- Ammunition is running low.
- Armor needs a lengthy repair.
- Enemy area-denial abilities control the only safe route.
- The available loot cannot justify the growing battle cost.
Leaving a fight is not a failure. Protecting a three-million-coin loadout can be more valuable than securing one additional elimination.
Key takeaway: Survival and extraction value matter more than finishing every enemy.
Best for: Aggressive players who frequently win the first engagement but die to third parties.
The Knox Problem: Avoid the Isolation Trap
Knox is particularly dangerous against solo operators because the kit can restrict movement, isolate targets, and punish anyone holding a predictable position. Multiple Knox players on the same squad create even greater pressure.
Do not remain close to doorways or narrow corridors when a Knox push is developing. Back away before