Summary: Elden Ring players can completely bypass complex boss mechanics across all skill levels by equipping five mathematically dominant weapons that exploit hidden posture and recovery tracking. While complete beginners often struggle with panic-rolling against aggressive endgame bosses, veterans and smart returnees utilize high-poise damage and execution frame data to force enemies into permanent stagger loops.
Following recent balance adjustments, weapon classes that rely on critical multipliers and posture reduction have surged to the absolute top of the game's PVE Meta. Below is the comprehensive, data-backed guide to the five ultimate "easy mode" weapons in the Lands Between, including their exact locations and hidden strategic advantages.
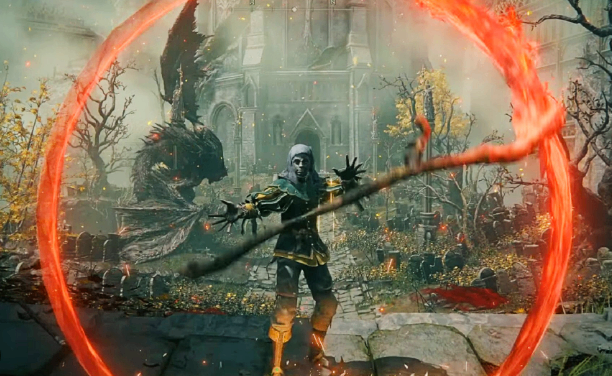
1. Star Fist - The Undisputed Stance-Break King
Map Location: Leyndell, Royal Capital. Found on a corpse on the lower ground level near the West Capital Rampart.
The Hidden Mechanics: The Star Fist possesses the fastest heavy attack (Charged R2) animation frames of any striking weapon in the game's code.
Universal Combat Loop: Beginners can equip heavy armor, activate the Cragblade Ash of War, sprint up to major shardbearers, and repeatedly smash the heavy attack input. Most main-line bosses will drop to their knees for a critical hit in just two hits. Veterans highly value its near-zero recovery frames, allowing them to sneak heavy staggers into microscopic openings during complex boss strings like Malenia's neutral stances.
For players preparing their characters for these weapon-focused builds, Elden Ring Runes can provide an additional resource for progression and leveling.
2. The Greatsword - The Unstoppable Hyper-Armor Juggernaut
Map Location: Dragonbarrow, Caelid. Looted directly from the back of an abandoned carriage hearse surrounded by giant dogs near the "Rotview Balcony" site of grace.
The Hidden Mechanics: Available within the first 10 minutes of a fresh playthrough, this colossal weapon offers the highest physical motion-value parameters for standard Strength builds.
Universal Combat Loop: When paired with the Lion's Claw Ash of War, pressing the skill button grants the player Absolute Hyper-Armor. While the animation is active, no boss attack in the game can knock you down or interrupt your strike. Beginners can use it as a low-skill panic button to trade damage safely, while veterans leverage its massive raw scaling to hit the 80 Strength cap instantly via two-handing multipliers.
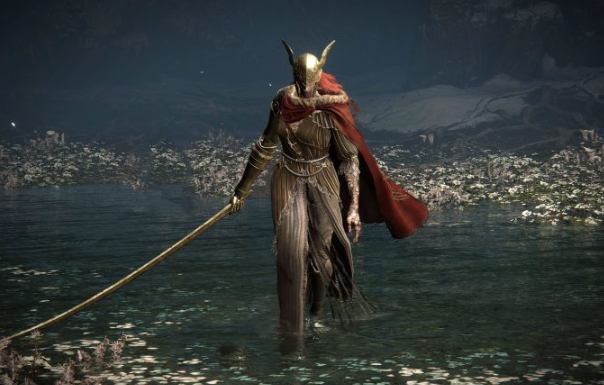
3. Blasphemous Blade - The Infinite HP Life-Steal Sustained Engine
Map Location: Mt. Gelmir, Volcano Manor. Obtained by trading the Remembrance of the Blasphemous with Enia at Roundtable Hold after defeating Rykard.
The Hidden Mechanics: The weapon's unique skill, Taker's Flames, scales purely with your Faith attribute and releases a linear wave of magma that instantly restores 10% of your total HP + a flat 150 health points upon hitting any target.
Universal Combat Loop: This weapon completely eliminates the dependency on Crimson healing flasks during high-difficulty legacy dungeons like the Haligtree. For beginners, it turns combat into a safe, ranged fire-spam experience. For faith-hybrid veterans, it provides unmatched sustainability, allowing them to reallocate all their flask resources into Cerulean Mana potions to maintain continuous spell damage.
4. Bloodhound's Fang - The Only Buffable Somber Legend
Map Location: Limgrave. Dropped by the Bloodhound Knight Darriwil upon defeating him inside the Forlorn Hound Evergaol.
The Hidden Mechanics: Despite upgrading with specialized Somber Smithing Stones, this weapon is one of the rare exceptions that allows players to apply external weapon greases, blood flame, or faith-based incantation buffs.
Universal Combat Loop: Its signature skill, Bloodhound's Finesse, features active Invincibility Frames (i-frames) during the initial backflip animation loop. Beginners can utilize the skill to deal high damage while automatically clearing the hitbox of oncoming enemy horizontal swings, while veterans capitalize on its high passive hemorrhage (Bleed) buildup to melt high-health endgame scaling pools.
5. Dark Moon Greatsword - The Zero-FP Ranged Frost Magic Beam
Map Location: Moonlight Altar. Presented as the ultimate reward at the conclusion of Ranni the Witch's extensive global questline.
The Hidden Mechanics: Activating the weapon's buff skill temporarily alters your standard heavy attack input, transforming it into a sweeping wave of moonlight magic.
Universal Combat Loop: Once the initial skill is active, firing the moonlight projectiles costs absolutely zero FP (0 Mana). The beams deal heavy physical stagger damage while simultaneously applying frostbite status effects. This lets mage archetypes conserve all their blue flasks for long-range spells, keeping beginners perfectly safe at a distance and allowing veterans to execute flawless, zero-hit boss encounters.
Quick-Reference Universal Weapon Comparison
Star Fist
Primary Scaling: Strength / Arcane
Best Ash of War Synergy: Cragblade
Core Exploitable Advantage: Fastest heavy frame data; breaks stance in 2 hits.
The Greatsword
Primary Scaling: Pure Strength
Best Ash of War Synergy: Lion's Claw
Core Exploitable Advantage: Unstoppable hyper-armor; ignores boss crowd control.
Blasphemous Blade
Primary Scaling: Faith / Strength
Best Ash of War Synergy: Taker's Flames
Core Exploitable Advantage: Restores 10%+ health on hit; replaces healing flasks.
Bloodhound's Fang
Primary Scaling: Dexterity / Strength
Best Ash of War Synergy: Bloodhound's Finesse
Core Exploitable Advantage: Native bleed + allows greases; skill grants active i-frames.
Dark Moon Greatsword
Primary Scaling: Intelligence
Best Ash of War Synergy: Moonlight Greatsword
Core Exploitable Advantage: 0-FP ranged heavy projectiles; massive frostbite buildup.