


Summary
The latest patch has revolutionized Expedition farming with a dedicated Atlas tree that can dramatically boost your loot yields in POE2. This guide breaks down the optimal tree setup, new mechanics, and strategies to maximize your returns.
Understanding the New Expedition Atlas Tree
The new Atlas tree for Expedition fundamentally changes how you approach this content. Here's what you need to know before diving in:
⚠️ Important Warning: If you've been running Expedition with additional modifiers as per previous strategies, expect significantly harder content now. You'll need a strong character to clear these encounters.
Optimal Tree Setup
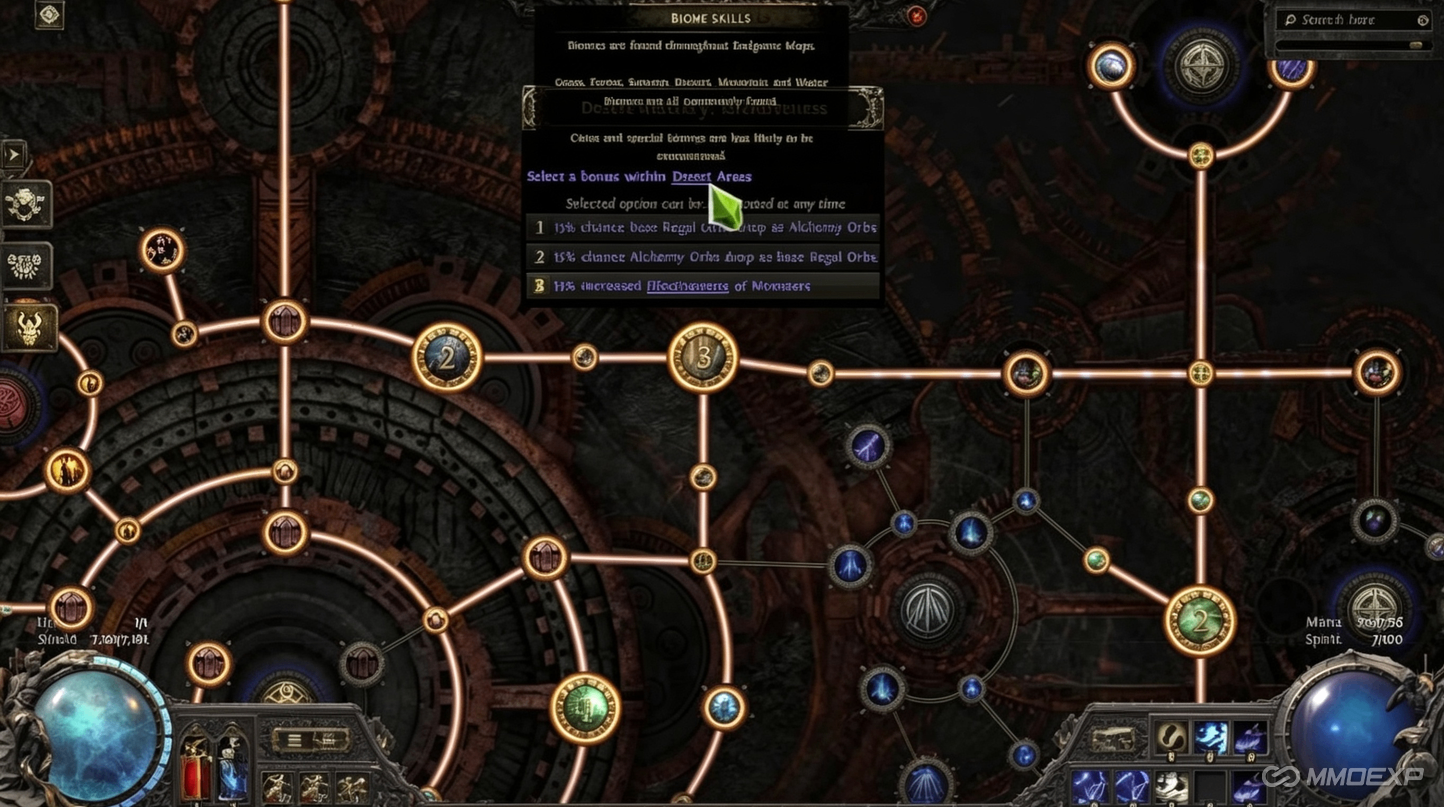
Cultivate the Sea – Choose Desert (Node 6)
Desert is the clear winner here, offering the best synergy with this strategy. While Forest and Grass present alternative options, Desert stacks exceptionally well because it provides increased item quantity in desert areas along with bonus effectiveness for desert monsters. These bonuses come directly from the top of the tree and deliver significantly improved loot compared to the alternatives.
Double or Nothing – Choose the First Option
This node determines how remnants with unique modifiers interact with future remnants. The first option gives you a 25% chance to add an additional unique modifier, which is the clear choice for maximum loot. However, keep in mind that these additional unique modifiers make your monsters significantly harder. If you're struggling with clear speed, you can swap to the second option, which prevents unique modifiers from being added at all. For pure loot optimization, always go with the first option.
Steady Development – Choose Remnants
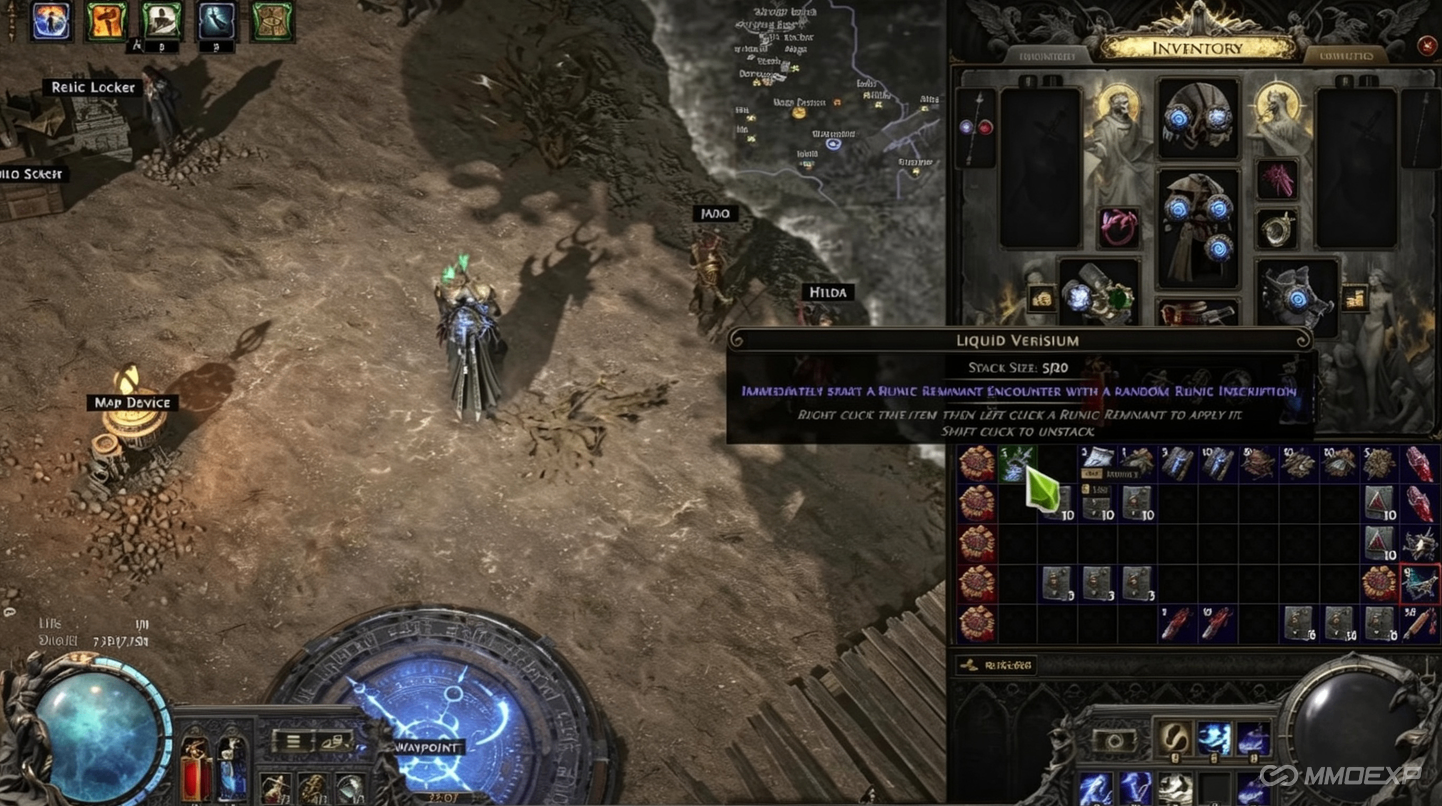
The choice here is straightforward. Remnants provide significantly higher value than explosives, especially since some expeditions naturally roll with very few remnants. Getting that extra remnant feels incredibly rewarding in both basic maps and grand expeditions. While you could put a single point into explosives since you already have many explosions, the remnant node consistently delivers better returns.
Strategic Advantage – Choose Based on Your Clear Speed
This node presents two options with very different applications. The first option makes explosives only wait for 50% of monsters to be slain before counting, which speeds up your expeditions considerably. If you destroy expeditions in seconds, this is absolutely mandatory. However, if you tend to get overwhelmed or need more time to clear content, the second option—which makes runic monsters spawn with 20% missing life—is the safer choice. Your clear speed should ultimately determine which option you select.
Expanding Territory – Choose Based on Your Focus
The whole set of options here is fairly obvious. For basic mapping, getting additional Veridian Remnants feels pretty good. However, if you want to focus purely on farming Expedition in basic maps themselves, swapping to Expedition chance makes more sense. For Grand Expedition farming, Veridian Remnants are nice but don't proc very often. This node was mostly created for general mapping scenarios where you're just spawning basic Expeditions for yourself.
Calculated Investment – The Critical Choice
This is arguably the most impactful and interesting decision on the entire tree, with at least two viable options.
Option One gives you a 25% chance for Veridian Remnants to count as affected by Power Rune. The Power Rune upgrades all other runic modifiers on the Remnant to more powerful and rewarding variants. This can boost your loot pretty nicely when it procs, but it's definitely hit-or-miss and makes your monsters harder again since Power Rune essentially upgrades the runic modifiers.
Option Three provides increased quantity of items dropped by monsters per every runic modifier. This delivers significantly more consistent loot without the gamble. Personally, I prefer running this more stable version because it's reliable and doesn't spike your monster difficulty.
The Verdict: If you're into gambling and trying to hit something big, Option One might be better. But if you want consistent returns and don't want your monsters any harder than necessary, Option Three is the solid choice. We would need to run hundreds of maps to definitively compare which one wins out, but my initial testing suggests consistency often trumps the gambling approach.
Option Two provides experience bonuses, which simply aren't competitive for loot farming purposes.