• English USD
  • 0
  • Log In Sign Up
    Sign up to get Coupon with a maximum discount of $120
Sign up to get Coupon with a
Shopping Cart
SECURE CHECKOUT orContinue Shopping

Path of Exile 2 0.5 Gemling CoC Build Guide: Near-Infinite Blink & Comet Setup for Fast Mapping and Boss Damage

POE 2 Jul-08-2026 PST

Summary

If your current Cast on Critical build feels slow, struggles with cooldowns, or cannot consistently trigger Comet, the Gemling version offers a different approach. By combining the Gemling Ascendancy, Spark, Frost Wall, Cast on Critical, and Cast on Elemental Ailment, this setup continuously generates Freeze, Power Charges, and Comets while maintaining excellent map clear. This guide explains how to assemble the build step by step, including cooldown reduction, quality stacking, weapon swapping, gear priorities, and skill interactions, so you can reproduce the complete setup without guessing.
 

buy POE2 Currency

Part 1: Build Around Gemling's Alternate Quality Bonuses

Why Gemling Is the Core of the Build

The entire build revolves around the Gemling Ascendancy node Advanced, which grants alternate quality effects to every skill.

Several key gems benefit immediately:

Spark gains additional projectiles, increasing total damage by nearly 50%.

Cast on Elemental Ailment gains Reservation Efficiency, reducing Spirit requirements.

Cast on Critical gains additional Critical Strike Chance.

Arc receives over 200% more hit damage through its quality bonus.

Frost Wall gains up to 1,000% increased Ice Crystal Life, making it one of the strongest damage multipliers in the build.

Instead of treating these as independent upgrades, the build combines every quality bonus into one damage engine.


Part 2: Set Up Blink Before Optimizing Damage

Assign Blink to Weapon Set Two

One of the first optimizations is assigning Blink to Weapon Set Two instead of the main weapon set.

This allows you to invest Weapon Set Two passive points into Cooldown Reduction without sacrificing damage on your primary weapon.

Stack Cooldown Recovery

Lowering Blink's cooldown comes from several sources working together:

Cooldown Reduction Support Gem

Chest armour with up to 34% Cooldown Recovery when corrupted

Cooldown Recovery on Jewels

Chronomancy suffix on Boots

Optional Cooldown Recovery on Rings

An additional 12% Cooldown Reduction from a Qua Reservoir upgrade

At the time of the guide, even a 28% Cooldown Recovery three-socket Sands of Silk could be purchased for only one Chaos Orb, making this upgrade relatively inexpensive.


Part 3: Scale Frost Wall Instead of Archmage

Increase Ice Crystal Life

Rather than relying on Archmage, this build converts Frost Wall into its primary damage amplifier.

The process is straightforward:

Socket Verglass into Spark.

Scale Frost Wall through Skill Levels.

Add the Glacier Support Gem.

Increase global Skill Quality through equipment and passive nodes.

With enough investment, Frost Wall reaches roughly 644,000 Life, allowing Verglass to grant approximately 320% Gain as Extra Cold Damage whenever the wall is destroyed.

Because the build already gains enormous amounts of extra Cold Damage, Archmage becomes unnecessary, reducing overall Mana pressure.


Part 4: Automate Frost Wall, Spark, Arc, and Comet

Trigger Everything Automatically

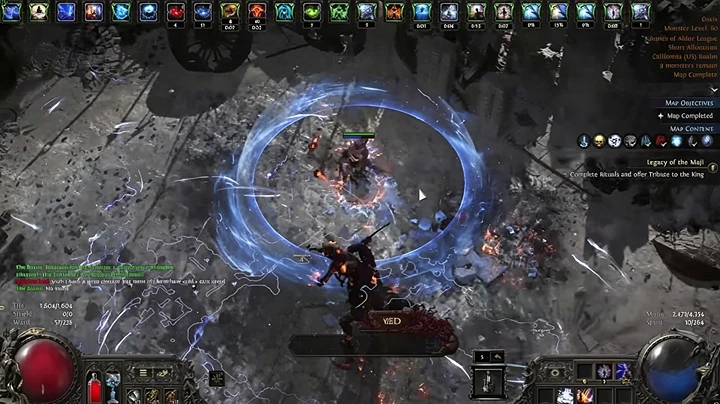
Instead of manually casting multiple skills, place Frost Wall inside a Cast on Critical setup.

Every time Spark deals damage:

Frost Wall is created automatically.

Nearby enemies are frozen.

Cast on Elemental Ailment rapidly generates Comets.

An additional Ice Nova can be linked to the same setup so every newly created Frost Wall immediately explodes, freezing nearby enemies while dealing additional damage.

Add Arc Through an Amulet Setup

A second Cast on Critical setup can be granted by an Amulet.

Insert Arc into this setup to gain:

Screen-wide clear

Off-screen monster kills

Additional Shock Magnitude

More Cast on Critical chains

More Cast on Elemental Ailment triggers

Even with the primary Comet setup disabled, Arc alone is capable of clearing entire screens because its quality grants over 200% multiplicative damage. The only real downside is a significant impact on FPS during dense encounters.


 

buy POE2 Currency

Part 5: Generate Seven Power Charges Before Every Map

Use Adonia's Ego

The recommended weapon is Adonia's Ego.

Its Pinnacle of Power grants multiplicative Elemental Damage for every consumed Power Charge.

With 7 Power Charges and a quality version of the weapon, the buff reaches roughly 119% more Elemental Damage.

Build Charges Step by Step

Before entering a map:

Equip Frost Bomb on Weapon Set Two.

Equip Firestorm on Weapon Set Two.

Cast Frost Bomb to generate Elemental Infusions.

Pick up the Infusions.

Cast Firestorm to consume them.

Reach 7 Power Charges.

Swap back automatically by casting Spark.

Activate Pinnacle of Power.

The resulting buff lasts approximately one minute.

Only keep the Weapon Set One version of Pinnacle of Power on your skill bar. Accidentally activating the Weapon Set Two version will interrupt the setup.


Part 6: Upgrade Your Gear in Priority Order

Amulet

An ideal Amulet includes:

+4 to Spell Skill Levels

Spirit

Increased Mana

Quality of All Skills

Built-in Cast on Critical or Cast on Elemental Ailment

Budget versions with +3 Skill Levels still perform well.

To obtain Quality of All Skills:

Search for an Amulet with a Desecrated Suffix.

Apply Omen of Light.

Use Omen of the Black Blood together with an Ancient Collar Bone.

Divine a 3% roll up to 5% Quality if necessary.

Finally, anoint Dominion for the permanent Archon Buff.

Helmet

Prioritize:

High Energy Shield

Double Sockets

Rarity

Raven Touch Shard

Paragon Anointment

Boots

Look for:

Movement Speed

Energy Shield

Mana

Rarity

High-tier Cooldown Recovery suffix

If purchasing is too expensive, repeatedly reroll the suffix until you obtain a strong Cooldown Recovery modifier.

Managing your POE2 Currency efficiently is important here. Expensive upgrades such as a +4 Spell Skill Amulet can wait, while inexpensive improvements like crafted Cooldown Recovery Boots, a quality Amulet, or a low-cost Adonia's Ego provide much better value during early progression.


Part 7: Stack Skill Quality Efficiently

Reach Around 21% Quality

Quality stacking affects both the alternate quality bonus and the original quality bonus of each skill.

An efficient setup includes:

Paragon: +5%

Fox Idol in the Chest: +5%

Amulet Quality: +5%

Gemling Ascendancy: +6%

This reaches approximately 21% total Quality.

For Spark, this increases both Projectile Count and Projectile bonuses.

For Comet, it increases Echo chance while also granting roughly 88% increased Damage against Frozen Enemies, making Quality one of the highest-value offensive stats available.


buy POE2 Currency

Key Takeaways

Build around the Gemling Advanced Ascendancy to maximize alternate quality bonuses.

Assign Blink to Weapon Set Two and stack Cooldown Recovery from Gear, Jewels, and Support Gems.

Scale Frost Wall with Glacier Support and Verglass instead of relying on Archmage.

Automate Frost Wall, Spark, Arc, Ice Nova, Cast on Critical, and Cast on Elemental Ailment for continuous Comet generation.

Generate 7 Power Charges using Frost Bomb, Firestorm, and Adonia's Ego before activating Pinnacle of Power.

Prioritize Skill Quality through Paragon, Fox Idol, Amulet Quality, and the Gemling Ascendancy.


Conclusion

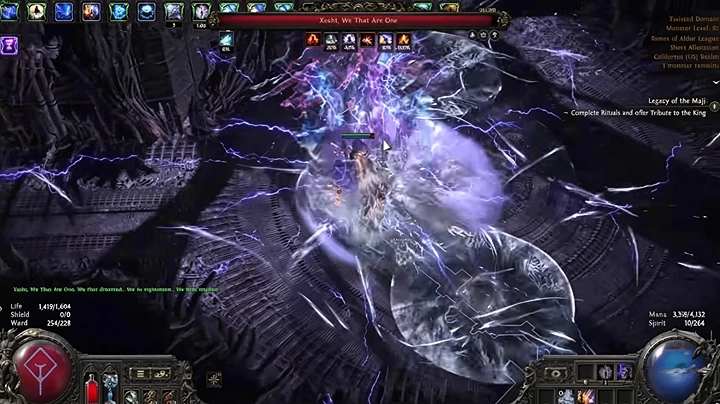
The Gemling Cast on Critical build combines multiple automated mechanics into a single combat loop. By using Spark to trigger Frost Wall, continuously freezing enemies, generating Power Charges with Frost Bomb and Firestorm, and activating Pinnacle of Power through Adonia's Ego, the build maintains exceptional clear speed while producing an almost continuous stream of Comets. Most of its damage comes from correctly combining alternate quality bonuses, cooldown reduction, and Frost Wall scaling rather than relying on a single expensive item, making each upgrade a meaningful step toward the final version of the build.