Summary
Many Path of Exile 2 players want to farm Simulacrum efficiently but struggle to balance survivability, damage, and ease of play. This guide explains how the Immortal AFK Ritualist uses Mirror of Reflection, Frostbolt, and an infinite projectile loop to automate damage while maintaining enough defenses to survive difficult encounters. It covers the complete progression from the core mechanics to gearing, passive tree choices, defensive setup, and gameplay sequence.
Part 1: Understand the Infinite Frostbolt Loop
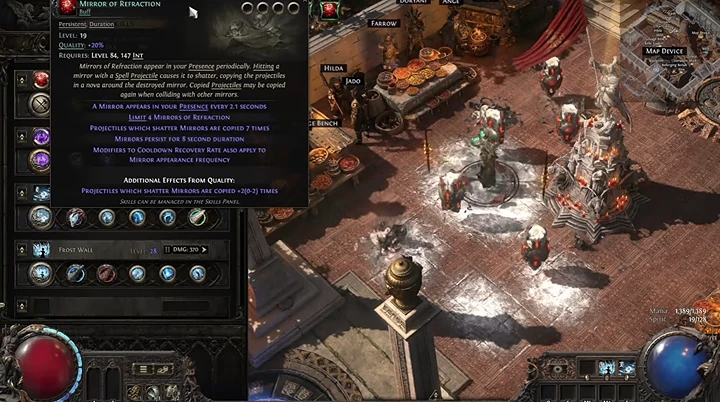
The entire build revolves around Mirror of Reflection, a skill granted by the Atziri Reflection Staff.
Mirror of Reflection continuously spawns mirrors around your character. When a spell projectile hits one of these mirrors, the mirror shatters and duplicates the projectile. With Frostbolt, each mirror copies nine Frostbolt projectiles.
The next piece of the interaction is Rithlord Algram, which causes every Frostbolt to return to your character. Instead of disappearing after travelling, the projectiles return, strike newly spawned mirrors, and create even more Frostbolts.
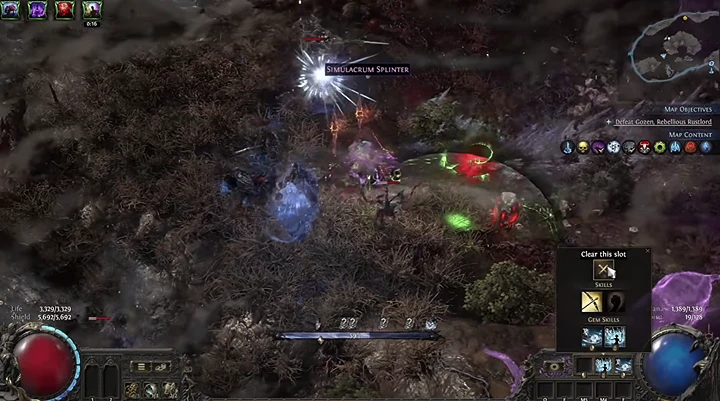
Once enough mirrors and projectiles are active simultaneously, the setup becomes a self-sustaining infinite loop. After starting the loop, no additional Frostbolt casts are normally required during the remainder of the Simulacrum.
Part 2: Build the Damage Scaling Correctly
Although the build functions automatically, its damage depends on several scaling layers.
The first layer comes from the continuously increasing number of Frostbolt projectiles generated by the Mirror of Reflection loop.
The second layer comes from Drillneck, which increases damage every time Frostbolt pierces an enemy while also increasing Critical Strike Chance. Because Frostbolt repeatedly pierces enemies before returning, Drillneck continuously scales each projectile's damage.
Projectile Speed is another important multiplier.
Higher Projectile Speed allows Frostbolt to return faster, reducing the time required to complete each loop. Faster loops create more mirrors, which generate more Frostbolts and ultimately increase total damage output.
Cooldown Recovery Rate is equally important because it reduces the Mirror of Reflection spawn interval. The default interval shown in the build is 0.8 seconds, and lowering this value allows mirrors to appear more frequently, accelerating the entire loop.
Part 3: Configure Both Weapon Sets Properly
The build relies on two weapon sets that perform different functions.
Weapon Set One is responsible for casting Frostbolt.
It uses:
Widowhail
Drillneck
When Frostbolt is cast from Weapon Set One, it snapshots the bonuses provided by Widowhail and Drillneck.
Immediately after casting Frostbolt, swap to Weapon Set Two.
Weapon Set Two is where Mirror of Reflection operates automatically. Once the loop has started, the mirrors continue spawning around your character while Frostbolt continues cycling without additional input.
This weapon swapping sequence is essential because it combines Frostbolt's offensive scaling with Mirror of Reflection's automatic projectile generation.
Part 4: Increase Frostbolt Damage Further
The build includes Frost Wall to improve Frostbolt damage even more.
Large numbers of Frost Walls provide additional objects for Frostbolt to pierce before returning.
Every additional pierce further improves Drillneck's damage scaling while also increasing the effectiveness of every Frostbolt currently travelling around the character.
Players who prefer a more active playstyle can continue manually casting Frost Wall while using Vorici's Glass Support.
Vorici's Glass grants additional Cold Damage for every Ice Crystal destroyed, allowing Frost Wall to simultaneously:
Increase Frostbolt pierces
Destroy Ice Crystals
Add extra Cold Damage
Because Frostbolt snapshots Weapon Set One, this additional damage transfers into the projectile loop without interrupting the build.
Part 5: Build Defenses Around Triple Recoup
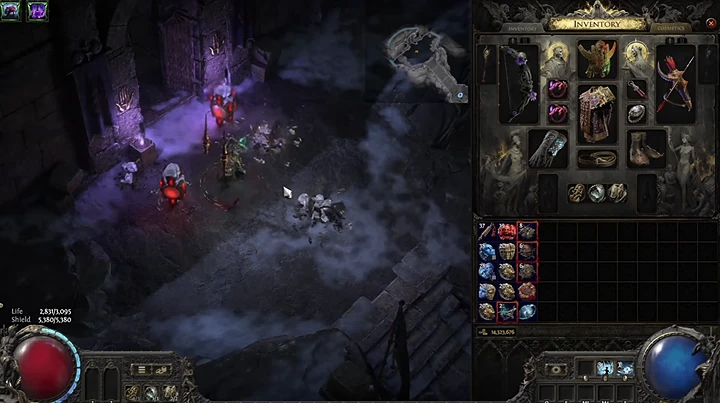
The defensive setup focuses on surviving Simulacrum through multiple layers of recovery instead of relying on avoidance.
The build uses a double curse setup:
Enfeeble
Temporal Chains
These are enabled through Whispers of Doom, reducing incoming damage while slowing enemies.
The primary defensive engine is a Triple Recoup setup.
The build combines:
Physical Damage Recouped as Life
Damage Recouped as Life
Damage Recouped as Mana
Damage Taken from Mana Before Life
Energy Shield Recoup through Sacred Flame
Damage Bypasses Energy Shield
Instead of one resource absorbing all incoming damage, Life, Mana and Energy Shield share the damage taken, making recovery much more stable during long Simulacrum encounters.
Sacrifice of Flesh further lowers incoming hit damage, increasing overall survivability.