Summary
This meta trampler build is currently the most reliable setup for solo and duo play in Raiders of Sophie’s Sand mode. Built around the Middling chassis with strict weight optimization, this mid-tier layout delivers near-unstealable ship protection, balanced offensive firepower, and forgiving repair mechanics. Costing 1,355 crowns with 3,550 mechanical value, it avoids over-engineering while eliminating common player vulnerabilities. This guide covers core defensive tech, step-by-step block layout, optimal combat loadouts, respawn safety tricks, and proven PvP strategies for consistent high-value raid loot, while also showing how SAND: Raiders of Sophie Crown fits into efficient progression and build optimization.
1. Core Build Foundation & Unbreakable Defense Tech
The build’s core strength relies on a game-changing small engine defensive technique that secures the captain’s compartment. Enemy players require a 10-second interaction at the captain’s black box to steal a trampler, but the small engine creates a physical airlock barrier. Extensive in-raid testing confirms multiple C4 explosives cannot bypass or quickly destroy this setup, making the ship nearly unstealable in standard PvP encounters.
Players must fix a critical respawn bug before raiding. The default spawn point locks to the captain’s compartment, which becomes trapped behind the engine block. Always reset your spawn bed to one of the dual crew cabins to avoid getting stuck with no escape after dying.
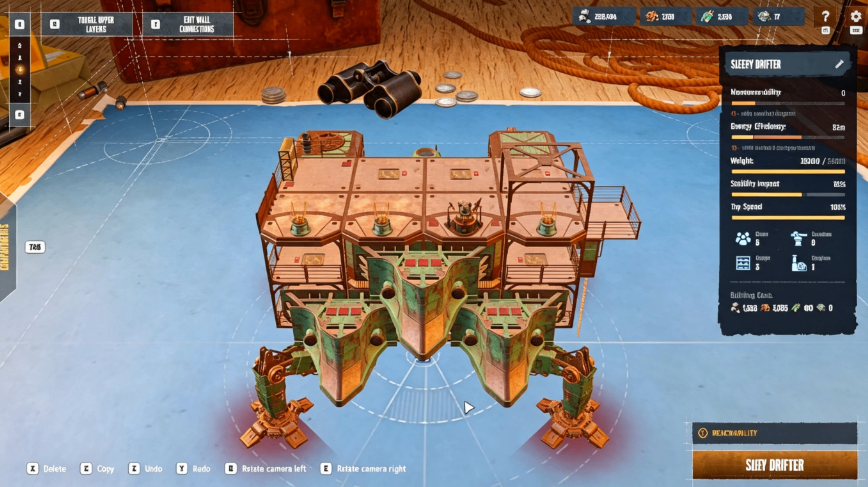
The 4x3 wide Middling chassis pairs perfectly with a flush-mounted 2x2 reactor boasting 9,500 HP. Flush placement eliminates side exposure, limiting enemy damage angles to only the rear of the ship for maximum reactor safety.
2. Layered Block Layout & Structural Protection
Frontline defense uses dual stacked 7,000 HP cargo bay parallels. This double-layer wall forces enemies to destroy two heavy barriers before reaching the reactor, vastly extending raid defense time. Unlike basic blocks, cargo bays require reactor shutdowns and repair kits to fully fix after heavy damage.
Battering rams cover the forward exterior as a low-maintenance defensive layer. They feature three repairable metal patches that players can fix anytime with a handheld tool, no reactor shutdown required. This design enables quick field repairs during active PvP fights.
A tier 2 Armament Workshop adds two-story vertical protection, covering the reactor’s full height. Most beginner builds fail here by skipping second-floor coverage, letting enemies shoot the reactor directly from mid-range. Full vertical blocking eliminates this common exploit.
Custom ladder and balcony placements prevent enemy mantle jumps onto the upper deck. Standard railed balconies create oversized jump gaps, fully blocking enemy boarding attempts from ground-level ladders.
3. Optimized Turret & Steering Wheel Setup
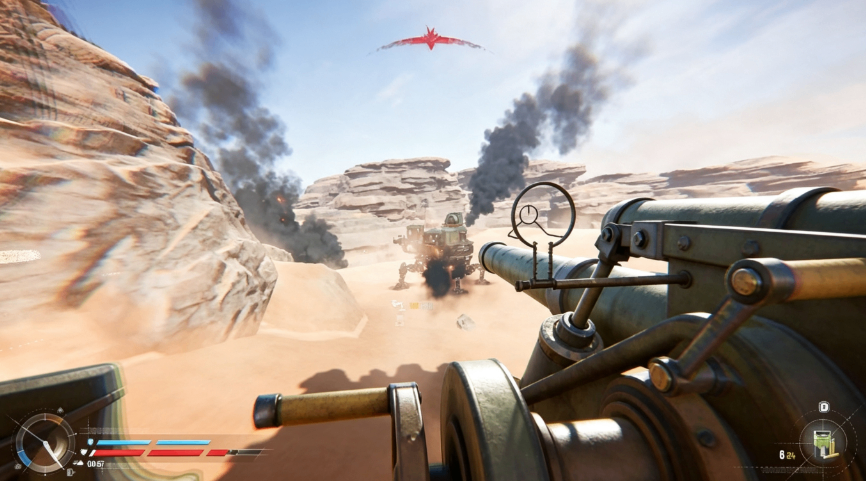
Weight constraints on the 35,000-lb Middling chassis demand precise turret choices. Armored turret decks are prioritized over frame variants, surviving four 80mm shots compared to three from standard frames.
The tier 1 fly bridge is mandatory for reliability. It only has three repairable metal patches, faster to fix than the tier 2’s four patches. Fewer repair points reduce downtime and prevent repeated splash damage interruptions during hectic PvP trades.
Weapon placement follows competitive meta logic: 70mm turrets on the left for amplifier buffs, 40mm near the steering wheel for quick access, and 80mm on the right for stable long-range fire support.
4. Meta Solo & Duo Raid Loadout Breakdown
This build pairs best with a balanced mid-tier player loadout for consistent raid success. Primary weapons include an MA2 rifle for armored targets and a Peppermill shotgun for close-quarters boarding defense. Rare FMJ ammo prioritizes one-shot headshots against geared opponents, while standard ammo reserves handle zombie trash mobs.
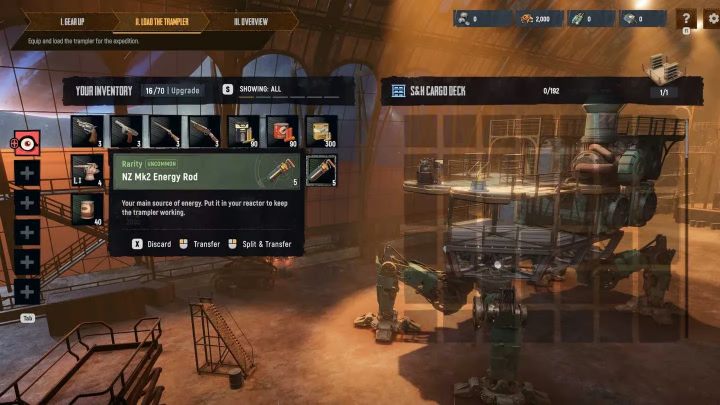
Utility items focus on survivability and flexibility. Med kits, energy rods, contact grenades, and spare C4 cover all scenarios. C4 acts as a vital backup strategy, letting players hijack enemy tramplers if their own ship gets destroyed.
Food management is critical for fast respawns. Stock five food units in every compartment and 20 reserve units in storage. Fully stocked compartments cut respawn time from one minute to just 10 seconds, preventing downtime during enemy pushes.
On-board storage organizes worn 40mm, 70mm, and 80mm cannons with stacked ammo reserves, smoke shells for vision control, and essential repair tools for sustained raid longevity.
5. Pro Gameplay Tips & PvP Strategies
Always block off unnecessary interior openings and add hatches above the reactor. Multiple interior pathways let players reposition quickly if enemies board the ship, creating counterplay opportunities.
Avoid aggressive terrain collisions with hills or rocks. Battering rams suffer reflected splash damage on steep terrain, which can destroy interior doors and structural blocks.
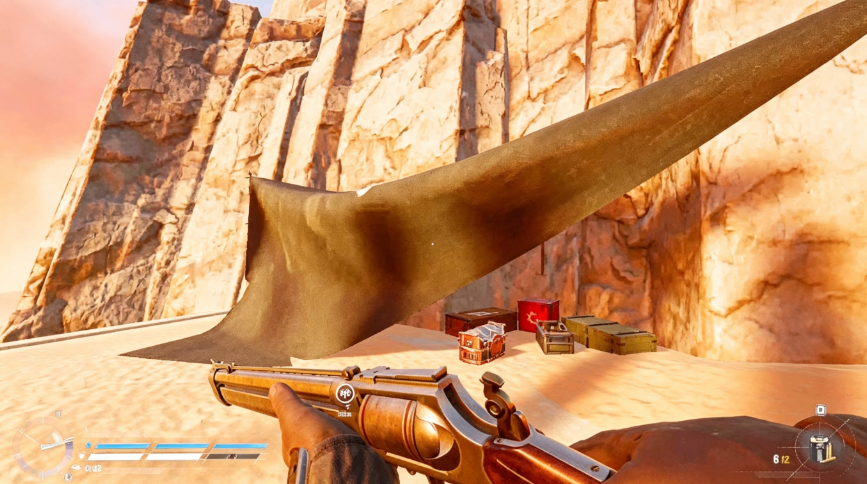
Late-circle loot priority targets black tarp zones in the final two storm circles. These zones spawn high-tier experimental and pristine cannon loot, the core source of end-raid profit.
Final Verdict
This optimized Middling chassis trampler build defines the current Sand mode meta for solo and duo players. Its unstealable engine compartment tech, layered defensive blocking, low-cost mid-tier parts, and reliable repair mechanics outperform common Grumpy chassis setups. With disciplined loadout management and smart PvP positioning, this setup delivers consistent loot gains, strong boarding defense, and massive survivability in late-storm fights, cementing its status as the best all-around raid build for casual and competitive players. For players looking to further optimize their loadouts and accelerate progression, knowing where to buy SAND: Raiders of Sophie Crown can provide additional flexibility when upgrading equipment and preparing for high-value raids.