Summary
Building a strong Trampler in SAND: Raiders of Sophie is about more than maximizing firepower. For solo and duo players, your vehicle needs to survive focused attacks, protect the reactor, prevent enemies from reaching the captain's compartment, and remain practical to repair during a raid. This build uses the Middling chassis and focuses on efficient weight management, layered defenses, protected storage, and accessible weapons. To secure the best parts faster, buy SAND Raiders of Sophie Crown and unlock premium gear and boosts for your Trampler.
Choose the Middling Chassis
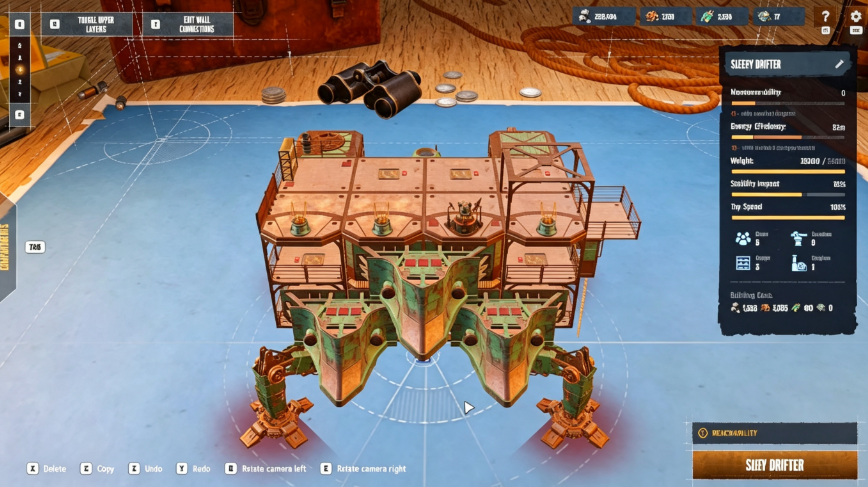
The foundation of the build is the Middling 4x3 chassis, which provides a 35,000-pound weight limit. The wider configuration works particularly well with a 2x2 reactor because it gives you room to protect the reactor from multiple directions.
The build costs roughly 1,355 crowns and is designed around Tier 2 components.
Position the Reactor Correctly
Start by placing the 2x2 reactor, which has 9,500 HP.
Keep the reactor flush with the Trampler rather than allowing it to stick out from the chassis. A protruding reactor creates additional angles for enemies to shoot it from the side.
The front and sides should receive the strongest protection. The rear remains the most vulnerable area, so avoid exposing additional reactor surfaces unnecessarily.
Protect the Captain's Compartment
One of the most important parts of this build is protecting the captain's compartment.
If an enemy reaches the black box inside the captain's compartment, they can steal your Trampler extremely quickly. The build therefore uses a Tier 1 captain's compartment combined with a small engine.
Use the Small Engine as a Defensive Barrier
Place the small engine directly in front of the captain's compartment.
Besides providing 21 maneuverability, its primary role in this setup is defensive. The engine blocks the direct route into the captain's compartment and effectively creates an additional barrier that an enemy must pass through.
Orient the engine so its usable pipe faces toward the reactor-side door.
This arrangement makes the captain's compartment much harder to access during an attack.
Change Your Spawn Point Immediately
There is one critical setup step you should never skip.
Your bed initially defaults to the captain's compartment. Because the small engine blocks this area, spawning there can leave you trapped.
Set your bed to one of the crew compartments before entering a raid. This gives you a usable respawn point and prevents the defensive layout from becoming a liability.
Build Two Layers of Reactor Defense
The reactor is two floors high, so your protection should also extend across two floors.
A common mistake is building a heavily protected first floor while leaving the second floor exposed. That gives enemies a direct line of fire toward the reactor.
Add Side and Upper Protection
Place the Tier 2 Armament Workshop above the captain's compartment and small engine. It provides 3,500 HP while also giving you a useful crafting area.
On the opposite side, use crew cabins and supporting frames to create additional protection around the reactor.
The goal is simple: remove direct lines of fire to the reactor from as many angles as possible.
Reinforce the Front
Use two Cargo Bay Parallels, one on the bottom and one above it, as the main front defense. Each has 7,000 HP.
This forces attackers to destroy the cargo bays before reaching the reactor.
Supporting frames can then be added around the front to create another layer of protection.
Remember that damaged cargo bays require a repair kit and require the engine or reactor to be shut down for repairs, so don't rely on them as your only defensive components.
Use Battering Rams for the Front
The front of the Trampler should use battering rams.
One major advantage is repairability. Unlike cargo bays, battering rams can be repaired using the repair tool and their metal patches.
This makes them particularly useful during extended fights when you need to restore your vehicle without committing to a full shutdown.
However, be careful when driving over rough terrain. Steep hills and rocks can cause the battering ram to take significant damage and potentially damage doors and other components behind it.
Optimize Your Weapons and Steering
The top of the Trampler should contain your weapon platforms and steering wheel.
For this weight-limited build, use:
Two armored turret decks
One frame turret deck
Tier 1 fly bridge
Your preferred cannons
Why Use the Tier 1 Fly Bridge?
The Middling chassis has a 35,000-pound limit, so a Tier 2 fly bridge can push the build over its weight budget.
If you want to use the Tier 2 version, you can replace the armored turret decks with frame turret decks to save weight.
The tradeoff is durability. Armored turret decks can withstand more incoming fire, making them preferable when your weight budget allows.
The Tier 1 steering setup also has fewer repair points, which makes it faster to restore after taking damage.
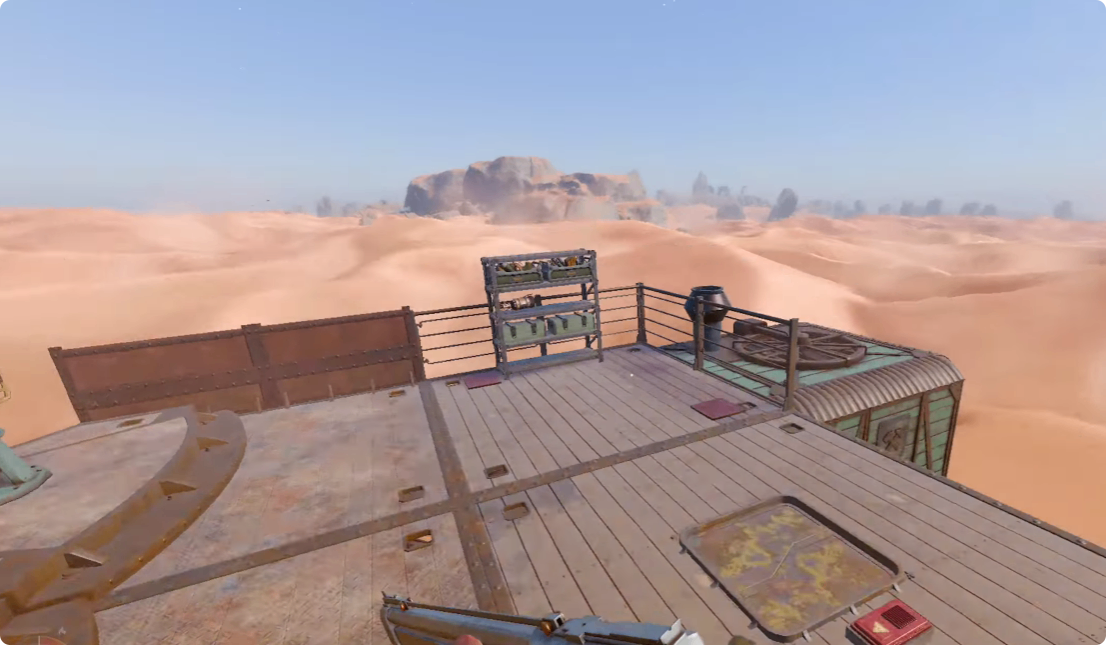
Organize Your Storage Before the Raid
Good storage organization can save valuable time during combat.
Place a Cargo Deck Light on the side of the Trampler and use its shelf as your organization box.
Keep your cannons and ammunition together so you can quickly equip a weapon when a fight begins.
Recommended Raid Supplies
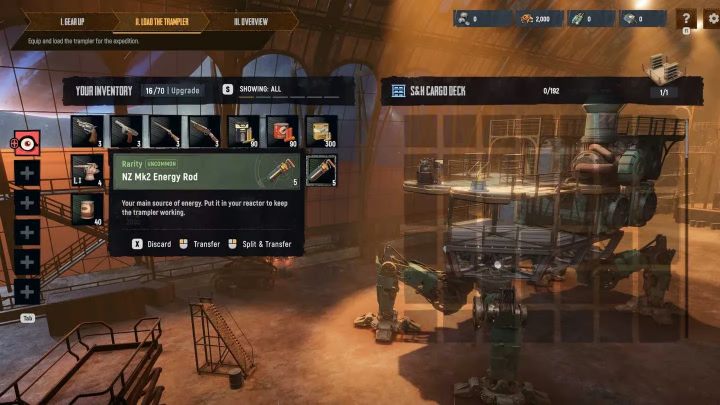
For the character inventory, the build recommends:
MA2 rifle
Peppermill shotgun
Body armor
FMJ ammunition
Shotgun ammunition
Energy rods
Med kits
Contact grenades or C4
FMJ ammunition is particularly useful against armored targets, while contact grenades can help against enemies and red doors.
C4 is also worth carrying because it can become a last-resort tool for attacking another Trampler.
Use Food to Improve Respawns
Food is an important part of the build.
Without food stored in your compartments, respawn time can become significantly longer. With food available, the respawn can be reduced to around 10 seconds.
Place food across multiple compartments rather than keeping everything in one location.
A simple setup is to keep several food items in each usable compartment and additional food in your resupply box. This ensures that losing one compartment does not eliminate your ability to respawn quickly.
Prepare Your Cannons Efficiently
For this mid-tier setup, the recommended weapons are a worn 40mm, worn 80mm, and worn 70mm.
Pristine versions can be substituted when available.
Keep extra ammunition in your storage box and load the cannons before entering combat. Smoke shells are particularly useful because they can obscure the enemy's vision and create an opportunity to reposition or repair.
Position the cannons so they are easy to access from the steering area.
Seal Every Unnecessary Opening
Doors and hatches are not just conveniences. They can control how quickly an enemy moves through your Trampler.
Close Off Internal Gaps
Make sure every usable compartment has appropriate doors or hatches.
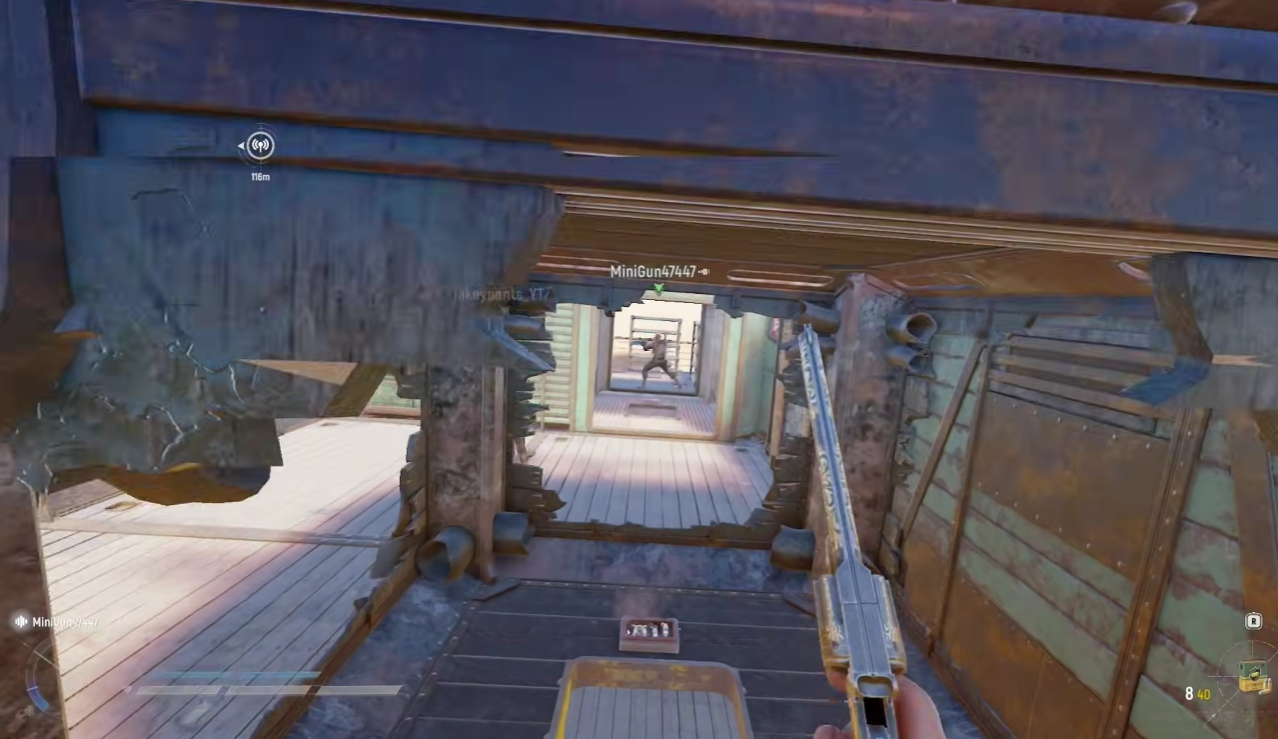
Avoid leaving open spaces between compartments. An attacker who enters your Trampler should be forced through multiple controlled access points rather than being able to move freely through the entire vehicle.
Use reactor hatches to make repairs easier during combat, while keeping unnecessary openings closed.
Block the Ladder Route
A ladder can provide enemies with an unexpected route onto your Trampler.
Use a standard balcony with rails near the ladder to prevent opponents from simply climbing up and jumping onto the ship.
This small structural change can eliminate an otherwise easy entry route.
Raid Strategy for Solo and Duo Players
Once the Trampler is prepared, your goal should be to control engagements rather than blindly chase every player.
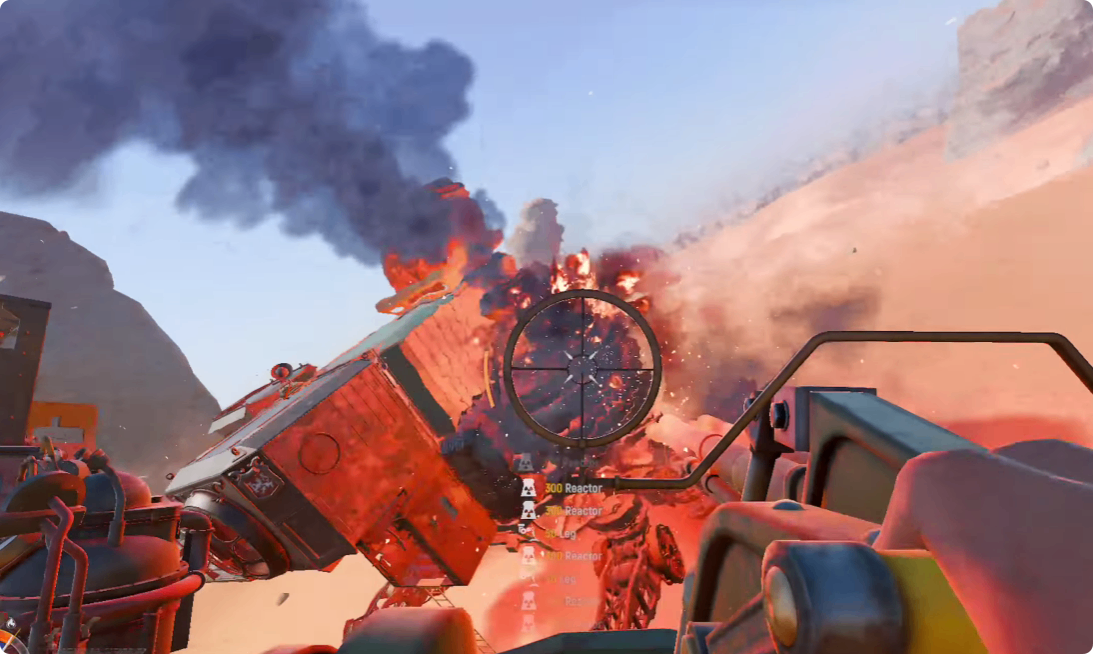
Approach fights carefully and look for opportunities to disable an opponent's mobility before focusing on their reactor.
If another player is already fighting someone else, avoid exposing yourself unnecessarily. Sometimes the safest strategy is to wait until the fight reaches its final stage and then engage when the opponent is vulnerable.
After eliminating a player, briefly retreat and scan the surrounding area before looting. This reduces the chance of being caught by another player while your attention is on the loot.
Loot the Final Circles
The final circles can provide some of the best opportunities for valuable loot.
Black tarp locations can open during the final two circles, revealing buried loot. These areas can contain valuable equipment, including potentially high-quality cannons.
Keep your Trampler positioned safely while looting, and always maintain access to your weapons and repair supplies.
Final Build Checklist
The core philosophy of this solo/duo Trampler is layered defense without wasting weight.
Prioritize:
1. Middling 4x3 chassis
2. Protected 2x2 reactor
3. Captain's compartment blocked by a small engine
4. Separate respawn bed
5. Two-story reactor protection
6. Cargo bay front armor
7. Battering ram front defense
8. Accessible armored turrets
9. Organized cannon and ammunition storage
10. Multiple doors and hatches
11. Food distributed across compartments
12. Repair kits and emergency supplies
The result is a compact Trampler designed to survive PvP pressure while remaining practical for solo and duo raids. Most importantly, every defensive component has a purpose: protect the reactor, slow enemy access, preserve your ability to respawn, and give you enough time to repair and fight back. With SAND Raiders of Sophie Crown, you can unlock exclusive gear and customization to further optimize your Trampler.