Summary:
SAND: Raiders of Sophie features massive Trampler battles where survival depends on smart targeting, repairs, positioning, and boarding tactics. This guide explains how to drive Tramplers, choose the best weapons, defeat enemy machines in SAND: Raiders of Sophie Crown, and dominate PvP and PvE encounters.
SAND: Raiders of Sophie Trampler Combat Overview
Trampler battles in SAND: Raiders of Sophie are not traditional shooter fights. These massive walking machines are slow-moving fortresses where every decision matters. Instead of quickly eliminating enemies with precise gunplay, players must manage mobility, repair systems, weapon positioning, and crew actions.
Many new players lose Trampler fights because they focus only on dealing damage. However, victory comes from controlling the battlefield, destroying key systems in the correct order, and knowing when to abandon a gunfight and board an enemy ship.
A successful Trampler pilot understands that these battles are long wars of attrition. The player who manages resources, repairs damage, and chooses the right moment to strike will usually be the last one standing.
How to Drive a Trampler in SAND: Raiders of Sophie
Before entering combat, players must understand how to operate their Trampler properly. After your airship drops you onto the desert battlefield, the machine engine will remain inactive until you manually activate it.
To start the Trampler:
Find the chimney located on the main or upper deck.
Locate the power switch underneath the chimney.
Hold the interact button to activate the engine.
Move to the steering wheel and begin controlling the machine.
The basic controls are simple but important:
Forward movement: Tap movement controls once for slow speed or twice for faster movement.
Reverse: Hold backward movement until the Trampler starts moving in reverse.
Steering: Use small movements for normal turns and stronger inputs for sharper direction changes.
Sidestep: Useful for avoiding enemy fire and adjusting combat positioning.
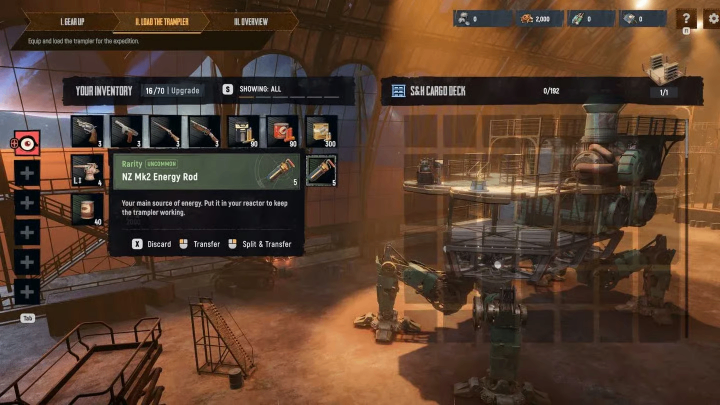
Energy management is another major part of Trampler gameplay. The engine power lasts around 10 to 12 minutes, meaning players should always carry NZ MK2 Energy Rods.
A smart habit is turning off the engine whenever you stop to loot. The smoke from your chimney can reveal your location across the desert, making you an easy target for enemy players.
Best Trampler Cannon Loadout for PvP Combat
Every Trampler cannon has a different purpose, and choosing the wrong combination can quickly lead to defeat.
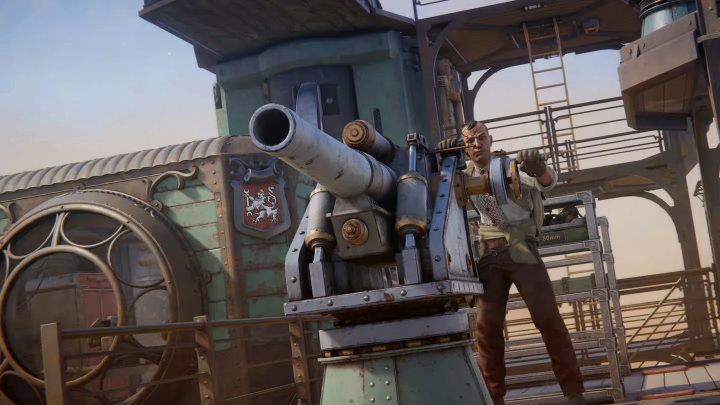
80mm Cannon – The Finishing Weapon
The 80mm cannon is the heavy damage option. It fires a powerful shell that can deal massive damage but has a slower reload speed.
This weapon works best as a finishing tool. Instead of wasting shots early, save it for destroying critical systems or finishing a weakened enemy Trampler.
40mm Cannon – The Main Damage Dealer
The 40mm cannon is the most reliable weapon in Trampler battles.
Advantages:
Continuous firing capability
Good range
Strong sustained pressure
However, it can overheat if players hold the trigger too long. Short controlled bursts are much more effective than constant fire.
70mm Cannon – Anti-Crew Specialist
The 70mm cannon is weaker against enemy Tramplers but excellent for eliminating crew members.
Its wide spread makes it useful during close-range boarding situations where killing enemy operators becomes the priority.
For most players, the best setup is combining:
40mm cannon for consistent damage
80mm cannon for finishing attacks
Mounting these weapons on different sides of the Trampler ensures you always have a weapon facing your opponent.
For personal weapons, dual grey revolvers are a strong PvP choice. They provide fast reloads and allow players to switch weapons instantly during dangerous moments.
Correct Trampler PvP Target Priority
One of the biggest mistakes new players make is attacking randomly. Shooting every part of an enemy Trampler spreads damage without actually winning the fight.
The correct destruction order is:
1. Destroy the Legs First
The legs are the most important target.
Breaking enemy mobility removes their ability to:
Escape
Flank
Reposition effectively
A damaged Trampler becomes slow and predictable, allowing you to control the engagement.
2. Destroy Enemy Cannons Second
After limiting movement, remove their ability to fight back.
A Trampler with damaged legs can still destroy you if its weapons remain operational.
3. Destroy the Reactor Last
The reactor is the final objective.
Destroying it:
Wrecks the enemy machine
Stops enemy respawns
Opens opportunities for stealing the Trampler
However, destroying the reactor does not automatically end the battle. The captain can still survive and attempt extraction or steal your vehicle.
You must eliminate the captain afterward.
While attacking, always protect your own reactor. Experienced players will aim directly for this weak point.
Why Repairs Decide Trampler Battles
Offense alone does not win Trampler fights. Repairs often determine which player survives.
During combat, players should constantly use the multi-tool to repair:
Pipes
Armor plates
Circuit boxes
Reactor systems
Damaged legs
Leg damage is especially dangerous because it reduces mobility. A slow Trampler becomes an easy target.
Many battles end with two heavily damaged machines slowly circling each other. The winner is usually not the player who dealt the most damage early, but the player who repaired more efficiently.
Never wait until your Trampler is almost destroyed before repairing.
How to Board and Steal Enemy Tramplers
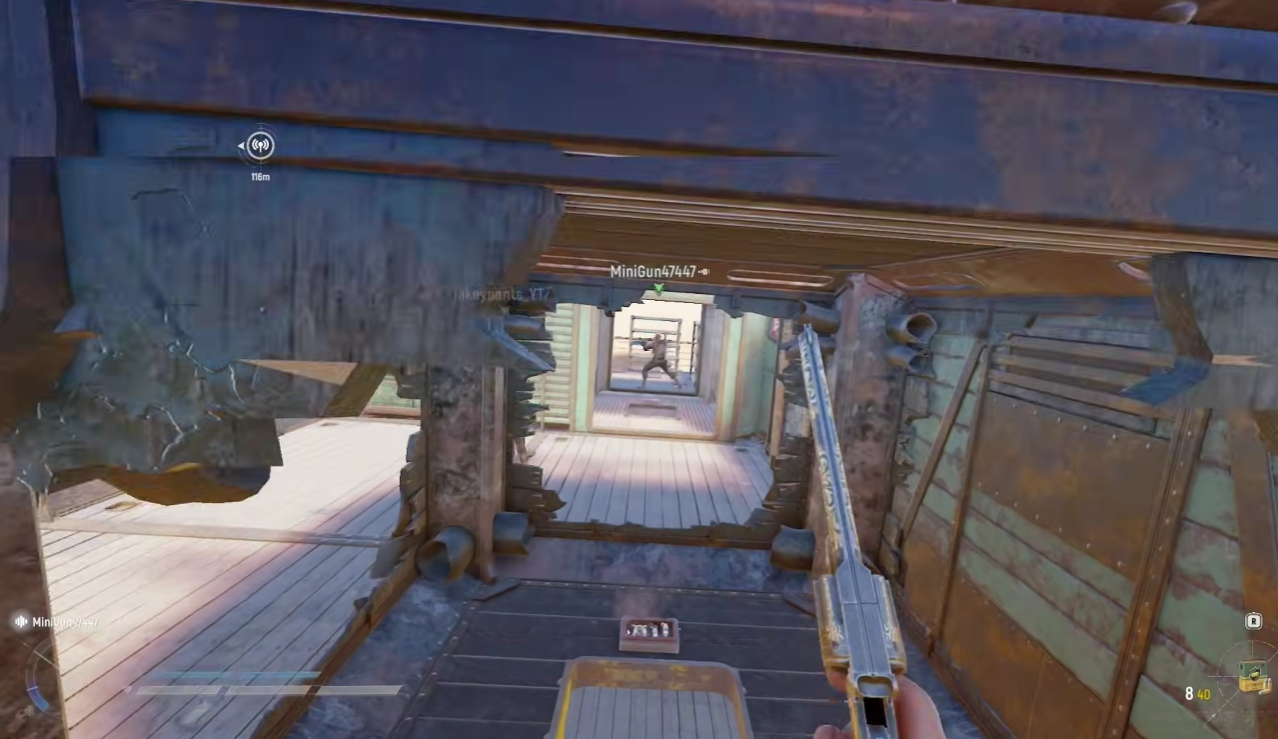
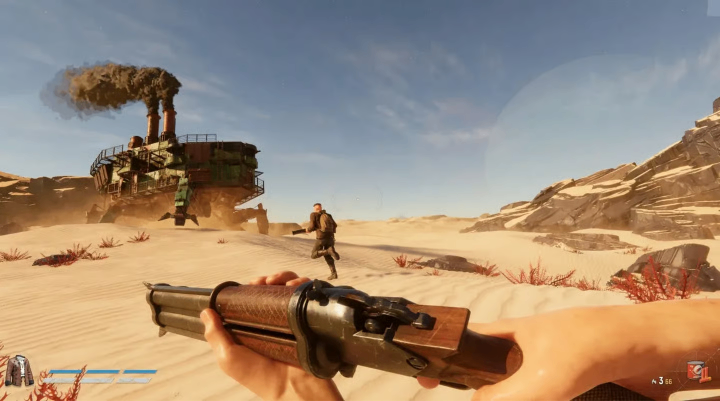
One of the most powerful strategies in SAND: Raiders of Sophie is boarding.
When an enemy Trampler becomes weak, stop exchanging cannon fire and push aggressively.
The boarding process:
Drive your Trampler into the enemy machine.
Enter the captain’s cabin.
Interact with the terminal on the table.
Take control of the enemy Trampler.
Stealing an enemy machine provides several advantages:
You gain their cargo.
They lose access to their vehicle.
Their respawn ability is removed.
Their doors become locked.
At this stage, you only need to eliminate the remaining captain.
Explosive tools such as time bombs and C4 are extremely useful because they can destroy:
Doors
Cannons
Control areas
After destroying a Trampler, remember to collect the black box from the reactor wreck. It can be sold for valuable rewards back at your base.
Best Trampler Builds for Solo and Squad Players
Your Trampler build should match your playstyle.
Solo Trampler Build
Solo players should prioritize speed and flexibility.
Recommended setup:
Lightweight armor
Booster module
40mm or 80mm cannon
Keep important systems close together:
Wheel
Reactor
Weapons
This allows one player to manage everything efficiently.
The ideal solo strategy is hit-and-run:
Attack quickly
Deal damage
Loot resources
Escape before becoming surrounded
Squad Trampler Build
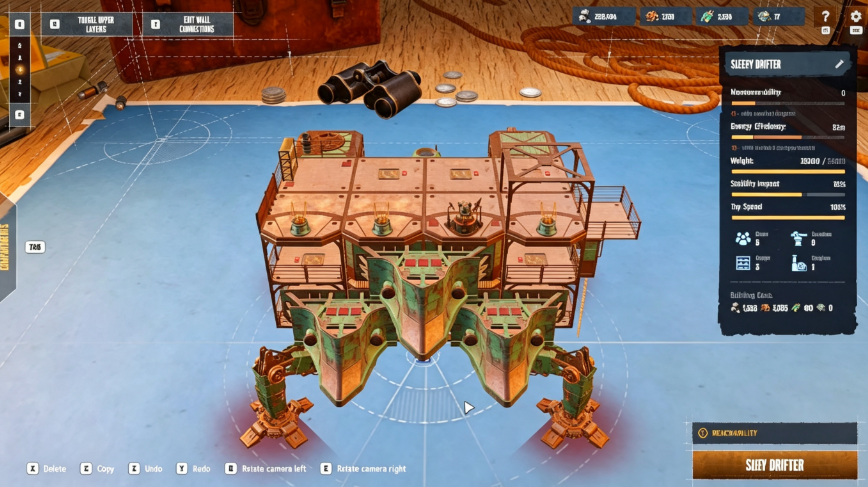
Groups can transform a Trampler into a moving fortress.
Recommended upgrades:
Heavy armor
Extra crew rooms
Defensive turrets
Protected reactor placement
Team coordination is extremely powerful.
A strong squad can divide responsibilities:
Players controlling cannons
Players repairing systems
Players boarding enemy ships
A coordinated crew can defeat stronger enemies before the fight even begins.
Using Desert Terrain During Trampler Battles
The desert environment is not just decoration. Terrain can completely change the outcome of combat.
Smart positioning allows players to:
Force larger Tramplers uphill
Slow enemy movement
Create shooting advantages
However, careless driving can cause problems. Moving too quickly into steep dunes or rocks can damage your machine and leave you vulnerable.
Successful Trampler pilots always read the terrain before committing to a position.
PvE Trampler Threats and Enemy Encounters
Not every battle involves another player.
NPC Tramplers are easier targets and usually require around four or five 80mm shots to destroy. They can drop valuable rewards including:
Fuel rods
Alloys
Repair kits
Players should also watch for Ironclad robots that appear when eye beacons activate on the map.
These enemies are difficult to escape from, so players should either:
Stay outside their attack range
Commit fully to destroying them
Some wreck locations also contain zombies carrying weapons. Their accuracy can surprise careless players, so never enter abandoned areas without preparation.
Extra Survival Tips for SAND: Raiders of Sophie
Small decisions can create huge advantages during exploration.
Always pick up a shovel when possible. Although it is a one-use item, digging in specific locations can reveal rare resources and equipment unavailable through normal looting.
Players who are busy collecting resources are also excellent targets. Catching another player while they are looting creates a perfect opportunity because they are distracted and likely carrying valuable items.
However, aggressive hunting carries risks. Always consider whether the reward is worth exposing your own position.
Final Thoughts
Trampler combat in SAND: Raiders of Sophie rewards strategy more than raw firepower. The strongest players understand that winning requires careful movement, smart weapon choices, constant repairs, cheap SAND: Raiders of Sophie Crown, and tactical boarding decisions.
Whether you prefer solo raids or large squad battles, mastering Trampler mechanics will dramatically improve your survival rate in the desert. Control the battlefield, destroy enemies in the correct order, and turn every damaged machine into your next opportunity for victory.