Summary
Pestilent Swarm appears to be the strongest build in Season 14, achieving the highest Pit clear at 142. It offers exceptional mobility, massive damage output, and versatile performance across all content. This build is not just for pushing-it works for Hell Tides, bosses, Undercity, and War Plan activities. This guide covers everything needed to get this build running: gear requirements, skill rotation, aspects, paragon boards, and playstyle tips. While the build shines in the endgame, it requires specific pieces to function optimally.
Part 1: Build Overview
Why Pestilent Swarm Is the Best
The build combines several factors that make it dominant:
Highest Pit clear at 142, beating the second-best class by approximately four tiers
Great mobility through Rushing Claw dashing
Serious damage through poison damage over time
No mythic required-the build works without any mythic uniques
Versatile for all content types
Key Requirements
The build has specific requirements to function properly:
Ravager Ranks: This is the most important requirement. At 29 ranks of Ravager, the Ferocity increased by four. Rushing Claw's last charge refills five charges by consuming four Ferocity stacks. Without this, only three Ferocity stacks are available, preventing permanent mobility.
Counter Attack of the Swarms: Main damage source. Sends out three Pestilent Swarms that deal poison damage. The ring makes them orbit around the player.
Required Aspects: The build needs specific aspects on the helm, ring, and gloves to scale Pestilent Swarm damage. Without these, damage is significantly reduced.
Part 2: Skill Rotation
The build is simple to play and revolves around maintaining buffs and dashing constantly.
Core Rotation
Hold Rushing Claw - Dashes through enemies, dealing damage and providing mobility
Maintain Toxic Skin - Provides 230 armor and weakens enemies. Keep this active at all times
Press Counter Attack - Main damage source, sends out Pestilent Swarms
Press everything else off cooldown - Ravager, Scourge, and Devourer should be pressed whenever available
Important Details
Rushing Claw: This is the primary mobility tool. It functions like a teleport but requires an enemy target. The range is high enough to dash between packs consistently.
Devourer: Try to keep this active for a 20% increased poison duration. Against elites or bosses, press it directly on the target for 50% increased poison damage.
Vortex: Triggered through the rune system by using War Cry. Pulls enemies together for better swarm clear.
Concussive Storm: Triggered through Thick Hide. Increases damage when using a mobility skill.
Numb-locking: The rotation can be automated by using num-lock if desired. Otherwise, hold Rushing Claw and press other skills off cooldown.
Part 3: Gear and Aspects
Spirit Hall Choices
Gorilla, as the primary spirit hall, provides a shield when casting any gorilla skill. Since all skills become gorilla skills, casting everything generates shields.
Eagle, as the secondary spirit hall, grants vulnerable damage. With Harmony of Amu Walker, skills deal 39% increased damage per spirit type they have. With a gorilla, a centipede, and an eagle, this multiplier applies three times.
Gear Priorities
Helm: Focus on maximum life. Use the Clean Anvil aspect for survivability and +2 maximum resource, bringing the base resource from 8 to 10.
Chest: Dexterity, maximum life. Masterwork everything in life for survival.
Gloves: Get as many damage multipliers as possible with dexterity. Masterwork vulnerable to damage over time. Use the Pestilence aspect.
Boots: Dexterity, maximum life, armor, movement speed. Use the damaging aspect.
Weapon: Maximum life. The infestation aspect is very important-triple damage.
Amulet: Plus, all skills are crucial for reaching 29+ Ravager ranks. This also increases Counter Attack damage. Use the Supremacy aspect for more damage. Transfiguration is important-get 8 stacks of Resolve when casting defensive skills. At 10 Resolve stacks, Counter Attack deals 225% more damage. If resolve drops to 7, damage drops significantly.
Ring: Damage multiplier, damage over time. Use the Insatiable Jungle aspect for 45% increased damage.
Talismans
Watley's Grace: Best for speed farming, providing more mobility.
Balazon's Bite: For pushing, but Watley's Grace is superior for general play.
Talisman Modifiers: Aim for a gorilla or an eagle to increase Ravager and Counter Attack ranks. Jaguar and centipede do not work for this setup.
Protean Heart: Doubles dexterity, providing massive damage scaling.
Important Note on Mythics
Amu Walker is ideal but not required. It can be gambled from the cube using any unique helm. The ring does not need to be mythic. Without a mythic Amu Walker, the build still works but with slightly less damage.
Part 4: Paragon Boards
The Paragon boards focus on maximizing damage and movement-based bonuses.
Convergence: 60% more damage.
Fester: More damage.
Drives (Legendary Node): Critical-requires constant movement to proc. This is why the build must constantly dash through enemies. Standing still loses the bonus.
Cunning: More damage.
Revealing: Damage increase, double damage against crowd-controlled enemies.
Bane: More damage.
Medicines: Damage on the Paragon board.
Consumption: Pestilent Swarm damage, the build's main damage source.
Glyph: The glyph is not shown in detail, but the build uses the glyph that provides pestilence swarm damage.
Part 5: Mercenary and Runes
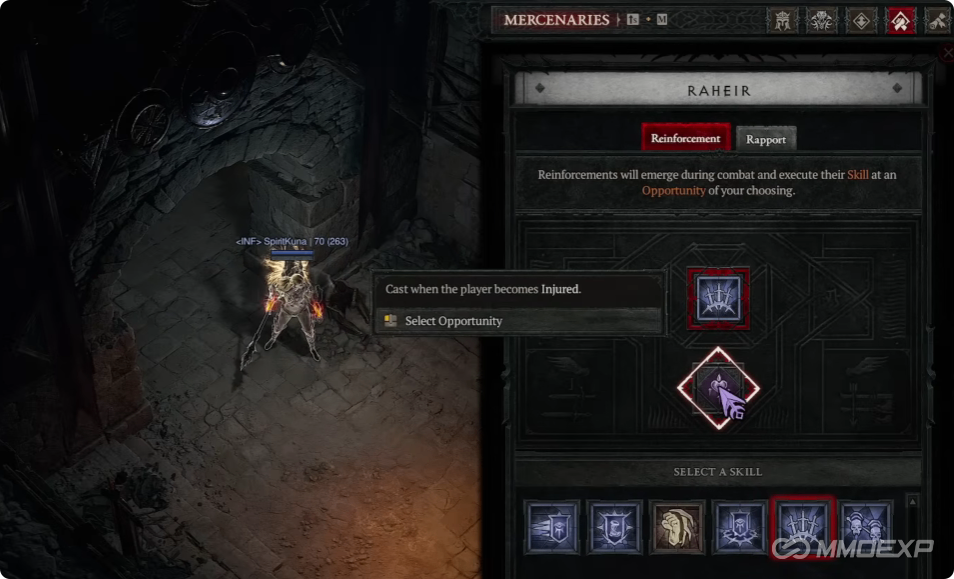
Mercenary
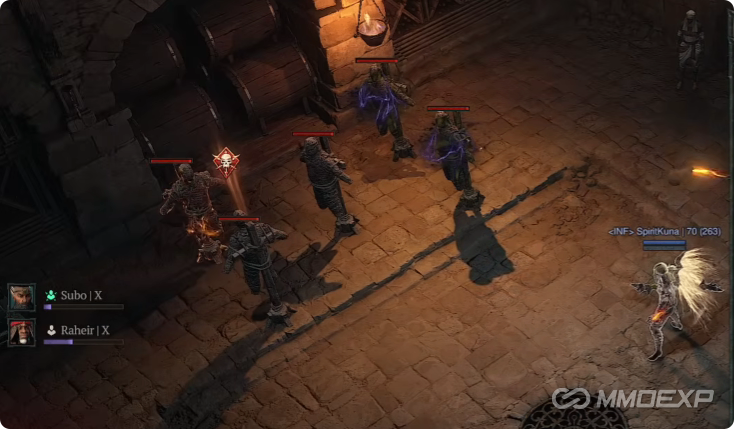
Subo is recommended for speed farming. Scorch Heart provides 30% damage over time for 3 seconds. Since the build only deals damage over time, this is very strong.
Raheir is better for pushing due to increased toughness.
Runes
War Cry triggers Vortex, pulling enemies together
Thick Hide triggers Concussive Storm, increasing damage
Part 6: Playstyle Tips
Constant Movement
This build requires constant dashing. Standing still reduces damage significantly. Dash through enemies, let poison kill them, and keep moving.
Bosses
Against bosses, dash in and out. The poison damage will melt them quickly. Press Devourer directly on the boss for the 50% poison damage increase.
Speed Farming
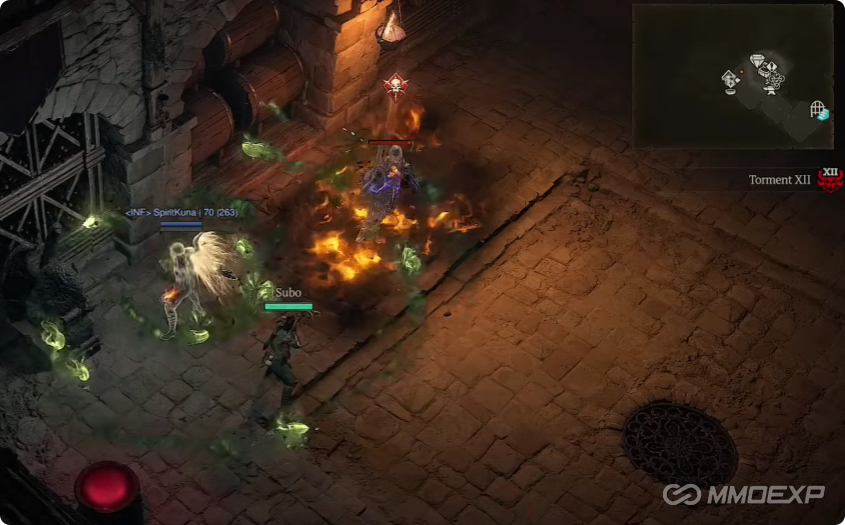
The build excels at speed farming. Even with the Hell Tide maggot farm, dashing through enemies and letting poison kill them works efficiently. A Pit 120 clear takes 1-2 minutes depending on layout and elite density.
Building Up
Even with glyphs around level 60, this build speed runs Pit 100-110. As glyphs level up to 120, Pit 120 becomes very fast.
Part 7: Pushing Version
The guide covers the general version of the build. The pushing version used for Pit 142 has a slightly different setup. It is less fast but deals significantly more damage. Players interested in the pushing version should check the dedicated guide for the complete breakdown.
Key Takeaways
Pestilent Swarm is the strongest build in Season 14
29+ Ravager ranks are required for permanent mobility
No mythic is required for the build to work
Constant movement is essential for damage through the Drives paragon node
Aspects on helm, ring, and gloves are mandatory for damage scaling
Protean Heart doubles dexterity for massive damage
Watley's Grace is best for speed farming
Transfiguration on an amulet provides 225% more damage
Pit 120 can be cleared in 1-2 minutes with good Diablo IV Items
The build works for all content-not just pushing
Conclusion
The Pestilent Swarm build is the best choice for Season 14 endgame content. With the highest Pit clear at 142, excellent mobility, and versatile performance, it outperforms other builds across most activities.
The build requires specific aspects and Ravager ranks to function optimally, but it does not rely on mythic uniques. Players can work toward the full setup through normal gameplay, farming Hell Tides and bosses to acquire required gear.
For players looking to push high Pits, the dedicated pushing version offers even more damage at the cost of some speed. For general content, the versatile setup covered in this guide provides exceptional performance.