Summary
Looking for a minion build that clears maps quickly without relying on constant manual casting? This Gemling Chieftain Raven Flock setup focuses on automatic skill triggers, high Energy Shield, and strong chaos damage scaling while keeping gameplay simple. By combining Raven Flock, Withering Presence, Cast on Dodge, and alternate-quality Skill Gems, the build delivers smooth mapping, reliable Expedition farming, and solid single-target damage without using Arcanist Brand.
This guide follows the complete progression from skill setup and trigger mechanics to equipment, Passive Tree, jewels, and defensive scaling. Every section preserves the original configuration so you can recreate the build step by step while optimizing your investment in POE2 Currency.
Part 1: Build Foundation – Why Gemling Chieftain Works
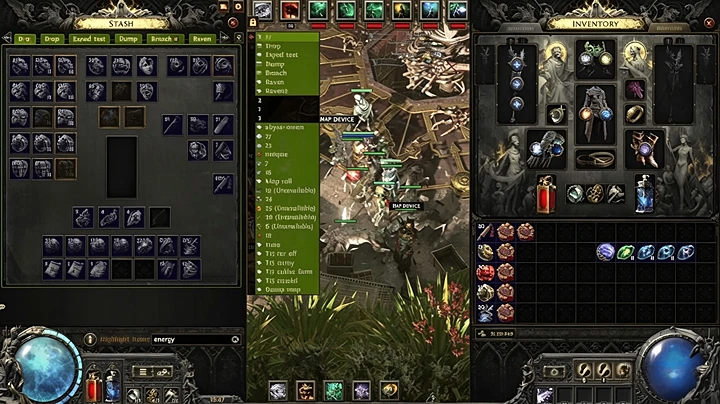
Unlike the previous Leech version, this build is designed around Gemling Chieftain and its interaction with alternate-quality Skill Gems. Instead of boosting Raven Flock directly through Ascendancy bonuses, the build gains power from Unfriend Technology, which grants alternate quality to every Skill Gem.
The first priority is maximizing Withering Presence.
Normally, Withering Presence applies a Wither stack every 1.3–1.4 seconds. With the alternate-quality bonus from Gemling Chieftain, it applies one stack every 0.25 seconds, allowing approximately four stacks every second. Since Raven Flock scales heavily with Wither, this dramatically increases damage ramp-up and helps reach around 150% increased Chaos Damage Taken on enemies much faster.
Although the final DPS is similar to the Leech version, enemies reach maximum Wither stacks much sooner, making both mapping and boss fights feel significantly smoother.
Part 2: Cast on Dodge Setup – Automating Your Entire Rotation
One of the biggest advantages of this build is that it requires almost no manual skill usage.
Instead of using Arcanist Brand, the build relies on two Cast on Dodge setups.
First Cast on Dodge
The first trigger automatically casts Despair.
Instead of reserving Spirit for Blasphemy, Despair is applied after only two to three Dodge Rolls, rapidly covering enemies with Curse Ground.
This setup is linked with:
Despair
Doedre's Undoing
Spell Cascade
Offer Abundance
Living Lightning
Every Dodge Roll continuously creates Curse Ground.
Each Curse Ground spawns frogs from Doedre's Undoing, and those frogs contribute meaningful damage while also keeping Living Lightning active during stationary encounters.
This frees Spirit for additional utility while maintaining nearly permanent curse uptime.
Second Cast on Dodge
The second trigger is dedicated to Detonating Dead, primarily for Expedition encounters.
Recommended links include:
Detonating Dead
Magnify Aura
Spell Cascade
Efficiency II
Bonus Energy
Since the build does not invest heavily into Mana Regeneration, Efficiency II helps maintain smooth trigger uptime.
Additional Bonus Energy allows Detonating Dead to activate more frequently during dense Expedition encounters.
Part 3: Mapping Skills and Chaos Conversion
For general mapping, replace Detonating Dead with Spark.
The recommended setup includes:
Spark
Projectile Acceleration II
Living Lightning
Bonus Energy
Energy Retention
Projectile Acceleration II provides:
increased projectile speed
40% chance to Pierce
Both bonuses significantly improve clear speed.
The alternate-quality version of Spark grants four additional projectiles.
Since this build heavily stacks Gem Quality, every cast eventually fires around eight additional projectiles, reaching approximately 18 projectiles per cast without investing into extra projectile mechanics.
For Expedition content, however, switching back to Detonating Dead remains the stronger option because corpse explosions perform much better against tightly packed monsters.
An optional damage upgrade is available through Black Flame Covenant.
The alternate-quality version of Detonating Dead converts Physical Damage into Fire Damage.
Taking Black Flame Covenant converts Fire Spell Damage into Chaos Damage.
This allows Detonating Dead to scale with both Despair and Withering Presence, greatly increasing explosion damage against high-life enemies.
Although the original build does not consider this mandatory, it remains an excellent upgrade for players seeking more boss damage.