
Stop relying on "Poison-Fire" builds! Hands-on test of the Level 77 Galleon in Skull and Bones: Can this Piercing-focused warship solo every T4 boss?
Article Summary
Are you still using mainstream poison-damage ships to farm T4 forts? Do you find your damage output lacking or your ship too fragile when facing high-level bosses? Do you often face the embarrassing situation of limping back to port before the boss even goes down? Real-world testing reveals that a Level 77 Galleon build centered on Piercing secondary weapons boasts over 150,000 hull HP and can consistently take on all T4 bosses-truly embodying the legend of a ship that is both "tough as nails" and "hard-hitting."
"Want to put these ideas to the test quickly? Buy Skull and Bones Items at MMOEXP to boost your level and get a head start on the action."
The gap between you and the pros isn't about aim-it's about build strategy.
Key Takeaways:
Core damage comes from the synergy of a full Piercing weapon setup.
Hull HP reaches a massive 154,640.
Secondary weapons are the true damage dealers.
Many captains obsess over stacking main battery damage, but this Galleon build takes the opposite approach-its core damage output relies on the synergy of a full suite of Piercing secondary weapons.
The ship is outfitted with upgraded "Hull Culver" secondary weapons. Combined with Piercing damage-boosting skills and "High Velocity Kegs" furniture, the Piercing secondary weapon damage increases by an additional 12%, with an 8% boost to range.
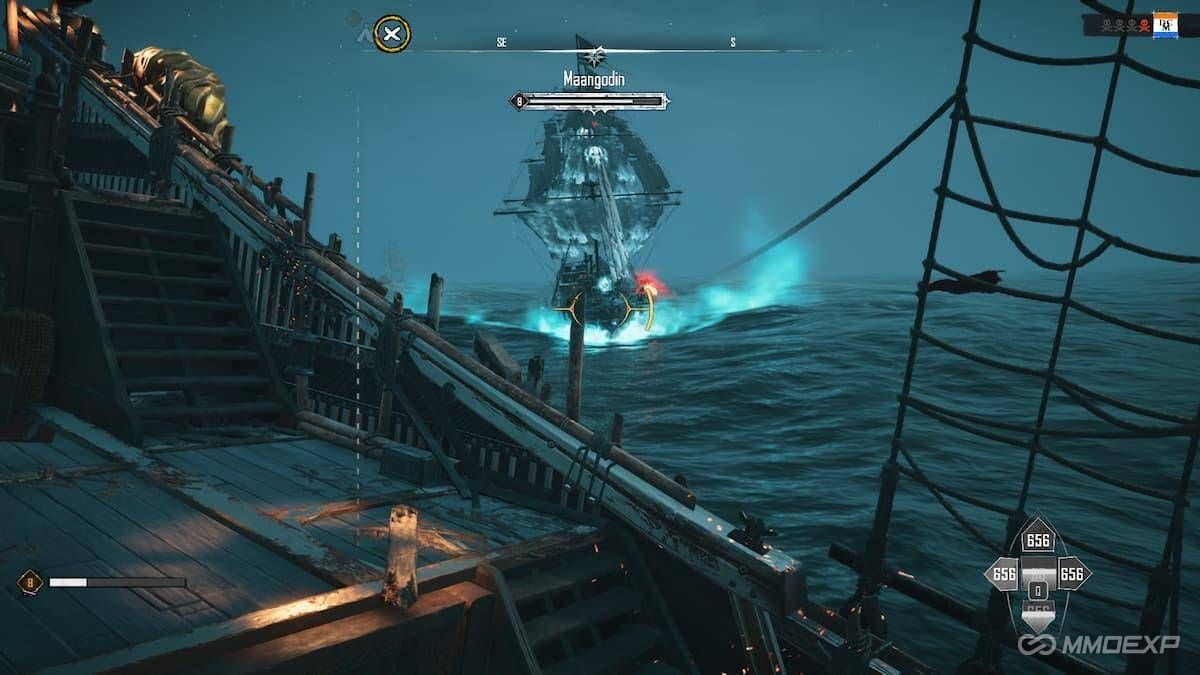
Crucially, special stats allow the weapons to ignore 10% of the target's Piercing resistance; when the target is afflicted with the "Puncture" status, this figure rises to 22%. In actual combat, a single broadside is enough to rapidly shatter Vikram's shields.
Value of this section:
Best for: PvE players and boss hunters.
Benefit: Significantly improves boss-killing efficiency.
Why do you always grind hard only to end up sunk? Survival-focused builds are the key.
Key Takeaways:
Comprehensive hull damage reduction stats.
Additional 20% damage reduction while anchored.
Balances tankiness with sustained combat capability.
This Galleon isn't just a heavy hitter; it's also incredibly resilient. With a base armor of 2562, this build offers 44% damage reduction against fire/explosions, 49% against shock, and 29% against piercing attacks. When paired with Wyrmh Armor, all incoming attack damage is further reduced by an additional 20% whenever you drop anchor or come to a halt.
Consider a real-world scenario: when challenging a Tier 4 Bounty Boss, while teammates are forced to retreat for repairs, this build allows you to hold the front line and maintain continuous damage output. You can even use the "Repair Long Gun III" to heal teammates while simultaneously restoring your own health.
It truly makes you an unshakeable pillar for the team.
Value of this section:
Best for: Team players and casual gamers.
Benefits: Reduces the risk of sinking and saves on repair resources.
3 details that 99% of captains overlook
Key takeaways:
Max out the "Battle Medic" perk.
"Little Grace III" offers benefits far beyond expectations.
"Sailor's Respite" triggers very frequently.
Many players treat auxiliary weapons as mere decoration, but in this setup, "Little Grace III" is the linchpin of the entire system.
Thanks to the "Battle Medic" perk, healing not only restores teammates' health but also grants a 20% damage boost. Combined with the "Sailor's Respite" effect-which has a theoretical trigger rate of 7% but feels much higher in actual combat-the synergy is powerful.
During team assaults on World Bosses, a single heal can often trigger critical restoration, instantly topping up the entire team's health.
This is why many high-end fleets are making the "Support Galleon" a standard part of their lineup.
Value of this section:
Best for: Team players and core guild members.
Benefits: Increases the team's margin for error and sustains damage output.
Where do your coins yield the best return? Prioritize these pieces of gear
Key takeaways:
Prioritize redeeming the "Hull Culver."
"Wyrmh Armor" is essential.
"Ramrod Workshop" offers excellent value for money.
If resources are limited, I recommend acquiring the "Hull Culver" first.
It can currently be redeemed directly via the Smuggler Pass Prestige Shop for just 8 Smuggler Points, and subsequent upgrades can bring it to "end-game" strength.
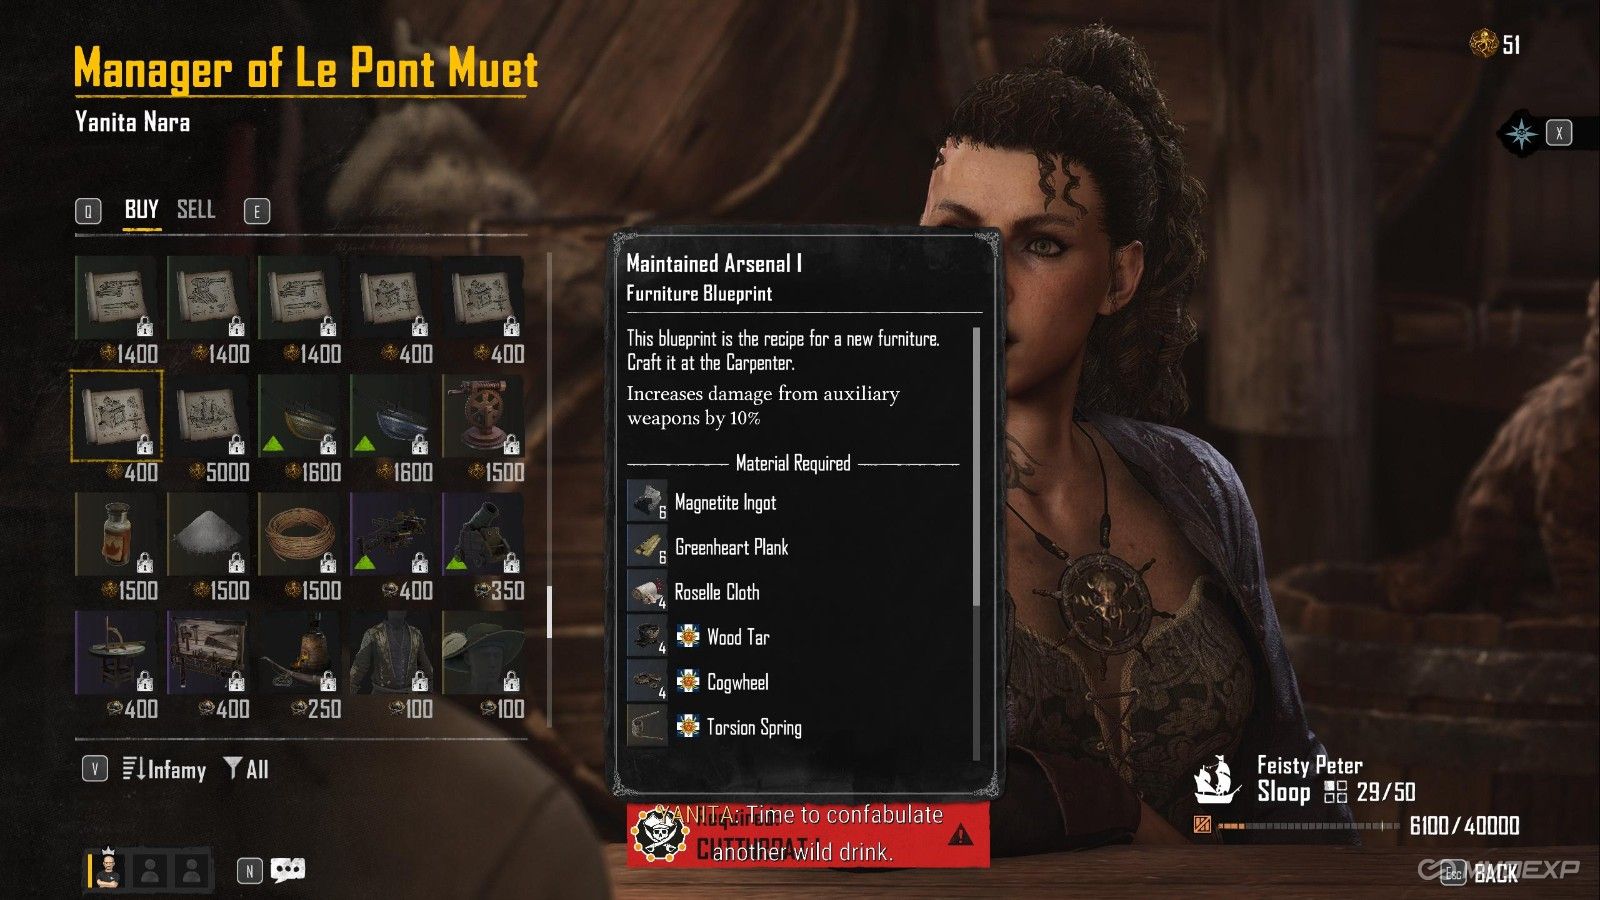
Next in line are the "Wyrmh Armor" and "Ramrod Workshop." The former provides significant damage reduction, while the latter boosts broadside weapon reload speed by 7% and increases auxiliary weapon damage by 7%. Prioritizing your limited resources on these three pieces of equipment yields far better returns than blindly upgrading your ship's level.
Best for: Beginners and "grinders" (players farming for resources).
Benefits: Avoids wasted effort and saves a significant amount of resources.
Conclusion
If you're tired of the standard Poison or Fire builds, give this Piercing-damage Garen build a try. It offers top-tier survivability and relies on its secondary battery system to reliably take down all T4 bosses. For players aiming for efficient boss farming, this is undoubtedly one of the best builds to try in the current version.
"Why grind until dawn when you can work smarter? Buy cheap Skull and Bones Silver at mmoexp to boost your level and save your time for the parts of the game you truly enjoy."
Tips
Prioritize exchanging for the Hull Culver secondary battery.
Acquire the Wyrmh Armor as soon as possible.
Make sure to bring "Little Grace III" for team raids.
Summary of Benefits by Player Type
Beginners: Clear build strategy; easily create a highly durable warship.
Working Professionals/Time-Constrained Players: Faster boss kills and more efficient resource farming.
Hardcore/Min-Max Players: Reliably challenge all T4 bosses and tackle high-end content.
Casual/Social Players: Strong team support capabilities; easier integration into fleet activities.