
Serpentshrine Cavern remains one of the most iconic raids in The Burning Crusade Classic, and with the Anniversary servers bringing players back into Outland, many guilds are preparing to tackle SSC for the first time. While the raid contains several unique mechanics, most encounters become much easier when you understand the core objectives.Having plenty of WoW TBC Anniversary gold will greatly help you clear the dungeon.
This guide breaks down every boss in simple terms, helping your raid clear SSC efficiently without getting overwhelmed by unnecessary details.
Hydross the Unstable
Hydross is the first boss you'll encounter and requires two dedicated tanks.
One tank should wear Frost Resistance gear, while the other uses Nature Resistance gear. Around 240 resistance in each element is generally sufficient with buffs, although more resistance can make the encounter even safer.
The fight revolves around managing Hydross's elemental phases. As the active tank accumulates stacks of Hydross's debuff, the boss must be moved across the boundary markers in the room. Crossing the line changes his elemental type and forces the other tank to take over.
Each transition resets threat and spawns adds, so DPS players should slow down briefly while tanks regain control. The encounter repeats this cycle until Hydross dies, making it one of the simplest coordination fights in the raid.
The Lurker Below
The Lurker Below is a straightforward encounter with one major mechanic: Spout.
Before pulling the boss, make sure ranged players are positioned on the surrounding platforms. This helps prevent bugs and provides better control during the add phases.
When Lurker casts Spout, he rotates around the platform while firing a deadly water beam. Melee players can follow behind the beam to continue dealing damage, while ranged players often avoid it by jumping into the water temporarily.
At specific intervals, the boss submerges and summons adds. Guardians should be killed first, while Ambushers are controlled or eliminated by ranged DPS. Once the adds are dead, Lurker returns, and the cycle repeats until victory.
Morogrim Tidewalker
Morogrim is largely a positioning encounter.
His Tidal Wave attack is a frontal cone, meaning only the main tank should ever be standing in front of him. He also casts Watery Grave, which teleports several players to the center of the room while dealing damage over time. Healers should remain spread out to ensure affected players stay alive.
The most important mechanism occurs during an earthquake. This ability summons waves of Murlocs that need to be gathered quickly by a Paladin tank or another strong AoE tank. Once grouped together, they can be burned down efficiently.
At low health, Morogrim summons Water Globules that chase individual players. These enemies hit extremely hard, so proper positioning and quick movement are essential. Pulling the boss into a corner during this phase gives players additional room to avoid danger while finishing the encounter.
Fathom-Lord Karathress
This fight is unique because you'll face four enemies simultaneously.
Most raids prefer using four tanks, assigning one tank to each target. The common kill order starts with Fathom-Guard Tidalvess, followed by Fathom-Guard Sharkkis, then Fathom-Guard Caribdis, and finally Karathress himself.
Caribdis deserves special attention because she frequently casts powerful healing spells. Interrupt rotations are critical, and effects that increase cast times can make the encounter significantly easier.
Throughout the fight, players should immediately destroy Spitfire Totems whenever they appear. These totems can quickly overwhelm the raid if ignored.
Once the supporting guards are eliminated, Karathress becomes much easier to manage, turning the final portion of the encounter into a straightforward burn phase.
Leotheras the Blind
Leotheras begins with players defeating three channelers that hold him captive. These enemies should be separated before being killed, as stacking them together can cause dangerous damage spikes.
Afterward, the main fight begins.
Leotheras alternates between Human Form and Demon Form. During Human Form, players mainly need to watch out for his Whirlwind ability. Spreading out minimizes unnecessary damage and reduces the chance of multiple players being hit simultaneously.
Demon Form introduces a new tanking requirement, usually involving a player wearing Fire Resistance gear. Threat management becomes especially important during transitions, as aggro can become unstable.
The signature mechanic of this encounter is Inner Demons. A personal demon spawns for selected players, and only that player can damage their assigned target. Failing to kill it results in mind control, making personal responsibility extremely important.
At 15% health, both forms become active simultaneously. Raid members should focus on finishing the Human Form as quickly as possible to end the fight.
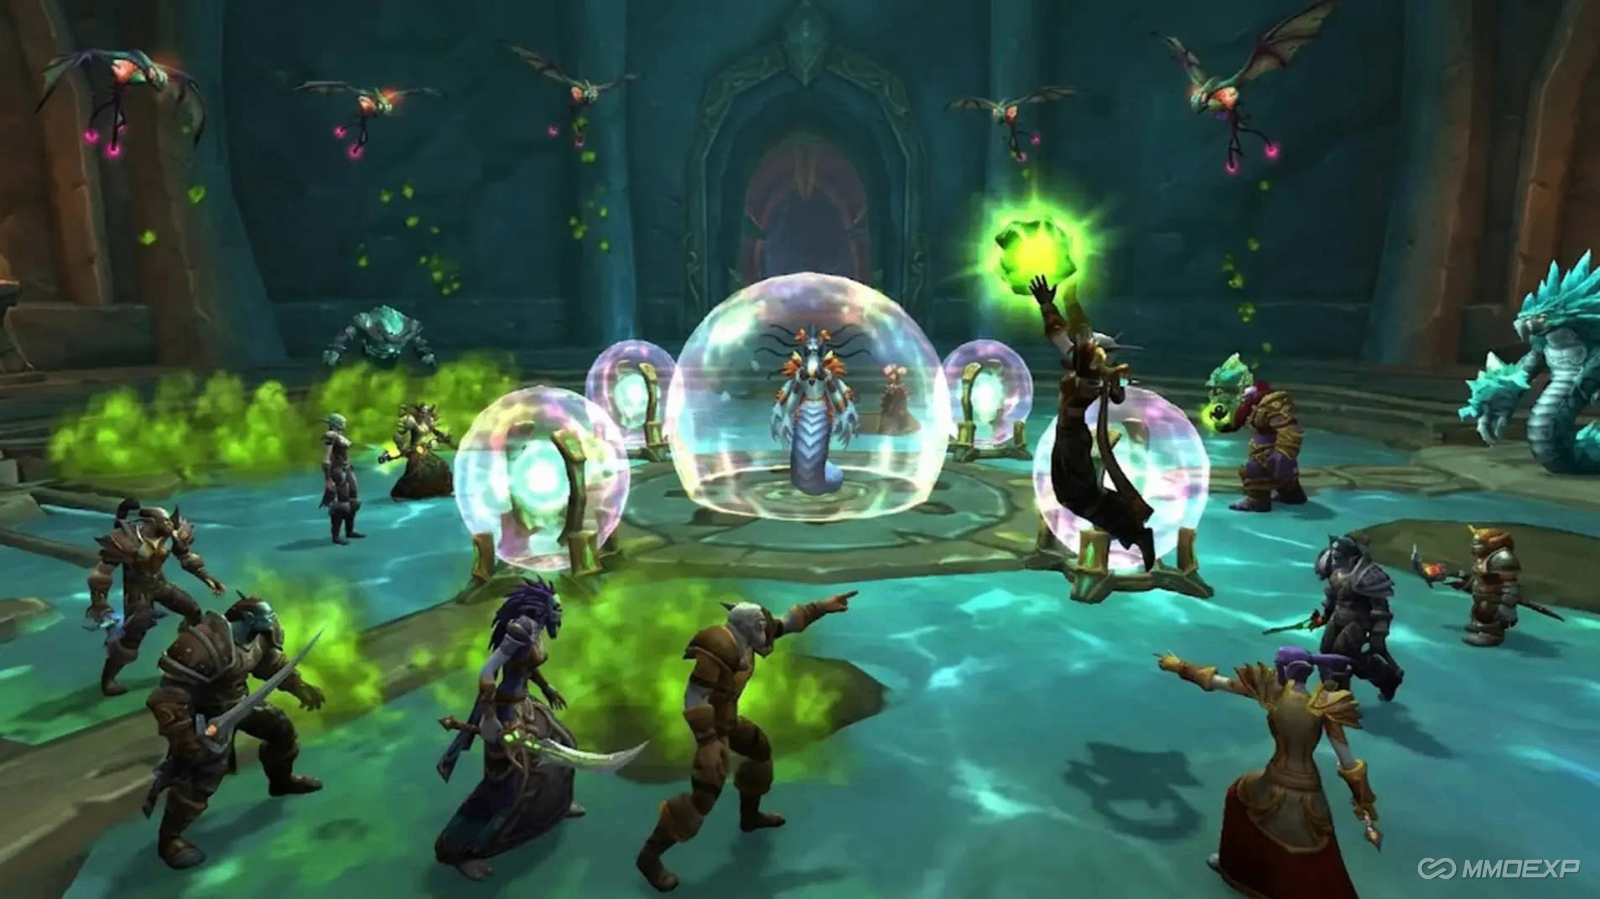
Lady Vashj
Lady Vashj serves as the final boss of Serpentshrine Cavern and consists of three distinct phases.
Phase One
The opening phase is relatively simple. Players mainly need to spread out when affected by Static Charge, preventing unnecessary raid-wide damage. Having plenty of WoW TBC Classic gold can also provide you with excellent protection.
Phase Two
This is the most mechanically demanding portion of the encounter.
Several different enemy types spawn throughout the room:
Coilfang Elites must be tanked and killed by melee DPS.
Striders should be kited by ranged players and kept away from the raid.
Elementals must be eliminated before reaching Vashj.
The key objective involves Tainted Elementals. When defeated, they drop Tainted Cores that must be passed between players and inserted into the four shield generators surrounding the boss.
Because players cannot move while carrying a core, raids typically create passing chains to move the item efficiently around the room.
Before activating the final generator, make sure all dangerous adds are dead. Starting the next phase with active elites or striders can quickly lead to disaster.
Phase Three
Once all four generators are disabled, Vashj becomes vulnerable again.
This phase resembles Phase One but introduces Toxic Sporebats. These flying enemies leave poisonous patches on the ground that can quickly kill players who become trapped inside them.
Hunters and ranged DPS should prioritize eliminating Sporebats whenever possible. Meanwhile, the raid continues handling Static Charge while focusing all damage on Vashj.
With proper positioning and added control, the final phase is often easier than Phase Two and leads to a satisfying raid clear.
Final Thoughts
Serpentshrine Cavern may look intimidating at first, but most encounters become surprisingly manageable once your raid understands the core mechanics. Hydross tests tank coordination, Lurker emphasizes movement, Morogrim introduces additional control, and Lady Vashj challenges the entire raid with a multi-phase encounter.
For Anniversary players returning to The Burning Crusade Classic, SSC remains one of the most memorable raid experiences in World of Warcraft. Master these key mechanics, stay organized, and you'll be collecting epic loot from Lady Vashj in no time.


