In ARC Raiders, maximizing trial score efficiency without relying on keys is entirely possible if you follow a structured, high-density loot route. This guide breaks down a consistent Bluegate weapon crate run designed to reach approximately 14,000 points in a single 30-minute match, even with randomized spawn behavior. The key principle is coverage: instead of chasing guaranteed drops, you systematically clear every possible spawn cluster while maintaining momentum across both surface and underground zones, which can also be relevant for players looking to buy ARC Raiders Items to further optimize their loadouts.
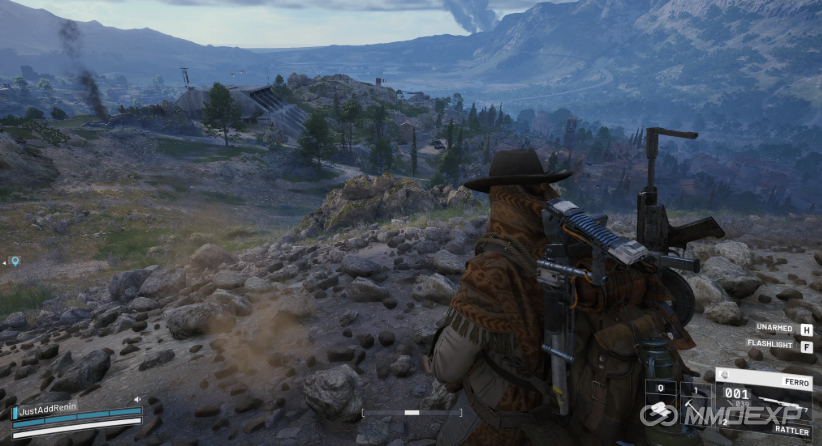
Core Route Philosophy
Weapon cases in Bluegate are not fixed spawns. They rotate between multiple potential locations each match, meaning efficiency depends on route design rather than memorization of single points. The optimized path prioritizes:
· High-density spawn clusters first
· Guaranteed puzzle rooms later
· Minimal backtracking
· Safe extraction buffer time
The run begins from your spawn location, though upper-map spawns are generally faster. From there, you move in a clockwise-style sweep across the surface before transitioning underground around the Warehouse Complex.
Because of ARC resistance and traversal time, the loadout matters. Bring a large supply of stims (30+ recommended), plus throwable utility such as grenades, seeker tools, or cloaking devices to bypass or neutralize ARC threats that interrupt routing flow.
Early Surface Route: Pilgrim’s Peak to Head House
The first major objective is the Pilgrim’s Peak weapon crate. This requires vertical traversal using snap hooks or ladders, culminating in a deployable zip line. Once accessed, this crate establishes early momentum.
From there, the route continues toward Data Vault, where a weapon case can spawn inside the lower interior chamber. While not guaranteed, it is a high-value check due to its frequent appearance in trials.
Next is Head House (lower floors), where a crate can appear along ledges or side platforms. These early stops are important because they sit on the fastest movement corridor across the upper map.
Mid-Route Surface Sweep: Reinforced Zones and Village
After clearing initial interior points, you continue toward Reinforced Reception and adjacent exterior structures. These areas often contain scattered crate spawns that require quick visual checks rather than full exploration.
The Village Tower is a critical stop. It frequently contains a Raider-style container at its summit. Using snap hook traversal dramatically reduces climb time and keeps momentum intact. Even when the weapon crate is absent, the vertical check is fast enough to justify the attempt.
At this stage, you are building a loop around Bluegate’s central terrain, systematically hitting medium-probability spawns while avoiding deep engagement with ARC units unless necessary.
Key Cluster Zone: Raiders Refuge Puzzle Area
The Raiders Refuge puzzle room is one of the few near-guaranteed high-value zones. It contains multiple button triggers across several floors and hidden compartments. Efficiency here depends on pattern recognition:
· Buttons are distributed across walls, furniture, and crawlspaces
· The fastest approach is a continuous loop through rooms without stopping
· Crate access is typically unlocked after rapid activation of all nodes
This area can yield multiple weapon crates but is also time-sensitive. If contested or partially completed by other players, it becomes even more valuable.
Transition Underground: Security Wing and Confiscation Areas
After surface clearing, you drop into the underground network near the Warehouse Complex. This section includes:
· Security Wing crate spawns
· Breach room containers
· Confiscation room (key-dependent, optional bonus route)
If you possess patrol car or room keys, additional crates become available, significantly increasing final score potential. However, the run remains fully functional without them.
Underground traversal is more dangerous due to ARC density (including shredders and bombardiers), so movement discipline is essential. Avoid prolonged fights; prioritize crate interaction and immediate repositioning.
Final Objective: Ancient Fort Puzzle
The Ancient Fort puzzle is the final major stop. It contains battery-based mechanics requiring object transport between nodes. While time-consuming, it guarantees at least one final weapon crate.
Because extraction is located near Fragrant Hatch, you must reserve at least 2–3 minutes after puzzle completion for safe evacuation. ARC interference is common in this zone, so overcommitting to loot here risks losing the entire run.
Extraction and Scoring Outcome
A clean execution of this route consistently yields:
· ~13,000–14,000 points (no keys)
· 16,000+ with patrol car key optimization
· Up to ~20,000 when key rooms are included
The limiting factor is not spawn availability, but time efficiency and traversal discipline. Even with randomized loot, systematic coverage ensures stable scoring outcomes across matches.
Final Takeaway
This Bluegate route works because it converts randomness into structure. Instead of chasing individual crates, you treat the map as a timed circuit with defined clusters, predictable puzzle zones, and controlled risk segments, which is especially useful for players looking to optimize progression or even evaluate options like cheap ARC Raiders Items. Mastering movement efficiency-rather than individual fights-is what separates average runs from consistent high-score clears in ARC Raiders.