
ARC Strategies: Lockdown Zone Score Guide – From 16K to 20K+
It’s not about outgunning everyone. It’s about positioning, tempo, and making every fight count.
Why Lockdown Zones?
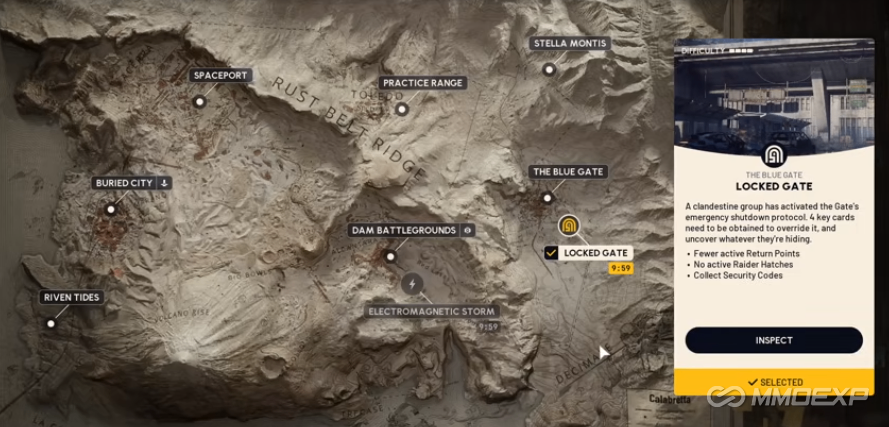
Compared to busier hot drops, Lockdown Zones offer a few clear advantages:
· Controlled pace – Fewer players mean easier reads on the situation.
· Balanced looting & scoring – Containers and resource spots inside/around the zone give steady value.
· Easy to anchor – Secure a spot, then react to enemies. Way more consistent than running blind.
I’ve tried hot zones before – peaked around 16K. Too chaotic to be reliable. Switching to Lockdown Zones made 20K–25K feel actually achievable, especially when I also optimized my gear economy by choosing to buy ARC Raiders Items instead of relying solely on random loot to fill critical slots.
Loadout Philosophy: Survive, Rotate, Sustain
This isn’t about max DPS. It’s about staying alive, staying mobile, and staying in the fight.
What your kit needs to handle:
· High-burst enemies
· Long-range pressure
· Extended engagements
· Resource burn (heals/ammo running dry)
Key supplies:
· Plenty of heals (3 stacks of meds recommended)
· Speed/mobility items – crucial if you don’t have a movement ability
· Ammo – enough to fight, not so much that you’re slowed down
· Bottom line: You need to fight, flee, and last.
Start: Don’t Shoot – Position First
The single most important habit: find your observation spot and escape routes before engaging.
At spawn, check:
· Nearest extraction point
· Best spot for your playstyle (hold or rotate)
· Safest route to reposition
This prevents:
· Getting cornered
· Bad retreats or chases
· Fighting on enemy terms
Hold, then push. Rushing in blindly is a death sentence in high lobbies.
Do this instead:
1. Lock down a safe spot
2. Scan enemy distribution
3. Eliminate the biggest threat first
4. Expand your control gradually
Comms: Keep It Short & Clear
In high-pressure matches, information > damage output.
Callout examples:
· “Ghost flyer above”
· “Rocket unit left”
· “Wasp below”
· “Someone in the building”
· Short, clean callouts let you decide instantly whether to hold or rotate.
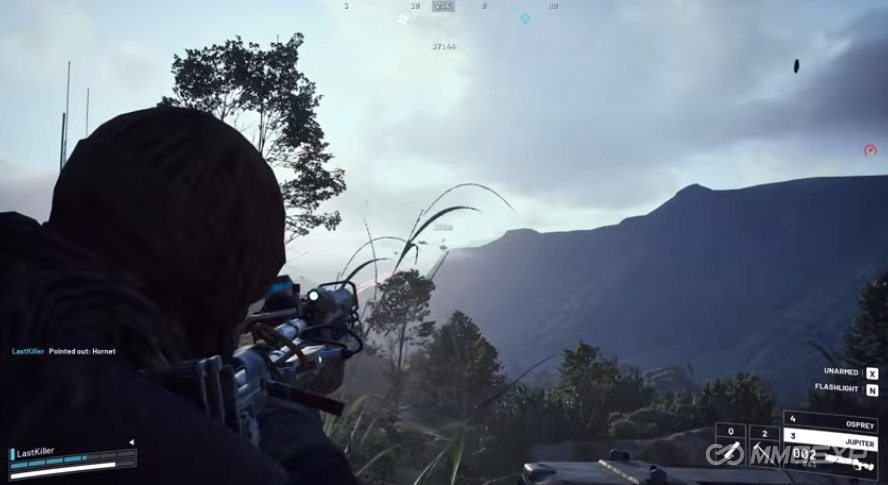
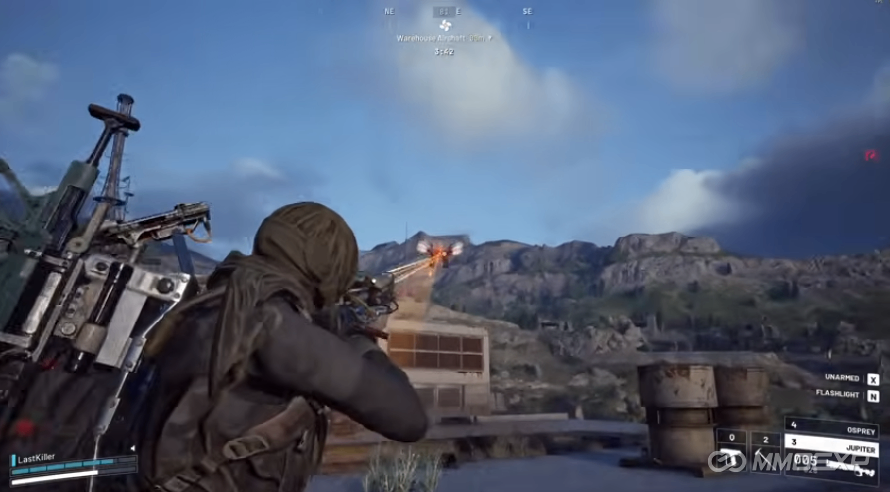
Priority targeting: Kill the biggest threat first. Wasps, for example – they deal massive damage and must go down early. It’s not about who’s closest. It’s about who ruins your tempo the fastest.
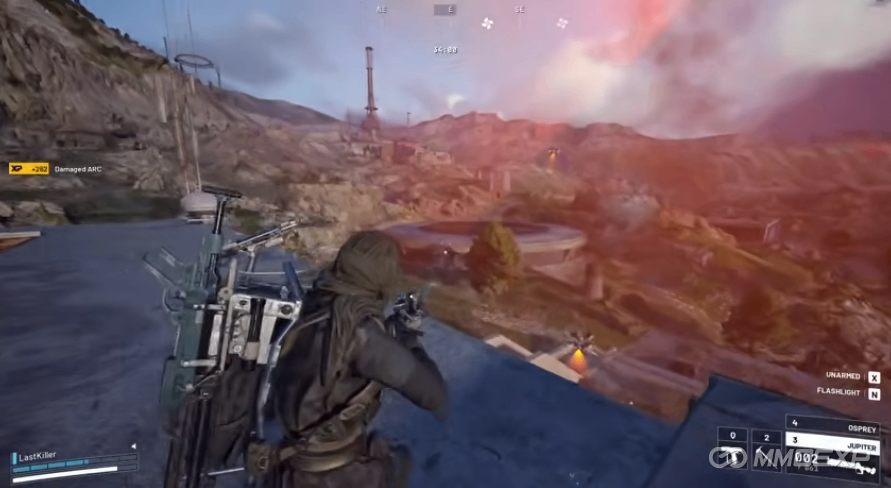
Don’t Ignore Environmental Pressure
It’s not just players – there are NPCs and hazards everywhere.
You constantly need to track:
· Enemies in sight
· Possible flanks from outside your FOV
· Minor unit harassment
· Your own HP and resource levels
Scoring Mindset: Chain Fights Into Points
Every engagement should add to your score – not just exist.
Don’t tunnel-vision on one target. If you chase one guy forever:
· You lose your position
· You miss other scoring chances
· You get third-partied
Mix fighting with looting. High scores come from kills plus looting, objective control, and clearing environmental targets.
Always:
· Grab loot while fighting
· Reposition while moving
· Never waste downtime
· Ideal state: Not “fighting hardest,” but –
· You know where enemies come from
· You know where to fall back
· You know your next move
Why Lockdown Beats Hot Zones for Climbing
Simple: chaotic areas don’t automatically mean more points.
· Better sense of direction – Clearer paths, easier to identify strongholds, ambush spots, rotate routes, and hold angles.
· Balanced mix of loot & targets – When there are both scavenging opportunities and enemies nearby, your score stacks faster.
· Sustainable output – With good positioning, you can keep scoring consistently, unlike in chaos, where RNG decides your fate.
From 16K to 20K+: What Actually Matters
1. Kills aren’t everything – It’s about turning every fight into a net gain.
2. Mobility is a must – Have a movement tool or bring speed items. Don’t lose key positions because you rotated too slowly.
3. Clear priority order (recommended):
· Long-range threats (most dangerous)
· High-harassment units (Wasps, etc.)
· Line-of-sight targets (easy to lose track of)
· Everything else (trash mobs, distractions)
4. Never lose control. Once you start chasing randomly, fighting randomly, repositioning without purpose – your score stalls.
Biggest traps in high lobbies:
· Fighting a lot but gaining nothing
· Leaving threats alive while you scramble
· Running out of time with points stuck
Final Take: Score Comes from Strategy, Not Aggression
This approach works because it focuses on:
Choose the right zone → lock the right spot → then build your score through intel, movement, and smart picks.
If you’re aiming for 20K–25K, remember:
· Avoid the hottest drops
· Plan your extraction and anchor point from the start
· Delete high-threat targets first
· Bring mobility – either ability or items
· Make every fight pay
One-line summary:
High scores aren’t luck – they’re built on positioning, pacing, and decision-making, just as consistently good performance often relies on smart preparation like knowing when to buy ARC Raiders BluePrints to support your loadout strategy.