
Dam Battlefield Lone Wolf Guide: A Hidden Route for Safe Cracking
Dam Battlefield is labeled as a beginner map, but don't let that fool you—it's not that simple to walk away with the good stuff. The map is large, spawns are scattered, and the high-tier loot zones are always a shooting gallery. If you're serious about gearing up fast, you can always buy ARC Raiders Items to skip the early grind, but for those who enjoy the thrill of the hunt, here's a solo-tested route that I've found works really well. The core target? The security safes are hidden inside the Dam's secret room.
The Main Target: The "Fat Sheep" Room on the Dam
The most valuable spot on this map isn't the power plant, nor the control tower. It's a hidden room on the dam itself that requires some parkour to reach. This room can spawn 0 to 2 security safes, with a solid chance of dropping purple-tier weapons, high-level armor, and valuable barter items. Every move on this run is planned around getting to this room as fast as possible.
Route Plan & Key Waypoints
This route starts from the Power Generation Complex area in the northern part of the map.
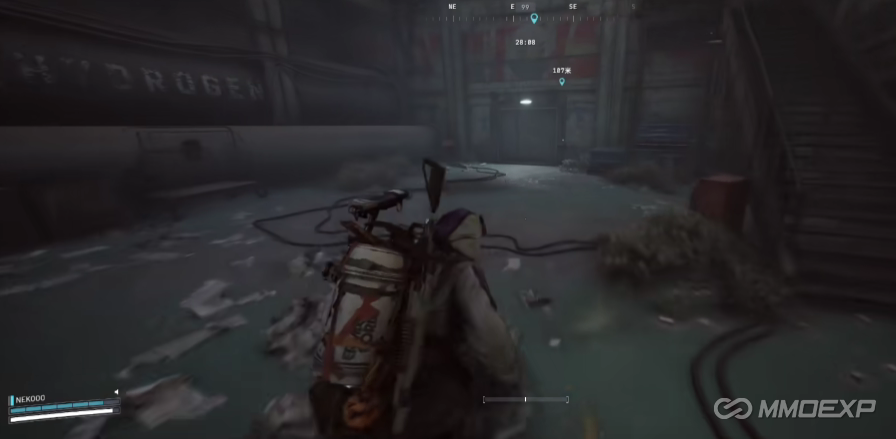
1. Quick Look at the Power Plant: Spawning near the plant is ideal. Head inside—there's a room that requires a Power Stick (Stun Baton) to unlock. Don't worry if you don't have one; the electrical cabinets right next to it have a chance to spawn one. Give it a quick check. The red storage lockers in this area often contain weapons, armor, and meds. Even if you don't find a Power Stick, don't waste time fighting the mobs—just cut through the building and keep moving toward the dam.
2. The Hidden Spot Under the Overpass: From the power plant, follow the pathway along the dam wall down to the overpass next to the complex. Climb up to the bridge deck and head to the broken end. Here's a detail many players miss: there's a hidden platform right below the gap. Here's the move—back up slowly to the edge, hold the jump key to grab the ledge, press crouch to drop down, then hit jump again to land safely inside. This spot randomly spawns a weapon crate, medical crate, or ammo crate. More often than not, this little detour gives me a decent weapon upgrade early on.
3. Ridge Run & Incidental Loot: Drop down from the hidden platform, slide along the slope to the upper end of Red Lakes, then follow the ridge downward. You'll pass by a bunker spawn point—stay alert. The next target is the diversion dike below the dam. The small room there randomly spawns a medical crate or a grenade crate. After that, cut through the bus wreckage; there's also a chance for a weapon crate inside.
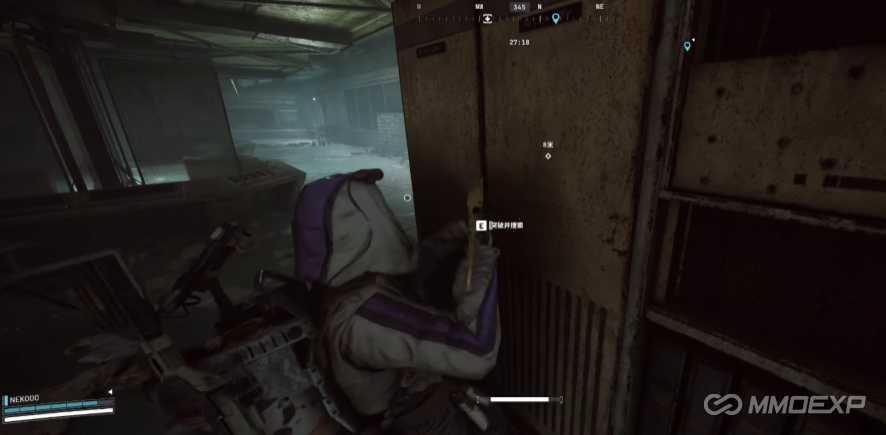
4. The Main Event: Dam Secret Room: From the bus wreck, continue along the dam until you see a flood discharge tunnel (the sewer). Enter the tunnel, find the hanging rope inside, and use it to climb to the top. Once you're out, you'll see the lever that controls the drawbridge. Pull it to lower the bridge, cross over, and you'll find the locked secret room right in front of you.
5. Critical step: Before you start looting inside, raise the drawbridge back up! Learned this the hard way—it stops other players from sneaking in while you're busy cracking those safes.
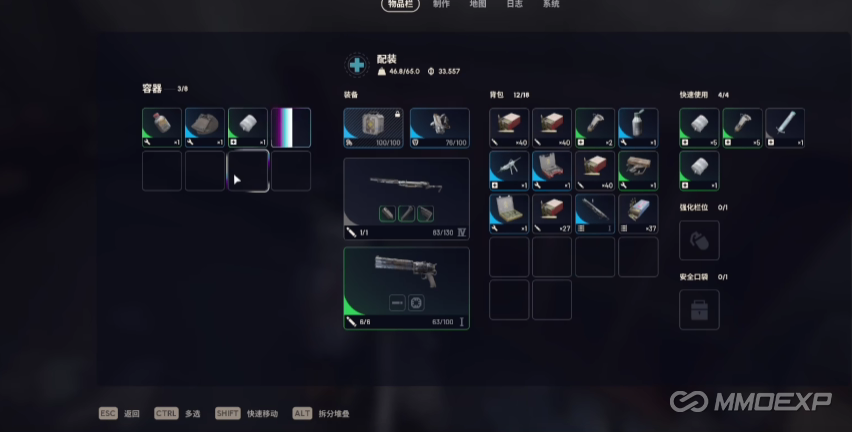
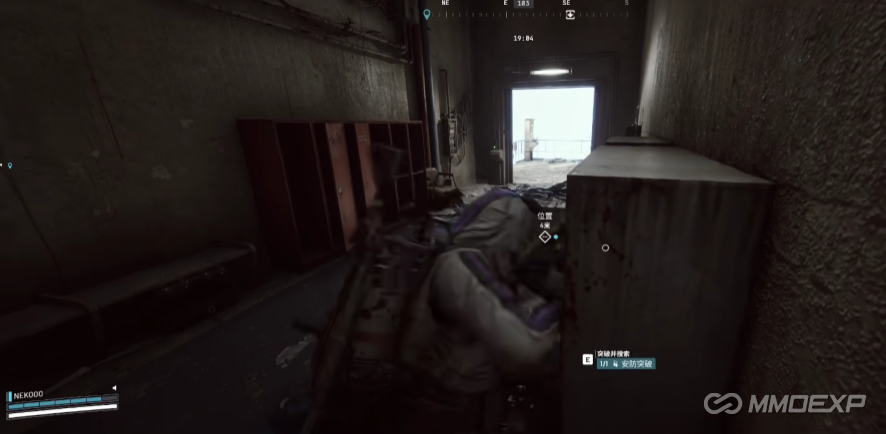
6. Loot & Extract: Inside the room, aside from the two security safes, there's a fixed weapon crate spawn (though it's not guaranteed). After cleaning house, jump out onto the stairs, slide down to the lower platform, and climb back up to the main area. At this point, you'll notice you're very close to the Test Annex elevator extraction point. If that extract is already used, you can always swing by the control tower's 2nd-floor med bay for some extra drawer-looting before calling it a day.
Some Extra Tips
· About the Power Stick: Besides gambling on the electrical cabinets at the plant, the safest bet is just to craft one at the workbench and bring it in. It's an epic-rarity item, not just for doors—you'll also need it for gear crafting and repairs, so use it wisely.
· Trust No One: This route crosses paths with other players frequently. Even if someone acts friendly near the secret room, keep your distance. The golden rule: better safe than sorry.
Field Depots
There are six fixed "Field Depot" locations on this map, marked by radar masts and blue tarps. If you pass by one, you can repair the antenna (there's a mission for that) or haul an ARC field container over for rewards. There's one at the east edge of the Power Generation Complex—worth a detour if you have the time. And if you're ever short on crafting materials for those depot unlocks, you can always buy ARC Raiders Coins to save yourself the farming hassle.
This route isn't the be-all and end-all, but it's focused, fast-paced, and works great for solo or duo squads looking for a clean "cash-out." Once you get the flow down, you can go from spawn to extracted safes in a smooth run, cutting down the risk of getting third-partied big time.