
If you've been frustrated by opponents repeatedly running the Halfback Direct Snap and gashing your defense for easy yards, you're not alone. This play, found in the Bears playbook out of Gun Off Trips, is one of the most difficult offenses to stop if you don't have a specific answer for it.
In this guide, we'll break down two powerful defensive setups from a Nickel Load Mug formation that will not only stuff the run but also protect you if your opponent tries to pass out of the same look.
Understanding the Threat: Gun Off Trips Halfback Direct Snap
Before we dive into the defense, let's understand what makes this play so effective. The offense lines up with three blockers to the right side: a tight end, a slot receiver, and an outside receiver. When the ball is snapped directly to the halfback, he simply follows his blockers, often gaining 15-20 yards before even encountering a defender. Skilled players can also use speed boosts to get around the edge, making this a consistent headache.
Defense 1: The Aggressive Blitz (Stopping the Run)
Our first and most aggressive approach is designed to blow up the play in the backfield. The goal is to create a numbers advantage and get a free defender to the ball carrier immediately.
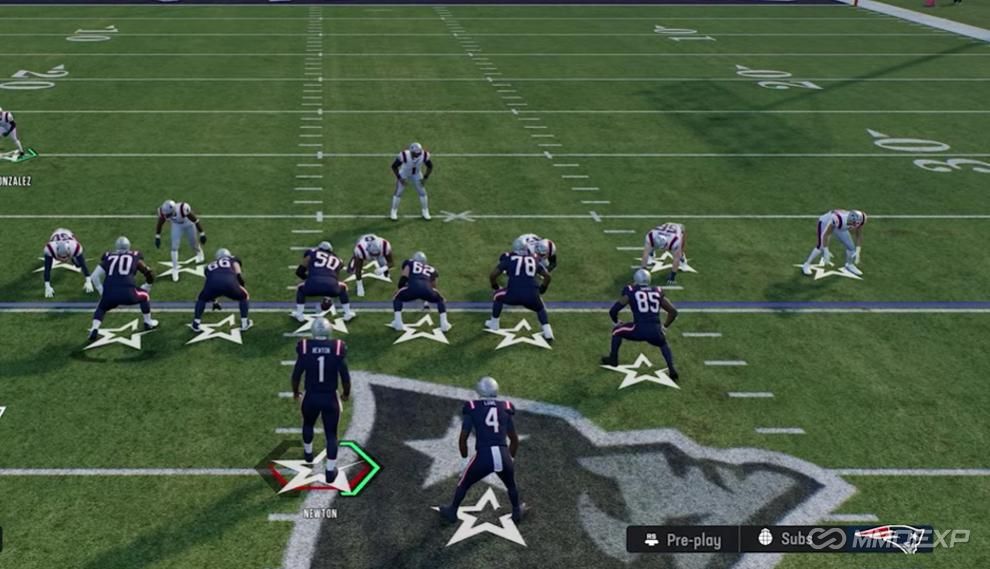
Formation & Personnel
Formation: Nickel Load Mug (This could be 2-4 Load Mug, 3-3 Load Mug, or standard Nickel Load Mug depending on your playbook).
Play Call: Nickel Blitz 2.
Pre-Snap Coaching Adjustments
Before calling the play, set these crucial coaching adjustments:
Auto Flip: On
Safety Depth: Close
Safety Width: Spread
Safety Midpoint: Strong
These safety alignments are key to how the defense will set up its containing edges.
In-Play Adjustments
Once you're on the field with Nickel Blitz 2 called, make these two simple adjustments:
Show Blitz with the Secondary: Press the buttons to show blitz (Y + RB on Xbox). This will cause the offense's protection to adjust.
Shift Defensive Line: Shift your defensive line toward the running back. This overloads the side the play is likely going to.
Optional Extra Layer: You can also put "No Outsiders" on your two edge rushers (the 5-tech and 2-tech). This helps seal the edge, though the scheme itself is very effective without it.
Your User Assignment
User the backside safety. Your primary job is to:
Fill the run gap against an inside zone.
Help out in deep coverage if they pass.
How It Works
When the ball is snapped, the magic happens. Because you shifted your line and showed blitz:
The right tackle is forced to block your defensive end.
The tight end is forced to block the player next to him.
The slot cornerback, due to your "Show Blitz" alignment, becomes unblocked. The slot receiver is responsible for him but can't get there in time.
Result: The slot corner fires into the backfield and tackles the halfback for a loss. The defense handles it on its own with minimal user input.
Defense 2: The Balanced Adjustment (Stopping Run & Pass)
The aggressive blitz is great against the run, but it can leave you vulnerable to the pass, with only three defenders covering four potential receivers to the trips side. Here's a simple tweak to maintain run-stopping ability while adding pass coverage.
The Single Adjustment
Run the exact same setup as Defense 1, but with one change:
Man Up the Slot Corner: Instead of leaving him on a blitz, manually assign the slot cornerback to man-cover the slot receiver.
Now, you have four defenders covering the four receiving threats to the trips side, which is much safer against passes.
How the Run Defense Changes
You might worry that removing the blitzing corner will weaken your run defense. Watch what happens instead:
First Level: Your defensive line occupies the right tackle and tight end, just like before.
Second Level: The Vert Hook linebacker reads the play immediately and flows freely to the ball, unblocked.
Third Level: Because your safety is aligned wide and close to the line (from our coaching adjustments), the outside receiver is forced to block the safety. This leaves your Soft Squat cornerback completely unblocked and ready to clean up any missed tackle.
Result: You now have two free defenders (the Vert Hook and the Soft Squat) flowing to the ball carrier. Even if the back breaks the first tackle, your corner is there to shut it down.
Your User Assignment
Stay on the backside safety, ready to help against an inside run or a pass to the middle/left side of the field.
Summary & Key Takeaways
Here’s a quick recap of how to implement this:
Identify the Threat: If your opponent keeps running Halfback Direct Snap out of Gun Off Trips, it's time to counter.
Call the Base: Come out in Nickel Load Mug and call Nickel Blitz 2.
Set Adjustments:
Coaching Adjustments: Safety Close/Spread/Strong.
Show Blitz with your secondary.
Shift your D-Line toward the running back.
Choose Your Variation:
For pure run-stuffing: Leave the slot corner to blitz.
For balanced run/pass defense: Man up the slot corner to the slot receiver.
User the backside safety to clean up the middle.
This setup is highly effective and can be run from a wide variety of load mug formations. It doesn't have to be your base defense, but when your opponent refuses to stop running this concept, add this adjustment and force them to try something else immediately. If you need more detailed Madden 26 Coins services and guidance, please follow us.
MMOexp Madden 26 Team


