Summary
This guide details how to beat Midra, Lord of Frenzied Flame in Elden Ring's Shadow of the Erdtree DLC, found hidden in Abyssal Woods' Midra's Manse. Midra is weak to Holy damage and bleed while resisting fire and poison, with low stance resistance for easy staggering. The two-phase fight features madness attacks and fiery, aggressive moves. It shares key dodging strategies, gear prep, and post-victory rewards. Players can buy Elden Ring Runes to level up and gather vital consumables for an easier battle.
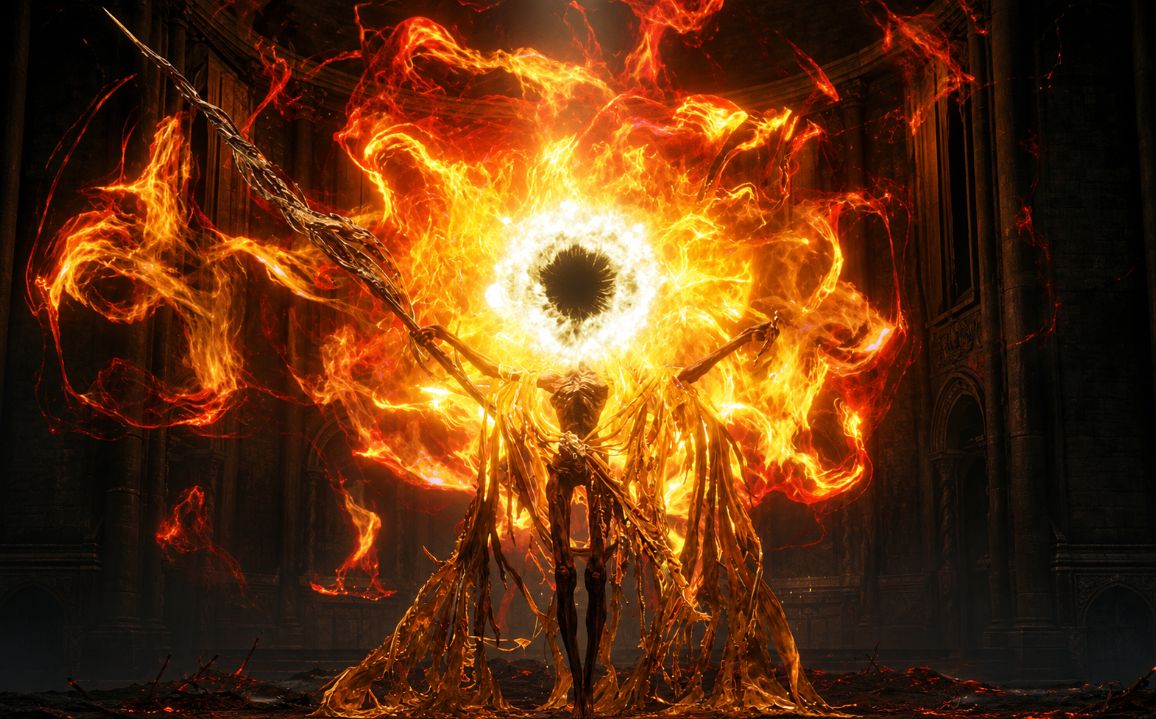
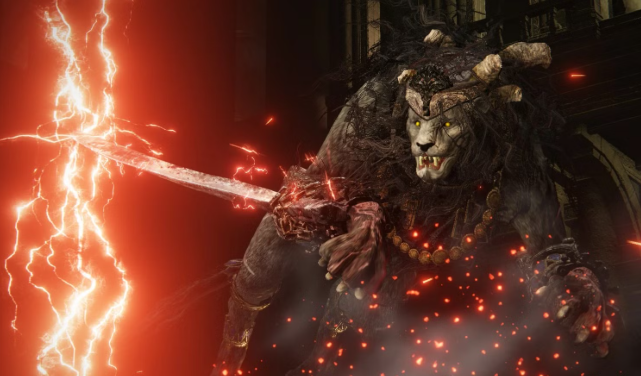
Midra, Lord of Frenzied Flame stands as one of the more unsettling bosses in Elden Ring's Shadow of the Erdtree expansion. Hidden deep within the eerie Abyssal Woods, this Lovecraftian foe brings a mix of physical power and Madness-inducing attacks that can overwhelm unprepared players.
This guide covers his location, key weaknesses, preparation tips, and a clear strategy for both phases of the fight. With the right approach, you can claim victory and the valuable rewards that follow.
Finding Midra's Location in the Abyssal Woods
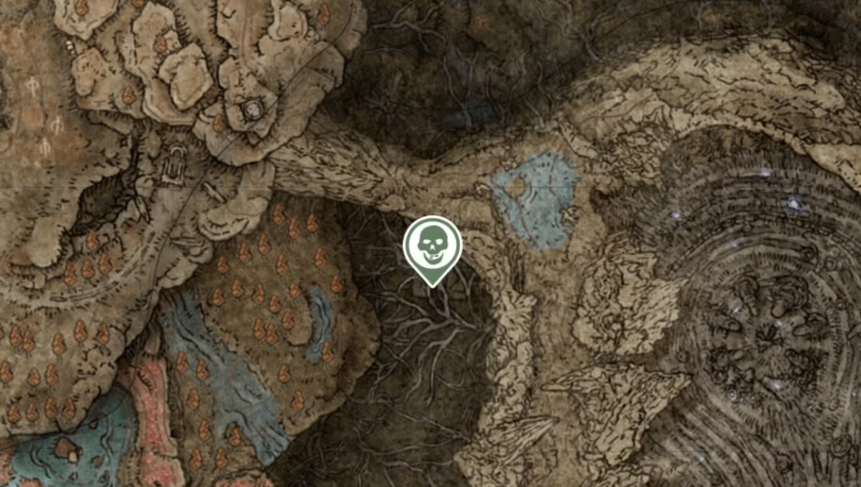
The journey to Midra begins in the southwest corner of the Abyssal Woods. His arena sits inside Midra's Manse, an abandoned and hazardous dungeon.
Reaching him requires careful exploration. Look for illusory walls and hidden paths behind paintings. These lead to the Second Floor Chamber Site of Grace. From there, the next room holds Midra in his initial form.
You cannot summon NPC allies for this battle, though Spirit Ashes remain available. Take time to clear the path thoroughly, as the area is filled with dangers that can drain resources before the real fight starts.
Preparing for the Fight: Weaknesses and Builds
Midra hits hard, and even with a Scadutree Blessing at level 10 or higher, a few mistakes can end the attempt quickly. Focus on raising that blessing as high as possible first.
Holy damage works especially well against him. Fast-casting holy weapons or Holy Grease applications can remove large portions of his health. Avoid fire damage entirely, since he resists it strongly. Poison also proves ineffective.
Bleed builds shine here. Midra is more vulnerable to blood loss than many other DLC bosses. Weapons like Nagakiba, Rivers of Blood, Bloodhound's Fang, or the Bloodfiend's Arm pair nicely with stance-breaking tactics.
His stance resistance is lower than average, so jumping attacks, Lion's Claw Ash of War, or heavy dual-wield setups stagger him reliably. Projectiles from skills or spells can also interrupt certain moves, creating extra openings.
Madness buildup is a constant threat from his Frenzied Flame attacks. Boost your Focus with items like the Clarifying Horn Charm, Mottled Necklace, or pieces of the Prophet Set if you struggle to dodge everything.
Having enough Elden Ring Runes on hand for leveling or buying key items before the fight can make a noticeable difference in survivability.
Phase 1: Learning Midra's Core Moveset
The encounter starts with Midra in a weaker initial form. Attack him while he is still speaking to stagger and defeat him quickly. This gives you a short window to use your Flask of Wondrous Physick or buffs before the true boss fight begins. Do not underestimate this form-he can still jump in or use Howl of Shabriri.
Once the real fight starts, Midra opens with The Flame of Frenzy, firing cone-shaped projectiles, often followed by Unendurable Frenzy. Roll or run sideways to avoid both the damage and Madness buildup. Getting behind him early can prevent the follow-up entirely.
His physical toolkit includes a slow three-hit swing with long reach. Dodge toward the swing direction rather than away. A rarer variation ends in a dash attack. After the sweeps finish, you gain a brief window to strike, but watch for a left-hand stab if you linger too close.
Spinning attacks come in two forms. One is a single aerial spin that closes distance quickly. The other involves three ground rotations that speed up. Hitting him during these animations with ranged options interrupts them cleanly.
Thrust attacks form the last major pattern. A single thrust is straightforward to roll past. The dangerous version involves two thrusts followed by an expanding sword explosion. Roll toward him on the second thrust and create distance immediately.
Stay patient. Focus on dodging the onslaughts and punishing the short recovery windows. Overcommitting leads to quick deaths.
Phase 2: New Threats and Heightened Aggression
Phase 2 begins around 60 percent health. Midra retains all previous moves and adds several dangerous new ones.
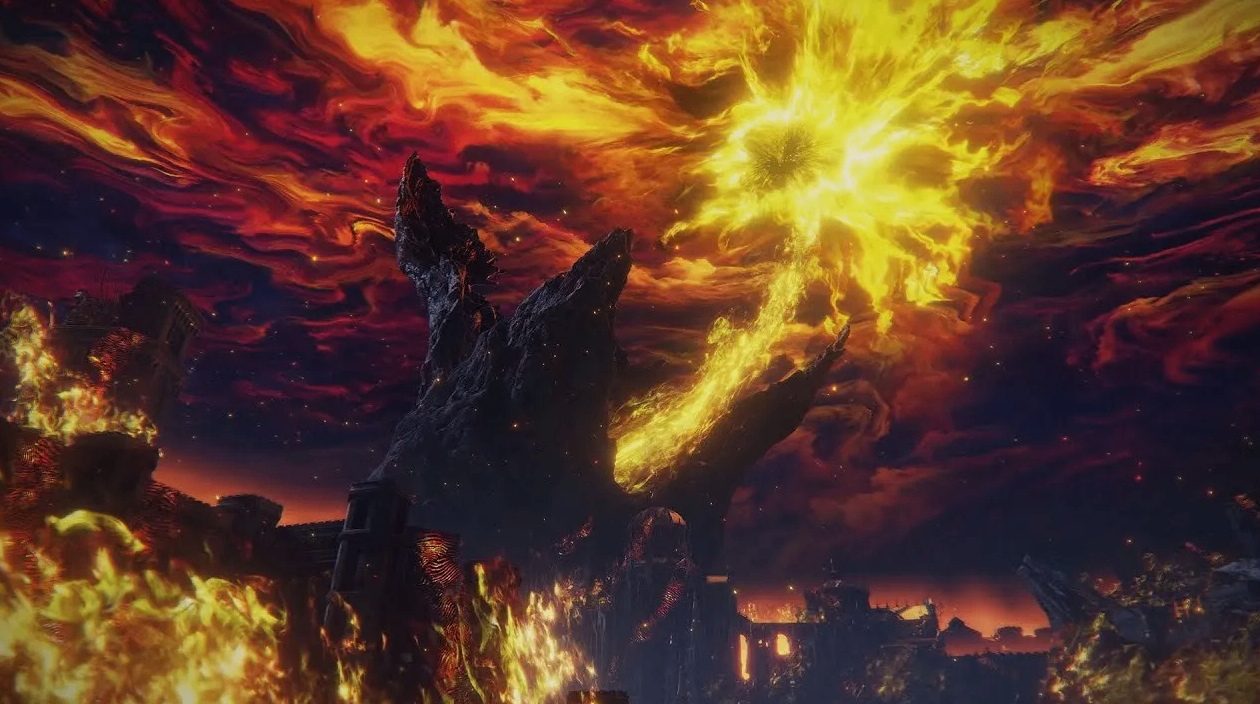
He launches into the air, charges, then crashes down in a massive explosion that sets the room on fire. Run or time a roll just before impact. After the explosion, a short window opens for attacks if you stay close.
The Flame Bomb sends a delayed exploding sphere. Keep your distance-the blast radius is large and punishes aggressive players.
His swinging attacks now carry fire trails along the ground after each sweep. Rolling toward him and circling to his back remains one of the safer responses once you learn the timing.
A stronger Frenzied Burst appears, firing a straight barrage of projectiles. Watch for flames gathering around his head as the tell, then run sideways. You can often close the gap during this move for a few hits.
Golden Crux is his signature Greatsword of Damnation technique. He leaps, plants the sword, then drives it deeper to summon golden spikes from the ground. Dodge the initial landing and either run clear or look for an opening if you can avoid the spikes.
Throughout both phases, Midra closes gaps aggressively and leaves few safe moments for healing. Prioritize survival and measured counters over greed.
Rewards and Final Tips
Defeating Midra grants the Remembrance of the Lord of Frenzied Flame along with 410,000 runes. Those Elden Ring Runes help fund further upgrades or key purchases as you push deeper into the DLC. If your character needs a quick boost in levels or consumables before tougher challenges, some players choose to buy Elden Ring Runes from trusted sources to stay on pace.
Patience and familiarity with his limited but punishing moveset are the real keys. Practice the dodge timings, stick to effective damage types, and keep your Focus high enough to shrug off occasional Madness buildup.
With preparation and steady execution, Midra falls, clearing the path through one of Shadow of the Erdtree's most atmospheric and challenging encounters.