Weekend Drop -













Summary
Winning a trampler fight isn't about firing blindly—it's about action priority, knowing when to shoot, repair, or board, and designing your walker to postpone repairs as long as possible. Trampler PvP follows a distinct logic where every second matters, and this guide breaks down walker design meta, action priority, combat stages, and optimal strategies for each. While this is still a game and you should have fun even with sub-optimal choices, this guide focuses on giving you the best chance possible—because winning fights consistently means earning more SAND: Raiders of Sophie Crown to fund your next upgrades.
Part 1: Action Priority – The Core of Every Fight
In a trampler battle, you have two priorities: survive and destroy the enemy. The question is which actions take precedence.
The Three Actions: Shoot, Repair, Drive
Every moment, you're choosing between three actions—shooting, repairing, or driving. The priority hierarchy works as follows:
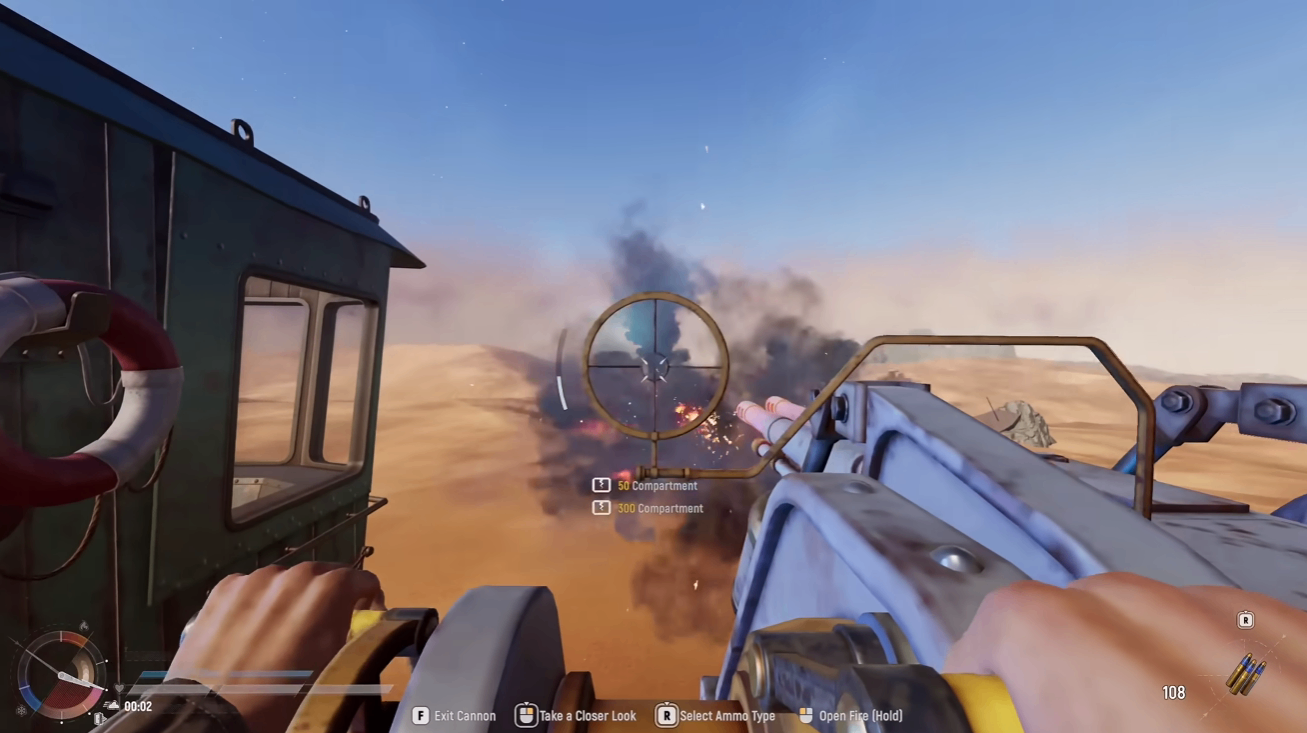
If you can shoot, shoot. Firing takes precedence over repairs if you can afford it. The math is straightforward—a white 40mm outputs roughly 1,200 damage while an engine repair takes the same time to heal about 1,500. But when you consider that one person might operate two guns, jumping between them as one overheats pushes your DPS closer to 1,600, making shooting the more efficient action.
If you cannot shoot, drive to get in position. Movement can decrease or fully disable the enemy's damage potential by forcing them into bad angles.
Repair in downtime windows. While you're waiting to turn and face the enemy, that's your repair window.
When Priorities Flip
If the fight isn't going your way, priorities change—driving and repairs take precedence as you disengage or reposition. The key insight is this: your walker design should postpone repairs as much as possible. The more modules between you and the enemy, the better. You want to delay the moment you're forced to stop and repair.
Part 2: Walker Design Meta – Build to Buy Time
The Core Principle
Your walker's entire design should play into one goal: postpone repairs as long as possible. More modules between you and the enemy means more time firing and less time repairing.
Side-Mounted Guns > Frontal Guns
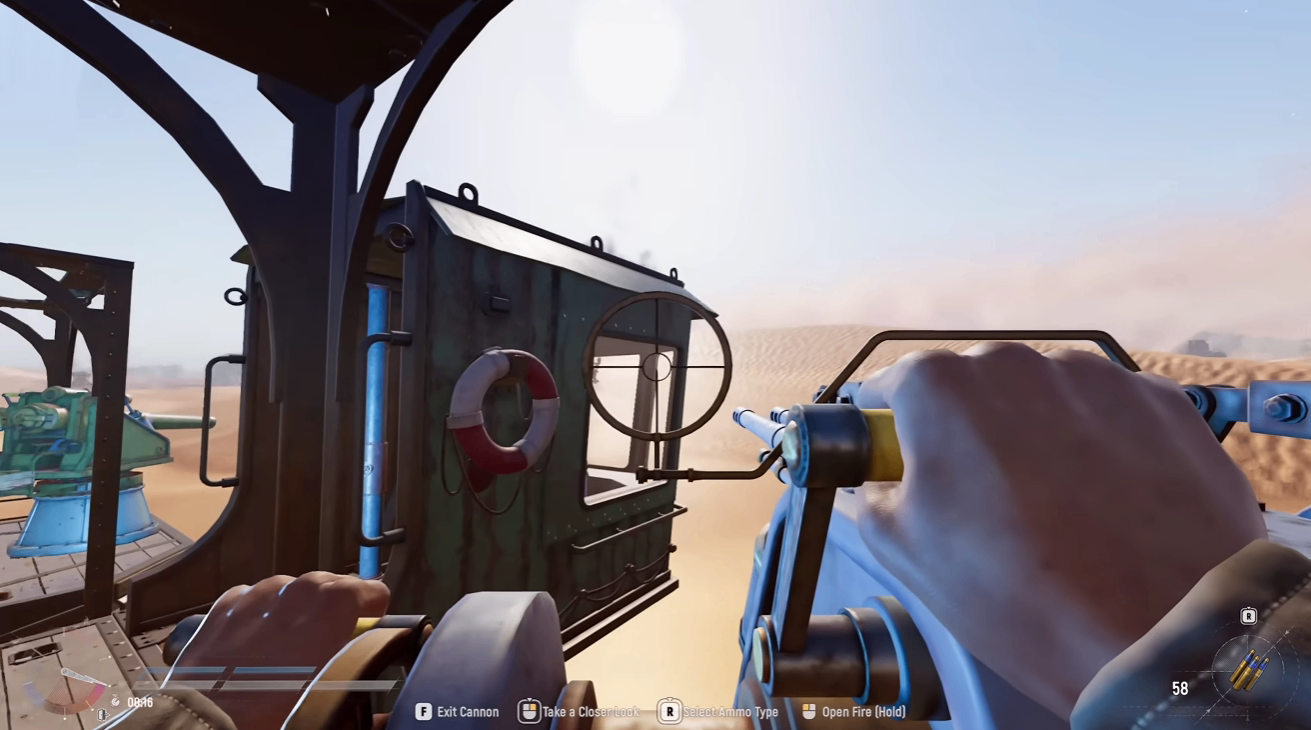
Having guns on the side of your walker is generally more advantageous than frontal mounts. During engagement, a moving walker has an upper hand in maneuverability. If you're standing still trying to turn your frontal guns toward the enemy, you're at a disadvantage.
Engine Protection
The engine is the most efficient module to repair, but you don't want to rely on that. Protect your reactor—the game's "heart"—behind multiple layers. Build defensive layers around it immediately using compartments, stairs, or other structures to absorb splash damage. A destroyed reactor ends your run permanently.
Captain's Cabin Placement
Experienced crews design tramplers so the captain's cabin sits deep inside the structure, behind multiple doors and corridors. Each door adds survival seconds. A boarder who reaches your cabin takes control of your walker, effectively ending the fight.
Part 3: Battle Stages and Strategy
Stage 1: The Approach
During approach, the aggressor is at a disadvantage—firing from a moving walker is less accurate due to netcode limitations. The defender's best strategy is to stay put and fire precisely.
For aggressors: Minimize damage by boosting and using the 70mm with smoke shells to obscure the enemy's vision. Smoke is powerful and underused—it can change the fight before it properly starts.
For defenders: Focus on legs when enemies approach at range. Even the 40mm can do this job effectively.
Stage 2: Engagement and Boarding
During active engagement, target priority is everything:
Legs first. Cripple their mobility. A legless trampler can't flank, escape, or position well.
Cannons second. Once they're stuck, take out their ability to fight back.
Engine/reactor third. Destroying the reactor wrecks the ship and stops enemy respawns.
Boarding is often optimal when the opportunity presents itself. Even if you fail to capture the cabin, you've wasted more enemy time than you've wasted yours. A successful boarding threat freezes enemy activity—you're winning either way.
Boarding Tactics
Threaten the captain's cabin – If you reach it and interact with the terminal, you instantly take over their ship and all cargo, denying their respawn.
Disable the engine or wheel – Hindering enemy movement can turn the battle on its head.
Kill the crew – Removing gunners from their posts stops the enemy's DPS.
Use Time Bombs and C4 – These are brilliant for blowing open doors, wheels, or cannons to clear a path.
Do NOT board without a plan – If you jump without a clear threat, experienced players will ignore you. You'll waste your own time rather than theirs.
Stage 3: Disengage and Chase
If the fight turns against you, focus on boosting away and targeting the enemy's legs if possible. A crippled pursuer can't catch you. If you're chasing, do the same—disable their mobility and close the gap.
Part 4: Cannon Types – Which to Use
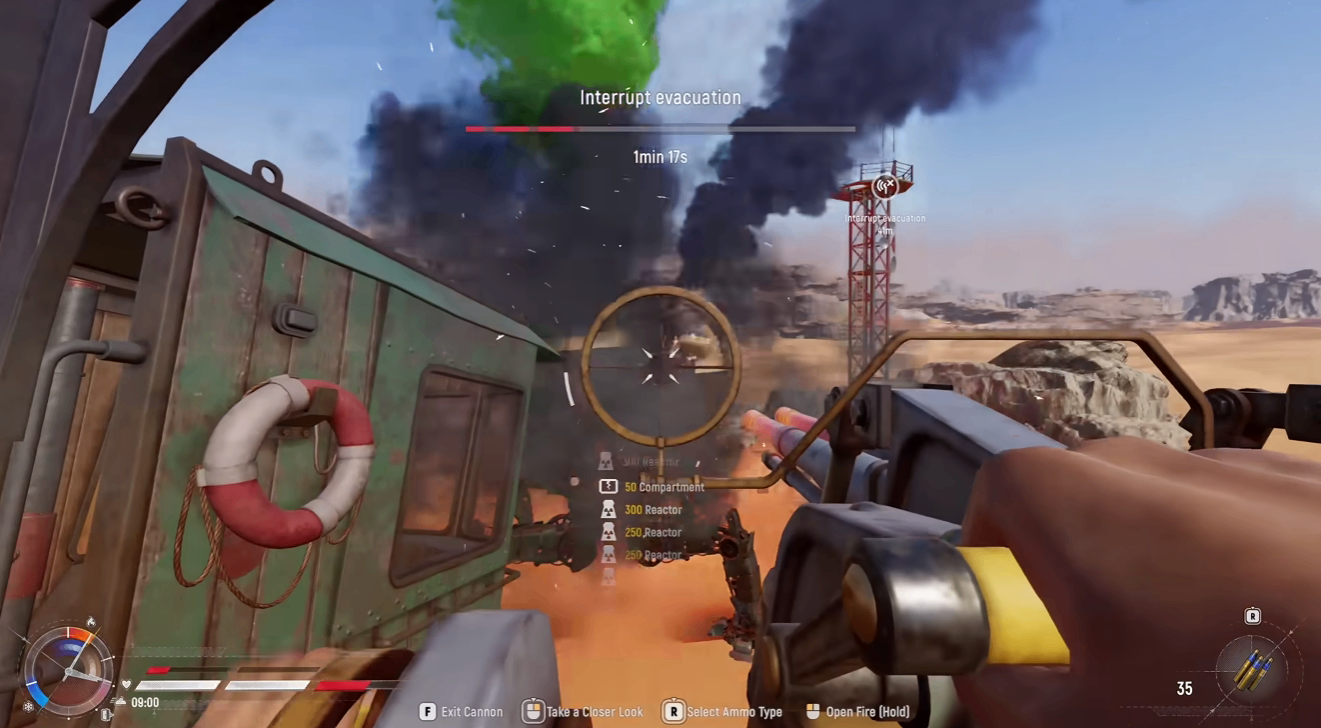
40mm – Your best option for DPS against modules. It's the workhorse—fires continuously, keeps decent range, but overheats, so fire in short bursts. Recommended for beginners because it's versatile.
80mm – The heavy hitter. One big slow round that deals serious damage. Best for the finishing shot or for sniping a crew member from distance. For solo small trampler builds, it's valuable for engaging from safe range.
70mm – The shotgun cannon. Weak against tramplers, but its wide spread makes it excellent for killing crew at close range. Also use it tactically with smoke shells to obscure enemy sight during approach.
In practice: The 40mm often outshines the 80mm in every situation, even for focused or long-range fire. Reserve the 80mm for finishing blows or killing crew.
Part 5: General Tips
Kill the enemy crew – This is the most advantageous action you can take. Use your guns or the 70mm for this.
Smoke out stationary enemies – A well-placed smoke shell can turn an approach into a slaughter.
Find consumables – Any consumable—orbital strike, deployable shield—gives you a better chance, especially against superior walkers.
Do everything in advance – Start every match by loading guns, placing consumables (shields, boosts near the engine), and having backup gear in your captain's cabin in case you're boarded.
Don't leave crates in open access – If enemies board and kill you, make them work to remove ammo from your guns.
Repair constantly – The second your trampler takes damage, patch it up. Damaged legs slow you down. Attrition wins these brawls, and the crew that keeps repairing is the one that limps away.
Conclusion
Winning in SAND PvP isn't about having the biggest guns or the most armor—it's about prioritizing actions correctly and designing your trampler to buy time. The priority is clear: shoot if you can, drive if you can't, repair in the downtime. Target legs first, then cannons, then the reactor. Board when you can pose a real threat. And above all else, keep your captain's cabin and reactor protected behind layers of modules and doors.