Summary
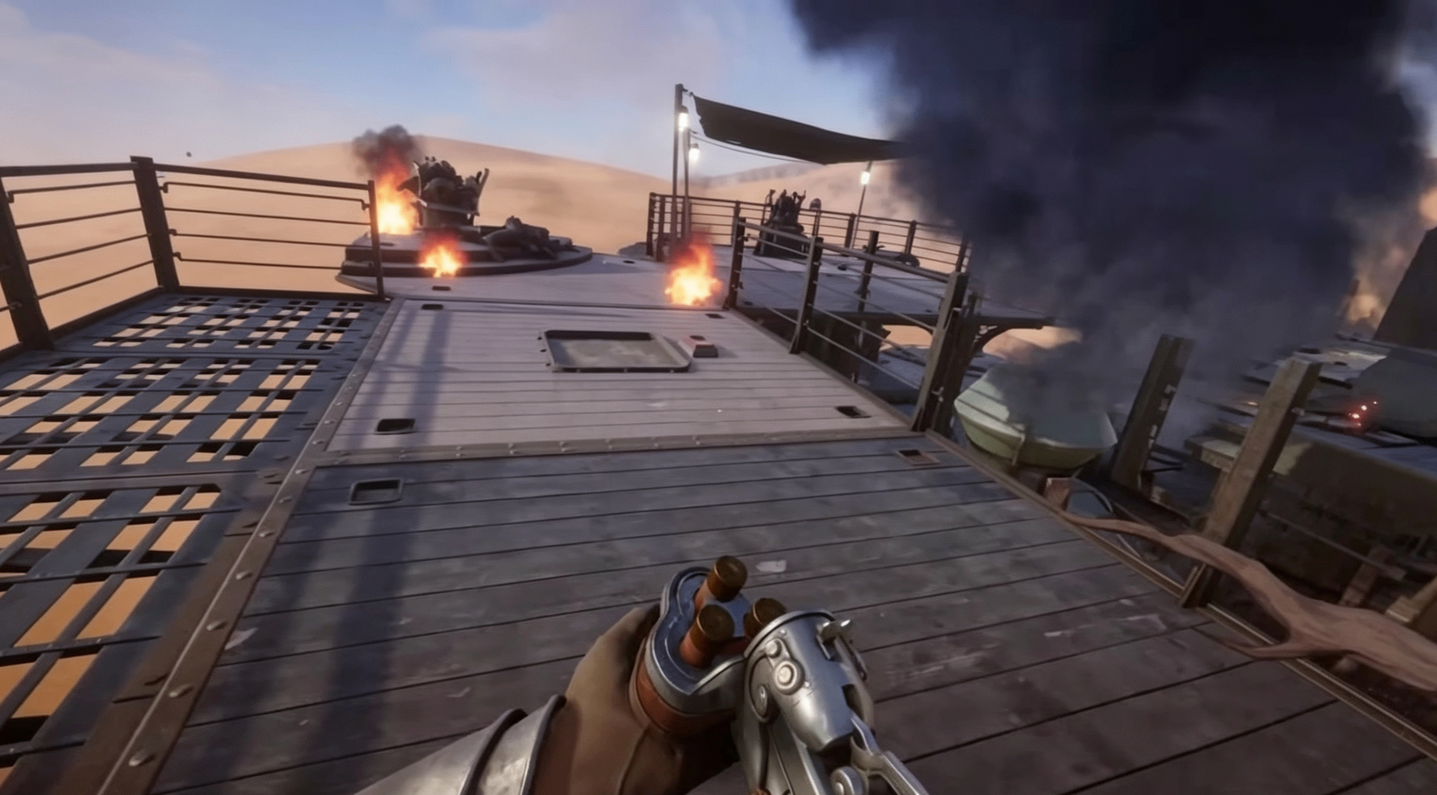
SAND: Raiders of Sophie is a PvPvE extraction shooter where you pilot massive walking mechs called tramplers across a vast desert on an alternate-1910 world. This guide covers everything from building your first trampler to dominating in combat—whether you're a peaceful scavenger or an aggressive raider, helping you earn valuable loot and even a SAND: Raiders of Sophie Crown without wasting resources on expensive mistakes.
Building Your Trampler: The Foundation
Choosing the Right Chassis
Your trampler's success starts with the base. For beginners, the Grumpy Walker preset is recommended—it's cheap to rebuild and has well-rounded stats . If you're building from scratch, prioritize a square or hexagonal chassis for stability. These shapes distribute impact evenly across the structure, reducing the chance of bending or snapping when hit .
Key design principles: Build symmetrical. The legs, weapons, and heavy components should be balanced side-to-side. An asymmetrical trampler will drift, turn poorly, and is far more likely to tip over when climbing dunes . Avoid piecing together small, irregular parts for the base—seams are weak points that crack under stress.
Core Components
Every trampler needs these essentials :
Chassis – the foundation frame
Motor Reactor – provides power
Fly Bridge – steering compartment
Captain's Compartment – your respawn point
Entrance – access in and out
Connect everything using decks and frames. The construction screen will show warnings if anything is missing . Pay attention to the stats panel on the right—it shows how each part affects speed, maneuverability, durability, and build cost.
Legs and Mobility
Symmetry is critical. Both sides must have identical leg types, numbers, and mounting heights. A single heavy leg on one side will flip you. The standard four-leg setup is stable for climbing and crossing dunes . Reinforce the leg attachment points with extra plates—they take constant stress and wear out first.
Armor and Guns
The experimental design described in the footage had 11 cannons across two floors and over 35 armored plates. This extreme approach cost roughly 6,000 currency and moved at a speed of 3, but its durability was unmatched [citation:transcript].
Practical armor tips:
Layer plates around the reactor and pilot area
Add guarding rails to prevent crew from falling off
Keep heavy weapons centered to avoid tipping
Combat Strategy
Target Priority
Most new players make the mistake of blasting the whole ship. There's a specific order that wins fights :
Legs first – Cripple their mobility. A legless trampler can't flank, escape, or position well.
Cannons second – Once they're stuck, take out their ability to fight back.
Reactor third – Destroying the reactor wrecks the ship and stops respawns.
But the fight isn't over. The enemy captain can still escape, steal your ship, or revive. You have to eliminate them too .
Know Your Cannons
SAND gives you three main cannon types, each with a different role :
80mm – The heavy hitter. One big, slow round that deals serious damage. Best for the finishing shot.
40mm – The workhorse. Fires continuously. Fire in short bursts to prevent overheating.
70mm – The shotgun. Weak against tramplers but excellent for killing crew at close range.
The footage crew used an 80mm on one side and relied on overwhelming firepower. The left-side cannons proved decisive in their most intense fights.
Boarding and Stealing Ships
The boldest strategy: stop trading shots and push your trampler into theirs . Board their captain's cabin and interact with the terminal on the table—this claims their ship and all cargo, instantly disabling their respawn. Then you only need to kill them once. Time bombs and C4 are excellent for breaking through doors and clearing paths.
In one battle described, the crew destroyed the enemy reactor, killed the crew, and took control—only to realize later their own engine had been fatally damaged beyond repair [citation:transcript]. Always check your own ship's status after a boarding action.
Repairs and Survivability
Defense wins fights. The second your trampler takes damage, get on repairs. Use the multi-tool on the pipes, plates, and circuit boxes around the ship—especially in the captain's quarters, crew rooms, and reactor room . Damaged legs slow you down. Keep them maintained.
Many fights are won by attrition. The crew that keeps repairing is the one that limps away .
Use the Terrain
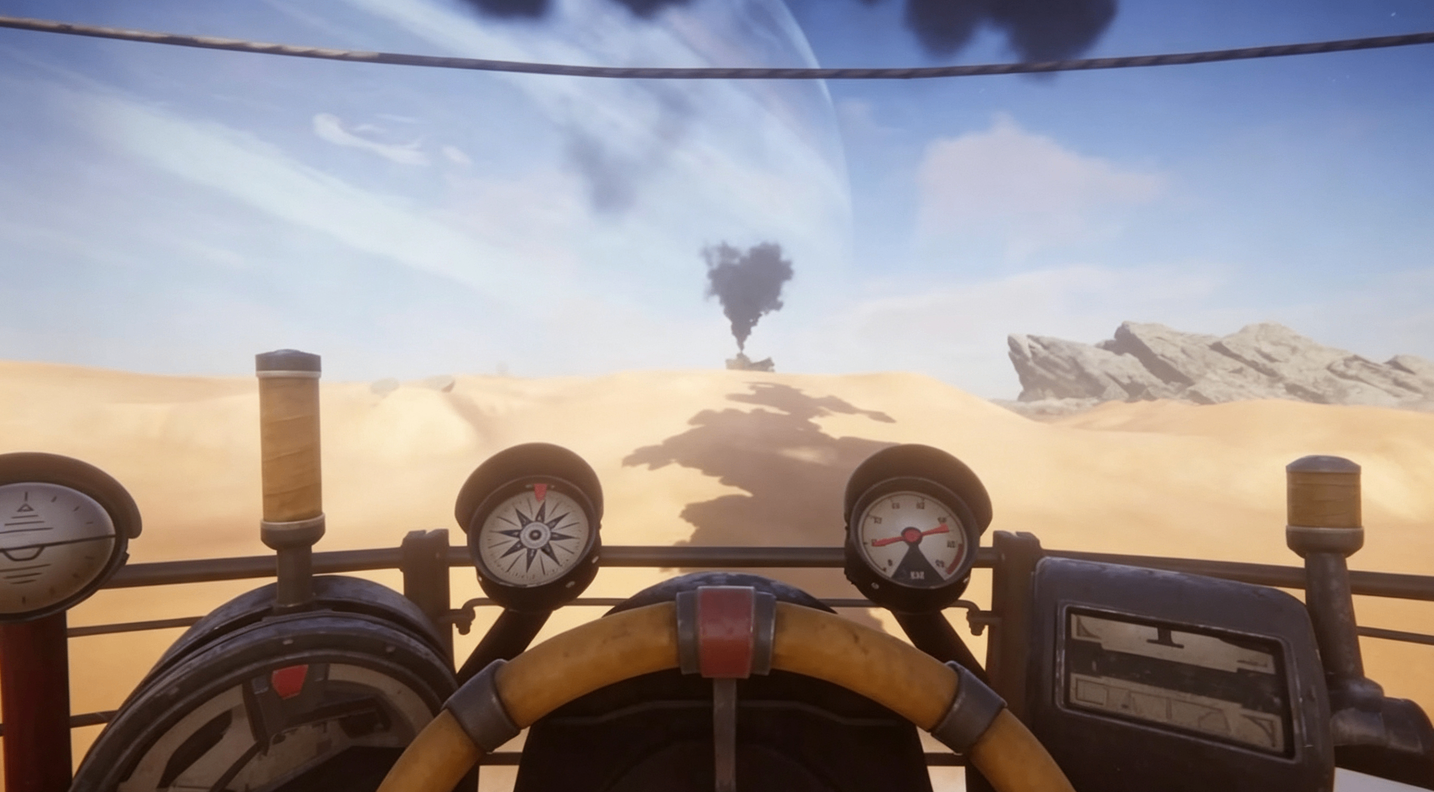
The dunes aren't just scenery. Position yourself to force larger tramplers into awkward climbing angles—they become slow, exposed targets . But drive too fast into a steep hill or rock, and you'll take damage and stall. Read the ground.
Looting Strategy
The Green Box System
Your character's inventory is tiny. Loot goes into green storage boxes, not directly into your backpack . Carry a box to loot, fill it, then place it on your ship's racks. Anything left loose on the floor when you extract is gone. Fill boxes, rack them, extract them—that's the loop .
What to Grab
Mechanical parts – Always extract these. They let you rebuild a trampler cheaply after a bad run .
Black boxes – Every destroyed reactor drops one. They sell well and drive progression .
Red crates – Rare loot. Check the symbol on top (weapon, cannon, or cogwheel) to grab what you need .
Safes – Hold valuables and coins. Blow open locked doors with grenades or time bombs .
The Shovel
Keep an eye out for buried bones scattered across the desert. Some mark treasure you can dig up with a shovel—a one-time use item with a worthwhile payoff .
Workbench
Get a workbench on your trampler as early as possible. It lets you craft ammo and upgrade gear mid-run, turning raw loot into exactly what you need on the spot .
Extraction
Drive into the extraction circle, climb the tower, and hold F on the radio. A green flare signals your location. But here's the catch most players miss: your ship extracts separately from you . You must physically get off the trampler and take the rope to extract yourself. Many players have watched their gear vanish while still standing on deck .
If you're solo, it's wise to put your trampler in "Halt" mode (not fully off) during extraction—you'll need to move quickly if enemies rush you . If you're with a crew, only one person should go to the tower while others stay on the guns.
PvE Encounters
Ironclad Robots spawn when an "eye" beacon appears on the map . They're hard to outrun—either stay out of range or take the fight. Robots have a brief delay after spawning, giving you a window for free shots. Each robot drops a loot crate.
NPC tramplers go down in roughly 4-5 80mm hits and drop useful items like fuel rods, alloys, and repair kits .
Final Thoughts
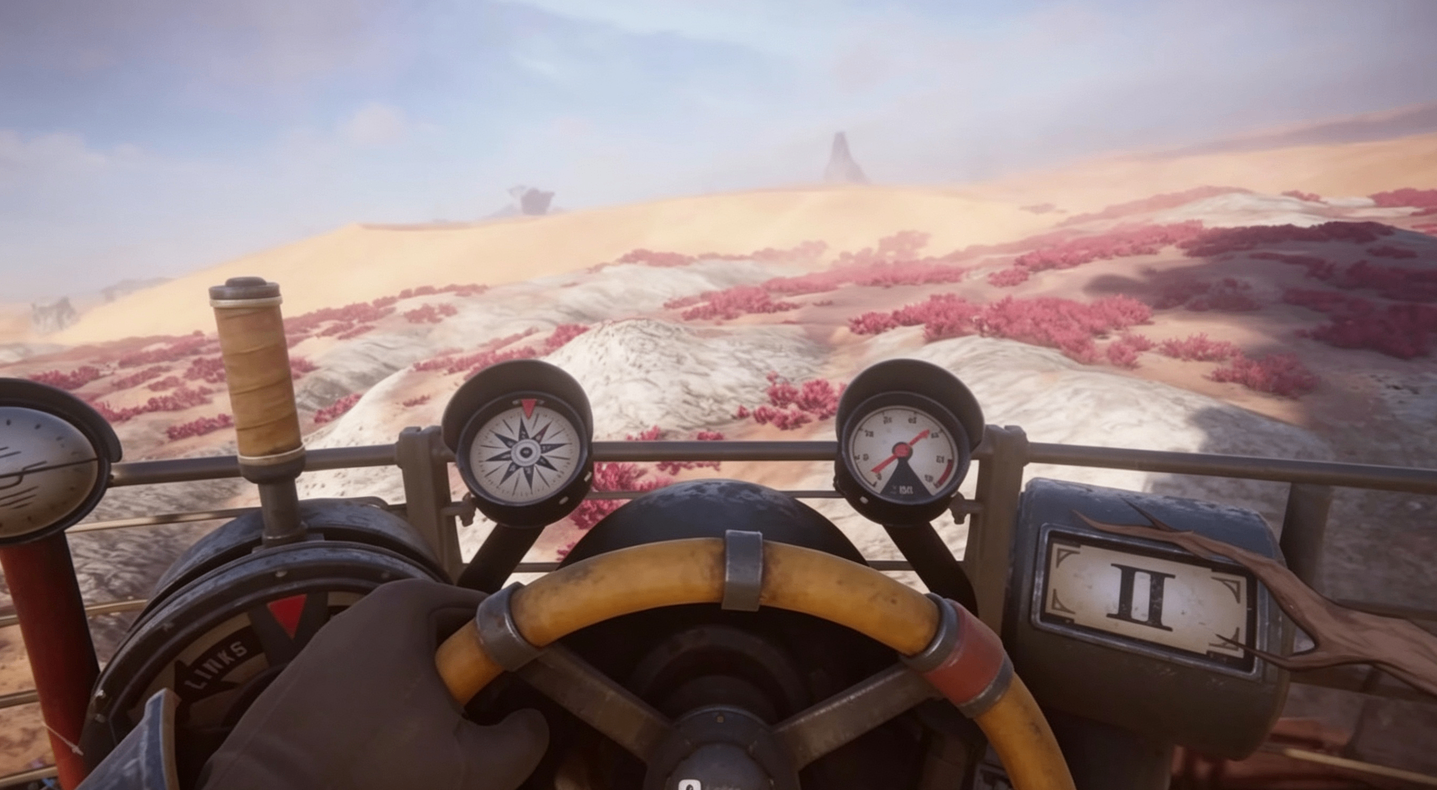
The footage showcased an extreme trampler design that dominated through sheer firepower and armor, surviving lag, disconnects, and intense multi-ship battles. While a fully-armored fortress with 11 cannons may be impractical for solo play, the principles scale: balance your build, focus on target priority, repair constantly, and never stop moving.