Summary
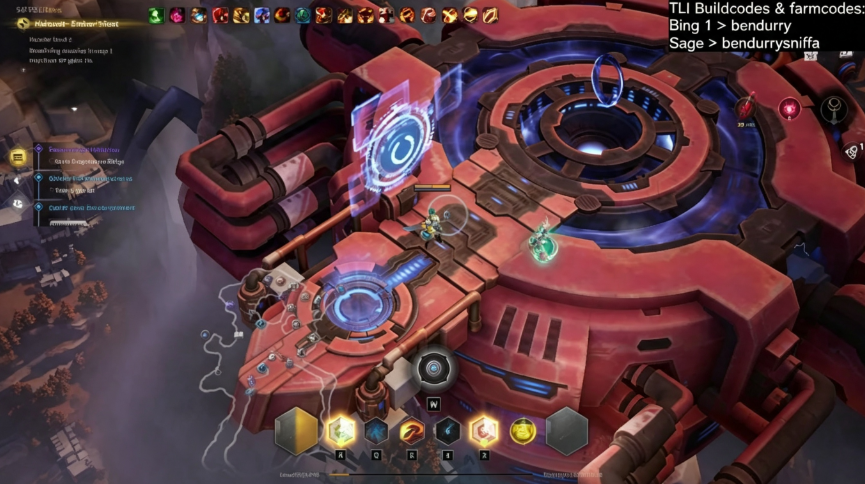
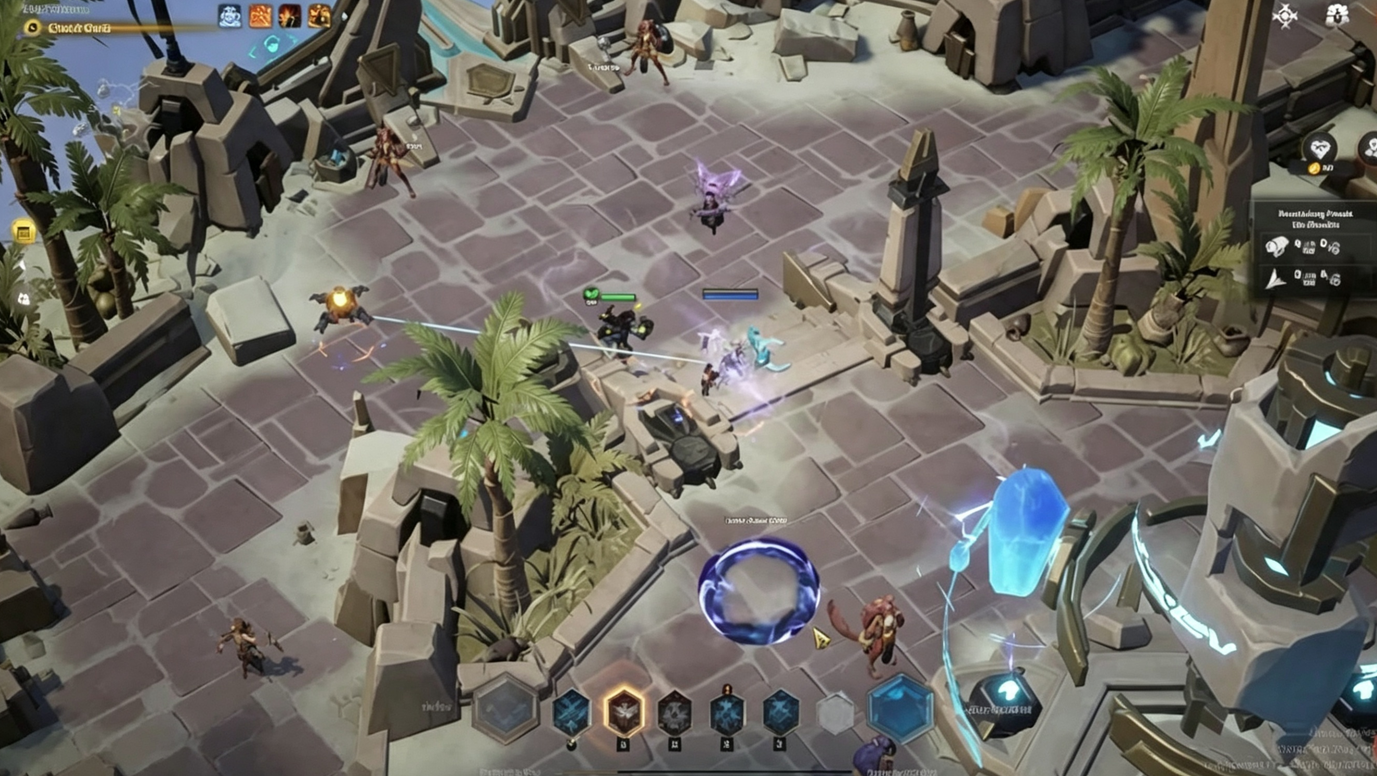
The Sage Whirlwind build has become one of the strongest and most satisfying farming builds in Torchlight: Infinite Season 20. This guide covers everything from campaign progression to endgame optimization, helping you transform this traditionally expensive build into a powerful free-to-play option. If you're looking to accelerate your gear upgrades, you can find Torchlight: Infinite Flame Elementium for sale to quickly fund key purchases and skip the early grind. With the right resources and upgrade path, you'll be shredding endgame content in no time.

Why Whirlwind Sage?
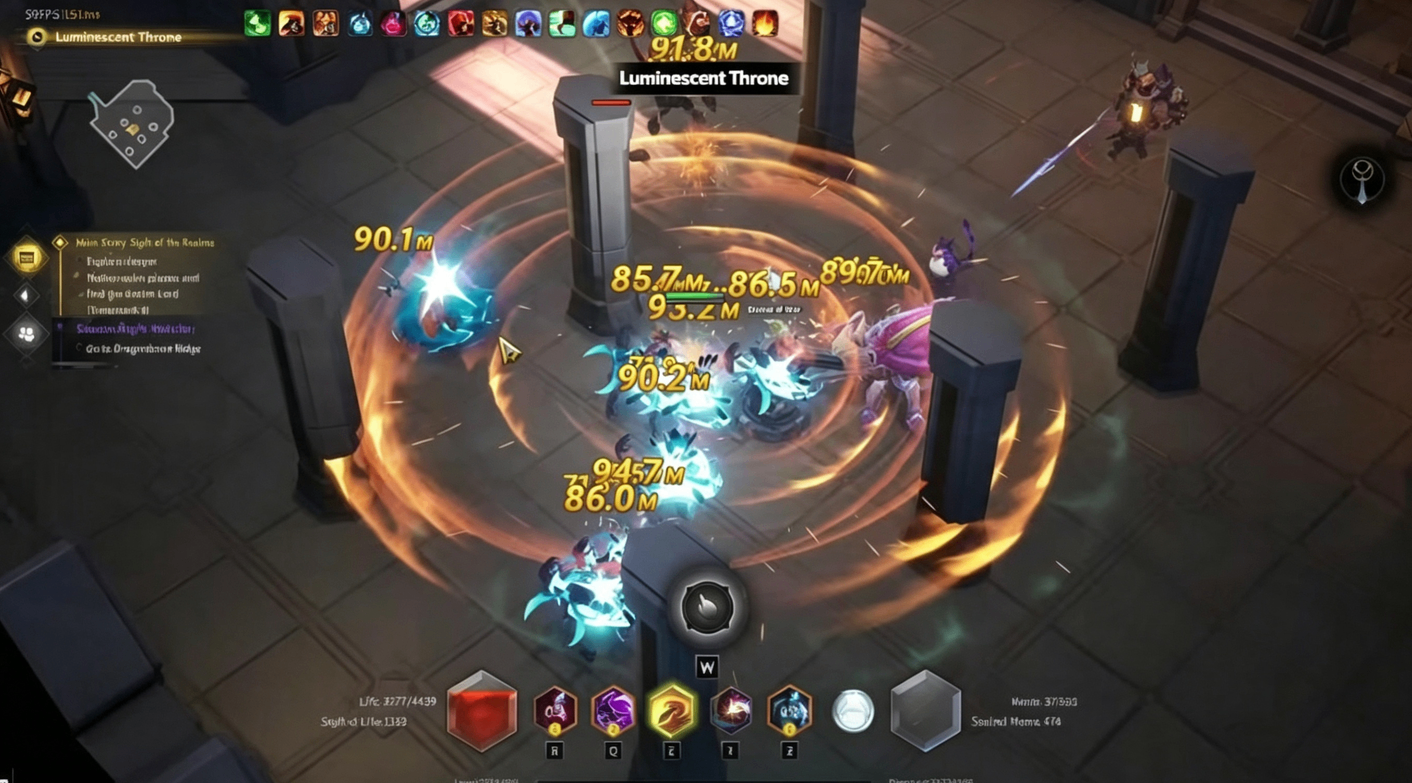
Whirlwind Sage excels at fast mapping with nearly screen-wide area coverage, strong survivability, and smooth gameplay. The build performs well even before full optimization, making it a comfortable choice for both casual and efficient farmers.
Key advantages:
Massive screen-wide AoE
Excellent survivability with 5,000–6,000 Energy Shield
Steady defensive layers (capped 60% resistances, 45,000 armor)
Consistent farming output (800–1,200 FE per hour in Profound zones)
Campaign Progression
Early Leveling (Act 1-5)
Start with Chromatic Shards as your primary damage skill. Use:
Goddess of Knowledge talent tree
Spell Burst mechanics
Taking Beacon and Taking Chilly for utility
Choose either Cold Convert or Fire Convert for your damage type. Cold conversion is generally better, but Fire conversion allows you to use 2x Burning Fire supports.
Mid-Campaign Transition
Once you reach maps:
Equip Tangle for easier clear
At Time Mark 5, add God of War to your atlas tree
Swap to a two-handed weapon and go full Whirlwind
At Time Mark 7, transition to the Affliction setup with Magma Skull and Magnus's Mind Flame
Core Affliction Mechanics
The build's damage foundation relies on Affliction stacking. A unique helmet converts affliction damage-over-time into direct hit fire damage.
How Affliction Works
Mechanic | Effect |
Affliction points | Each point increases damage taken by 0.5% |
Max Affliction (100) | Enemies take 50% increased damage |
Affliction Effect | Every +10% reduces Affliction per second by -6 |
Critical Balance
Too much Affliction Effect without enough generation means stacks decay below 100, slashing DPS significantly. Prioritize:
+30 Affliction per second on slates
Increased Affliction Effect magnitude
"-X% all resistances" when enemy has max Affliction
Tiered Gear Upgrades
Follow this cost-to-damage priority order:
Early Upgrades (Under 100 FE)
31% Additional Hit Damage Corruption – nearly doubles base stat value
Minotaur's Guillotine – excellent value for cost
Fighting Stompers or Blade Dancers – Blade Dancers are faster but require AGI blessing source
Mid-Tier (100–500 FE)
Death Notch – add flat damage lines for reliable raw output
True Flame corrupt – +100% expanded skill area for faster mapping
Double Burning Fire – until you can afford Wind Breath
Magnus Skull + Magnus's Might Flame – combined gives True Flame boost
Late-Game Investments (1,000+ FE)
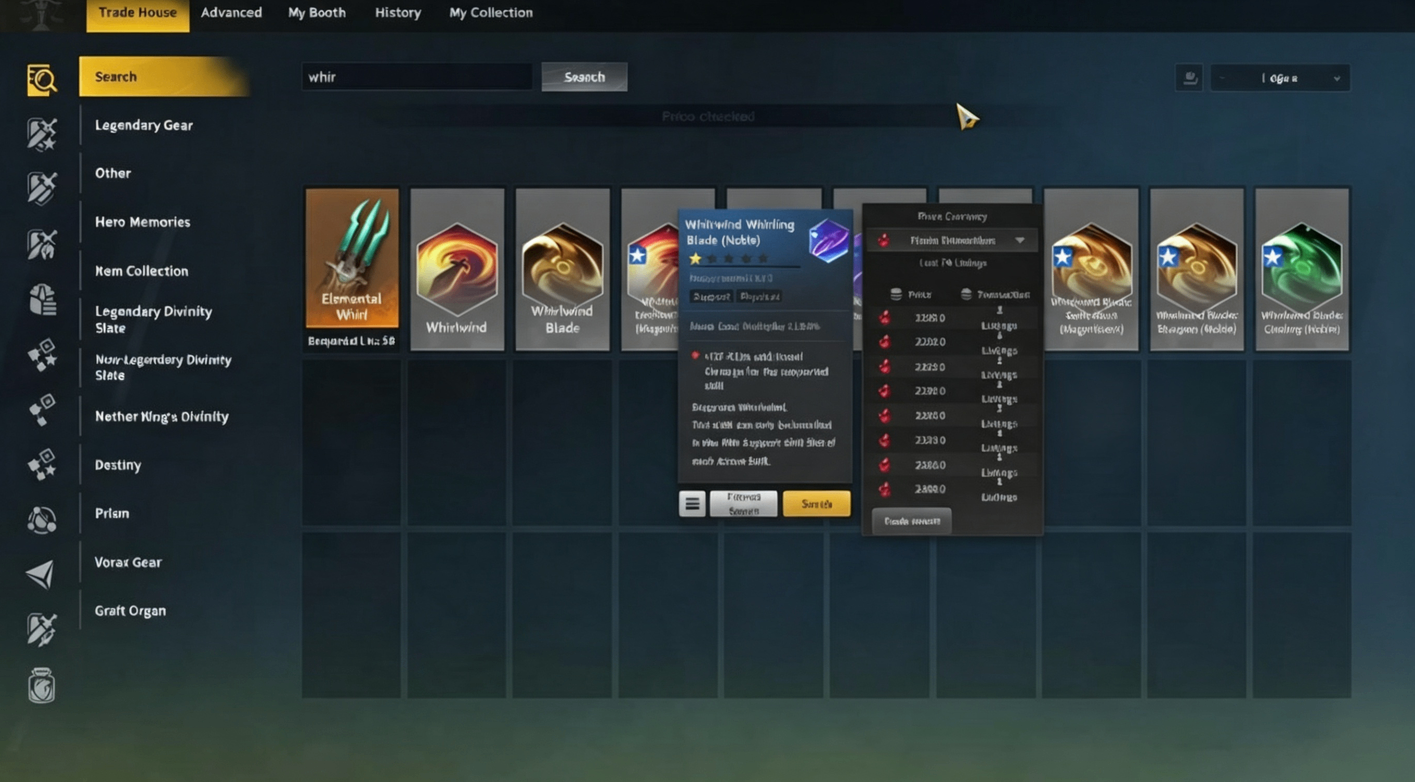
Whirlwind Whirling Blade Noble Support – adds projectile tag, enabling Marksman Gale synergy
Wind Breath with 3-min channel + channeling support + channel prep = always proccing Steep Strike
Corroded Wind Breath rings (~1,000 FE each) – permanent 40% double damage proc
Top-Tier Endgame Gear
Priceless Weapons (1,000–3,000 FE) – stack attack speed, flat damage, steep strike, critical damage
Space Rift – cheap and very good defensive option
Farming Strategies
Primary Rotation: Tamar K
The most efficient farming setup focuses on:
Black Sail maps
Wealth and Whisper modifiers
Purple Returning Compass
3 Resonance taps into Lead Mechanic
Expected output: 700–800 FE per hour
Map Priority
Invitations – sell for high value
Wealth bonuses
Memory Scraps – chest quantity
Lead Mechanic
Significantly improved since Week 1. Rewards include:
Purple Wicks (~7 FE each)
Raw FE
Crafting slates
Resonance rewards
Alternative: Creation Compass Nodes
Each bubble = 20 Resonance
Purple compasses cost under 1 FE
No quantity investment required
Atlas Passive Recommendations
Priority nodes for farming efficiency:
Node | Effect |
Wick Chance | Increased spawn rate with Purple Compass |
Magnificent Support Conversion | 5% rare → Magnificent Support |
Mist Essence | Defensive buff until more points available |
Hunting, Winding Keys, Resonance | End-game investment |
Energy Shield Transition Roadmap
Once you've acquired these three key items, swap from life to ES:
Required Upgrades
Cruelty Lone Walkers – offense boost with Aura Effect, Sealed Mana Compensation
Omni Elixir Belt (~1,000 FE) – ES base, enables Druid tree access
Scorpion Elixir – fixes movement speed for faster mapping
ES Swap Requirements
ES Chest and ES Boots
Flat Damage on Death Notch (~300 FE for 15-20% more damage)
Regain Interval Reduction – sustainability
Quick Tips
Auto-channel – enable this setting for Whirlwind; it eliminates holding the skill button
Memory investment – start with purple memories (cheaper, recyclable)
Winding Keys and Resonance – sell for early currency
Miraculous Touch (~35-40 FE) – grants buffs and max blessings, procs constantly
Resource management – no energy shield with ES activation medium automates juice 24/7
Final Verdict
The Sage Whirlwind build offers one of the most comfortable farming experiences in SS20. While expensive to fully optimize, the F2P-friendly upgrade path and strong early performance make it accessible to all players. With smart gearing choices and efficient farming rotations, you can push well beyond 100 billion DPS and handle endgame Profound content with ease. If you want to fast-track your gear progression, you can acquire Torchlight: Infinite Flame Elementium from MMOEXP to fund key upgrades and skip the grind. With the right resources and a solid upgrade plan, you'll be dominating endgame content in no time.