Summary
You've made it to Day 3 of the season, and you're starting to feel the grind. Whether you're running a Miraculous Touch setup or experimenting with an Energy Shield (ES) swap, Torchlight: Infinite FE drives every upgrade path you'll take. This guide covers gearing priorities, Affliction mechanics, and efficient Profound farming strategies — all with your FE economy in mind.
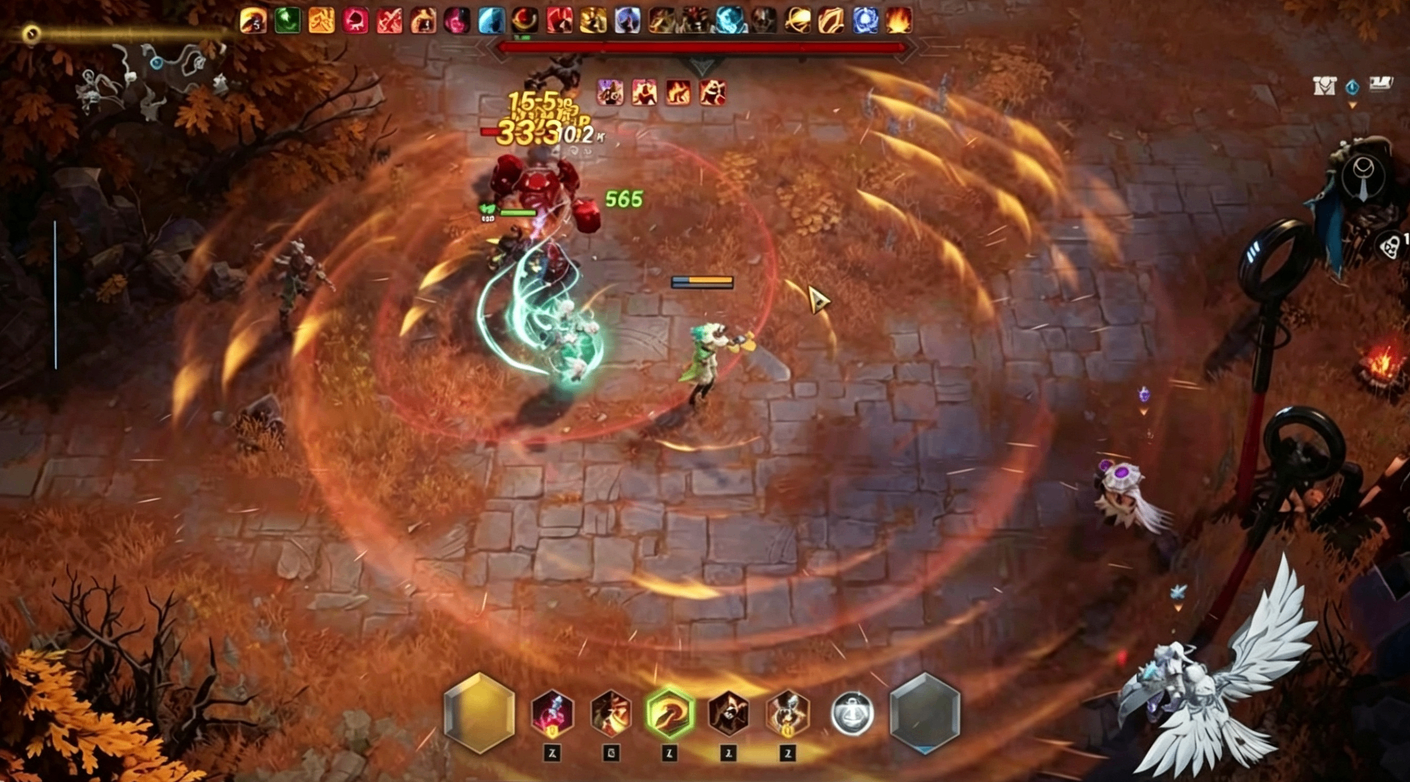
The Current Setup: Where We're At
Investment & Performance
Total investment: Approximately 8,000–10,000 FE in trade value
Build DPS: 200–300 million depending on Miraculous Touch procs
Mapping DPS: ~30% higher due to Momentum stacking
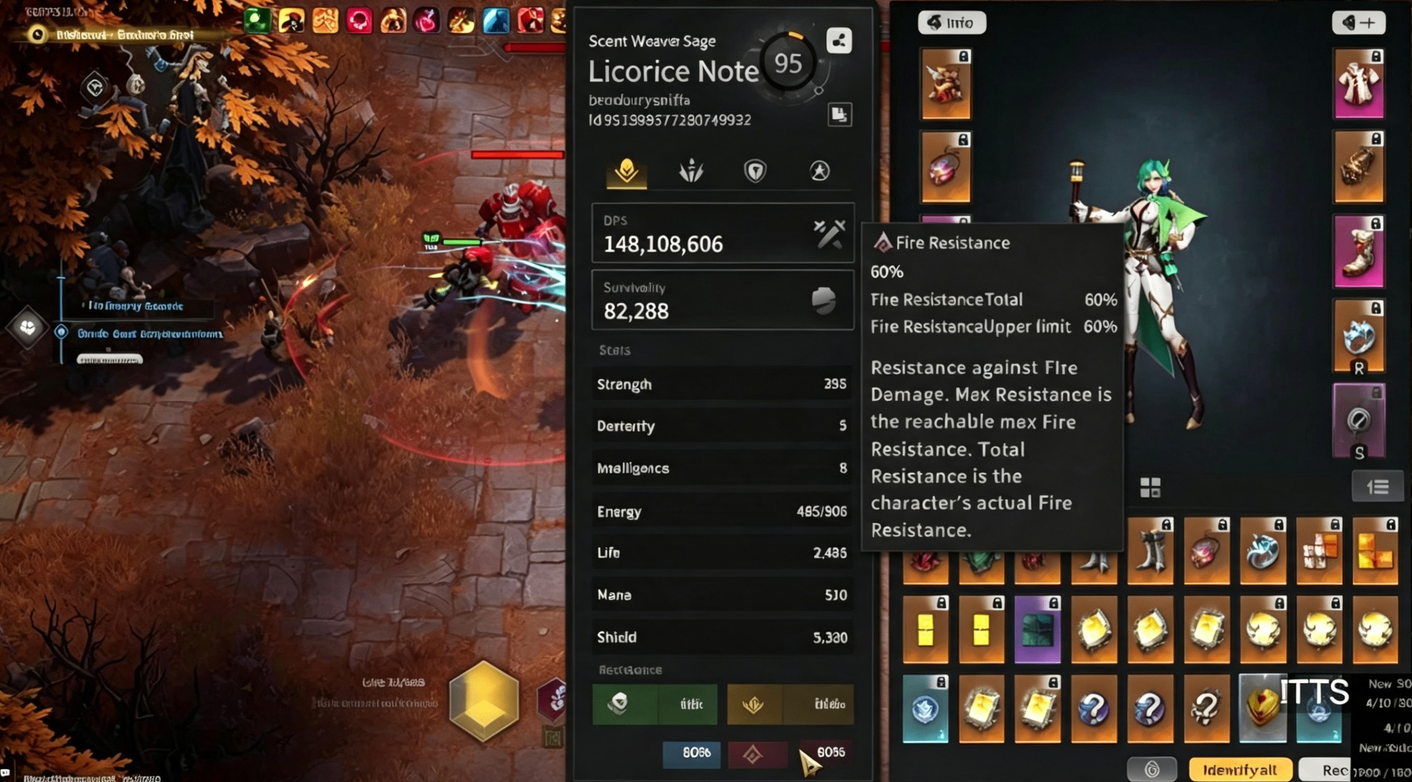
Defenses: 60% all resistances, 5,000–6,000 ES, excellent recovery rate from Retaliate
Defensive Trade-Off
To achieve this level of tankiness, some DPS was sacrificed. The trade-off was worthwhile for Profound content, where survivability is paramount. The build currently uses Steadfast Determination instead of a movement speed flask, which significantly boosts armor—pushing it to approximately 45,000 armor when fully active. This provides roughly 65% physical damage reduction (PDR) plus additional non-armor damage reduction.
The setup feels comfortable for farming Profound difficulty, though map clear speed is slightly slower due to the lack of a movement speed flask. The plan is to continue cruising with this configuration until the next major upgrades are secured.
The Affliction Mechanic Explained
Understanding Affliction is critical to optimizing this build. Here's how it works:
What is Affliction?
Affliction is a debuff applied to enemies simultaneously with Damage Over Time (DoT) effects. When a target is afflicted, it gradually accumulates Affliction points based on the "Affliction inflicted per second" from your character, up to a maximum of 100.
How Affliction Scales Damage
Each point of Affliction increases the DoT taken by the enemy by 0.5%
At maximum (100 Affliction), enemies take 50% increased DoT damage —but this is further affected by Affliction Effect modifiers
The Helmet Mechanic
The build uses a unique helmet that converts the Affliction bonus from DoT damage to hit fire damage. This makes Affliction relevant for hit-based builds as well. However, there's a crucial trade-off: every +10% Affliction Effect reduces Affliction inflicted per second by -6.
Maintaining Max Affliction
If you don't have enough Affliction inflicted per second, the debuff will start to degen once it hits 100—meaning you're losing significant DPS. To solve this:
Stack Affliction per second until the number stays at 100 comfortably
Prioritize mods like "+30 Affliction inflicted per second" and "extra +30% Affliction Effect"
Use slates to roll both Affliction Effect and Affliction per second
Once you can maintain 100 Affliction consistently, your damage output increases dramatically—and you unlock additional damage multipliers from mods like "-X% all resistances when enemy has max Affliction".
The Next Three Big Upgrades
1. Cruelty Lone Walkers
These boots dramatically increase offense by providing:
Precise Deep Pain or Precise Spell Amplification
Additional Aura Effect
Sealed Mana Compensation
2. Omni Elixir Belt
A critical piece that enables the ES swap. High-level belts with Gale mods typically cost around 1,000 FE and provide:
ES base (preferred)
Fortitude and Strength of Decks
Maximum ES
Additional resistances
3. Scorpion Elixir
This will significantly boost movement speed, making mapping much faster. The current lack of speed is the main limitation in farming efficiency.
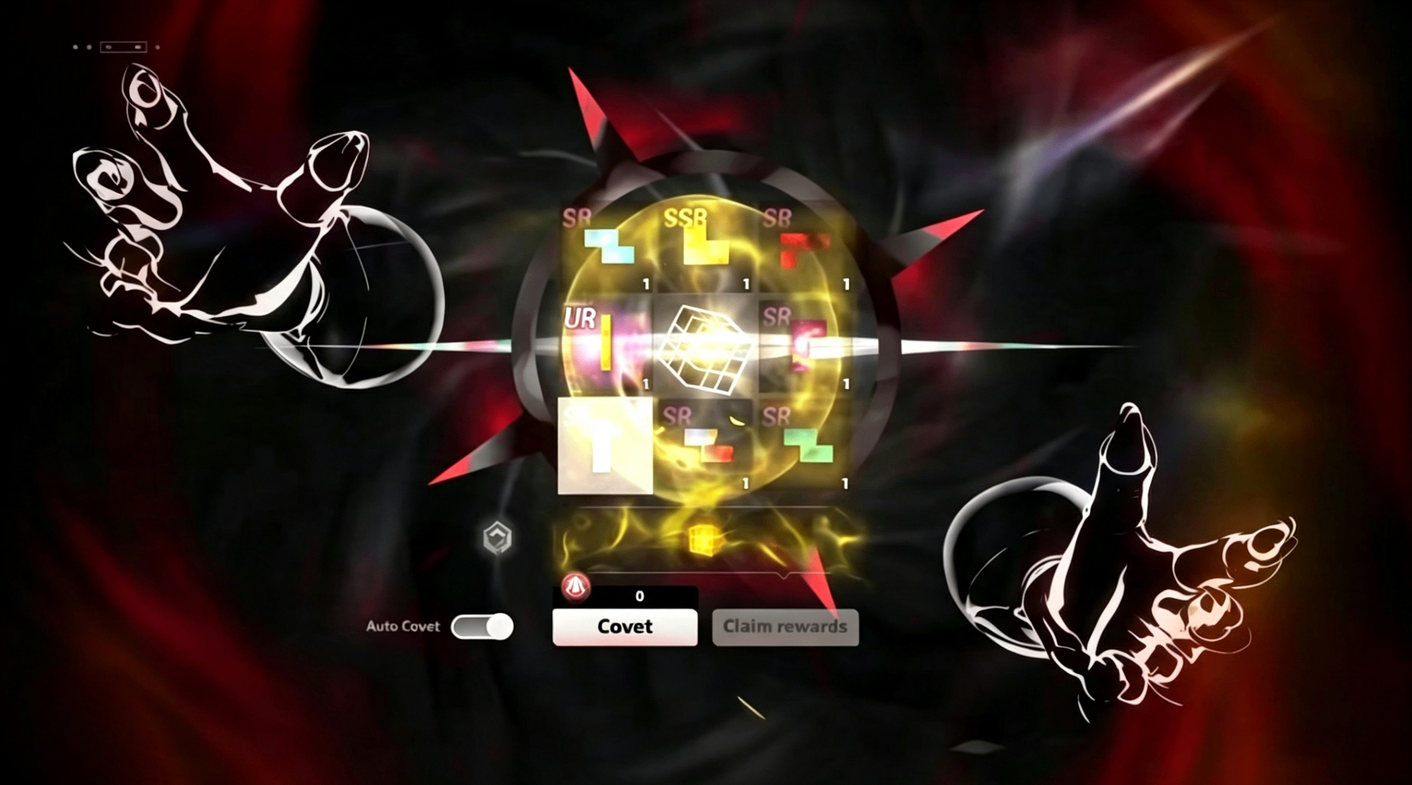
Energy Shield Swap Setup
Why Swap to ES?
Swapping from life-based to ES-based provides:
Higher overall survivability
More damage scaling potential
Ability to fit an additional aura (50% reservation)
Key Requirements
ES Chest and ES Boots – The bare minimum for the swap
Flat Damage on Death Notch – Provides ~15–20% more damage than standard setups (costs about 300 FE)
Regain Interval Reduction – ES has sustainability issues compared to life, so you need increased regain rate and less regain interval
Gale Belt with ES Base – Enables Druid tree access
Druid Tree Synergy
The Druid tree provides:
Significant regain
Less regain interval
Regain additional life based on missing ES
This is critical for ES sustain. If you're not in the Druid tree yet, get the "regain additional life based on missing ES" mod on a slate—it's essential for ES viability.
Sample ES Setup Costs
Item | Cost | Notes |
ES Boots | 1–1.5k FE | Fully crafted |
ES Ring | 1–1.5k FE | Look for similar mods |
Gale Belt (86+) | ~1k FE | ES base preferred |
Flat Damage Death Notch | ~300 FE | +20% damage |
Farming Strategy: Profound Difficulty
Current Farming Route
Primary Strategy: Alen God of War hunting in Profound
Profit Breakdown (per hour):
Raw FE: 30–40%
Orange Aster drops: 20–30 FE each
Purple Aster drops: 10–15 FE each
Total expected profit: Approximately 900–1,000 FE per hour (can reach 1.5k with faster clearing)
Constellation Investment
God of War Constellation – provides followers that spawn magic monster packs, increasing both clear speed and raw drops
Beacon Constellation – Focus on left side (beacon drops from magic monsters), top nodes (more valuable beacon types), and duplication nodes
Rarer Cards Strategy – Currently prioritizing rare cards over void variables due to DPS limitations. Once DPS improves, void variables become more efficient.
Map Modifiers
Use Winding Key resonance and hunt-focused modifiers. The build uses a drop rate compass with 75% increased drop quantity to maximize loot.
Advanced Tips & Quality of Life
Auto Channel Setting
If you're playing a channeling build, turn on Auto Channel in the options. This means:
Press the skill once and it follows your cursor
No need to hold the button down
Much smoother gameplay
Affliction Slate Stacking
The ideal slate setup stacks:
Affliction Effect
Affliction per second
Damage multipliers (like "-all res when enemy has max Affliction")
If you don't have enough Affliction per second, the debuff will degen and you'll lose massive DPS. Stack it until the number stays at 100 happily.
Profound Transition Tips
Tankiness First: In Profound, the most important thing is being tanky enough to instantly clear mobs without dying. Steadfast Determination + Fearless War Cry setup is the key to this.
Speed Trade-Off: Sacrificing map speed for tankiness is worthwhile in Profound because survivability is more important than clear speed at the start.
Difficulty Scaling: Profound offers higher rewards—orange Aster drops are worth 20–30 FE compared to standard difficulty. The increased challenge is worth it for efficient farming.
Current State Summary
What's Working
✔️ Excellent tankiness for Profound content
✔️ Good sustain and recovery
✔️ Affliction stacking is consistent and powerful
✔️ Steadfast Determination provides massive armor boosts
What Needs Improvement
⚠️ Map speed is slower than desired
⚠️ Damage is lower than ideal for full blast farming
⚠️ Need 2–3 major upgrades to transition fully
Next Goals
Save 30k+ FE for major upgrades
Acquire Cruelty Lone Walkers
Acquire Omni Elixir Belt
Acquire Scorpion Elixir
Transition to ES-based setup
Optimize Profound farming route for 1.5k+ FE/hour
Final Thoughts
Day 3 progression is all about balancing survivability and efficiency. While the current setup may not be the fastest mapper, it's reliable and tanky enough to handle Profound difficulty comfortably. The Affliction mechanics require careful balancing of effect and per-second generation, but once optimized, they provide massive damage scaling. Focus on upgrading to the three key items (Lone Walkers, Omni Belt, Scorpion Elixir) to unlock faster clears and higher profits. From there, the ES swap will open up even more damage and survivability for endgame content. Need currency fast?Torchlight: Infinite FE for sale is available at MMOEXP—worth a look if you want to skip the farming and jump straight into endgame.