
ARC Strategies: Solo Farming the Air Turbine – 3 to 4 Shield Packs for a Secure New ARC Boss Kill
In ARC Raiders, the Air Turbine is one of the most intimidating targets on the map. It's fast, hits hard, and has high DPS. Many players panic on their first encounter. But once you understand its behavior and bring the right gear—whether you farm it yourself or choose to buy ARC Raiders Items to fill critical loadout gaps—soloing it is totally doable. This guide walks you through the practical steps to take it down reliably.
1. Loadout: What to Bring
Soloing the Air Turbine comes down to two words: damage + protection.

Recommended carry:
· A high-damage weapon – enough to consistently hit weak points.
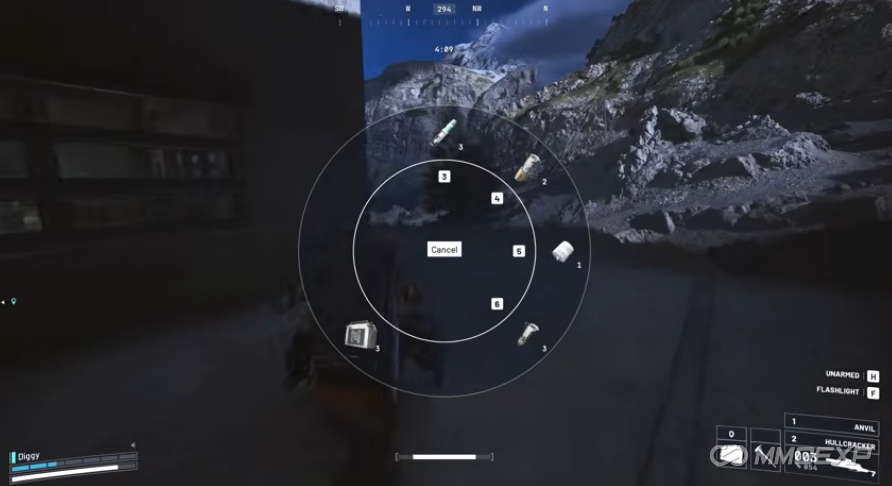
· Shield Packs (Barricade Kits) – the most critical item.
· In theory, one can work since you can pick it up and redeploy to restore durability.
· For safety, bring 3 to 4.
Why Shield Packs matter:
The Air Turbine's attacks are brutal – two hits can down you. Shield Packs give you a safe window to deal damage while staying protected. They're your best defensive tool.
2. Finding the Air Turbine: Go at Night
If you're specifically hunting this boss:
· Drop at night – higher spawn chance for Air Turbines.
· Spawn timing – roughly between the 15 minute and 12 minute marks, sometimes as late as the final 12 minutes.
Positioning:
· Multiple Air Turbines can spawn in a match.
· Pick a direction with fewer players – e.g., the north side is often quieter.
· Goal: minimize interference and focus on the boss.
3. Reading Its State: Watch the Lights
The Air Turbine's behavior follows a pattern. The key is watching the lights on its underside.
Light meanings:
· Red – active attack mode
· Yellow – disengaging/resetting
· Blue – about to enter the vulnerable phase
· What happens after blue:
· It starts placing mines
· Then it lands on the ground
· After landing, its weak point opens – that's your damage window
4. Core Tactic: Wait for It to Land, Then Hit the Weak Point
Golden rule:
Don't get greedy. Don't shoot while it's flying. Wait for it to land.
Why wait?
· Its outer armor is thick – aerial shooting is inefficient.
· You'll expose yourself to danger for little gain.
Correct rhythm:
· See blue light → watch it place mines
· Wait for it to land
· Weak point opens → unload your damage
· After it staggers, prepare for its next takeoff or counterattack
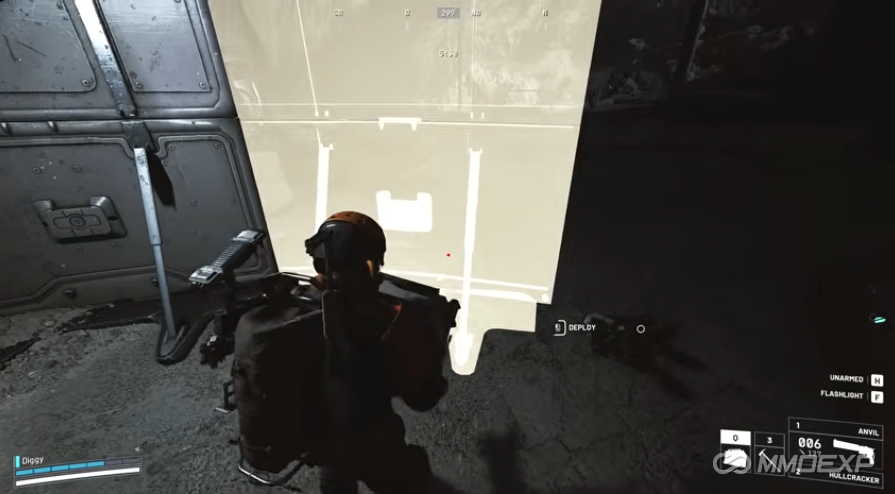
5. Shield Pack Placement: Position = Survival
Shield Packs aren't just dropped anywhere – placement matters.

Standard setup:
· Deploy the shield directly in front of you.
· Press close to its center.
· Fight while hugging the shield for cover.
In practice:
· The shield blocks the Air Turbine's lethal attacks.
· You can fire steadily from behind cover.
· Even during sustained fire, you stay alive.
Pro tip:
· If the shield's durability gets low, pick it up and redeploy – it resets the HP.
· That's why one shield can work, but bringing multiple is safer.
6. Damage Rhythm: Fire in Bursts, Don't Chase in the Air
After taking enough damage, the Air Turbine will lift off again. Many players make the mistake of chasing it mid-air – that's where things go wrong.
Do this instead:
· Stop firing as soon as it starts to lift.
· Don't shoot while it's airborne.
· Wait for it to land again, then repeat the damage cycle.
Why this works:
· It's highly mobile in the air – wasteful to shoot.
· You'll burn ammo and expose yourself.
· Its outer armor is too thick – mid-air shots barely count.
7. Advanced Positioning: Handle Awkward Landings
If the Air Turbine lands in a tricky spot, don't panic.
Solution:
· Drop one shield to stabilize.
· If the position is really bad, you can deploy a second.
· Usually, one shield is enough.
Advanced trick:
Sometimes you can fight from a relatively open position just by using your shield properly:
· Deploy it first
· Hug it tightly
· Hit the weak point
· Duck back behind it when the boss reacts
This is why Shield Packs are so strong – high margin for error, predictable, and incredibly stable for soloing.
8. Full Fight Loop: Follow This Rhythm
Think of the fight as a repeating cycle:
Cycle steps:
1. Find the Air Turbine
2. Check its lights
3. Wait for blue
4. Watch it place mines and land
5. Drop your shield
6. Hit the weak point
7. It staggers and lifts off
8. Wait for it to land again
9. Repeat until defeated
9. Post-Kill Caution: Don't Rush the Loot
After defeating it, you'll get valuable items – including Air Turbine Compressors and more.

But don't relax yet:
· Mines it placed can still explode even after it dies.
· Don't rush in carelessly.
· Watch for other players nearby.
· Loot matters – but surviving matters more.
10. Most Practical Takeaway
If you want to solo the Air Turbine reliably, remember these three points:
· Night raids = higher spawn chance
· Blue light → wait for landing → hit weak point
· Shield Packs are your solo-carry tool
With a strong high-damage weapon and 3–4 Shield Packs, the Air Turbine is far less intimidating than it seems. The first try might feel tense, but once you learn its rhythm, you'll find this boss fight is incredibly scripted – and totally soloable.
If you've been struggling to find a working strategy, give this approach a shot. Hold your pace, stay behind your shield, and punish the weak point windows. The Air Turbine will go from "nightmare target" to "reliable ARC unit you can farm" – and once you've mastered the fight, you can even decide whether to craft your own gear or buy ARC Raiders BluePrints to skip the grind and jump straight into high-tier loadouts.