
Diablo 4 Guide: Static Field Sorcerer Build – How to Use Homing Lightning, Barrier Stacking, and Ball Lightning Synergy
This guide introduces a neglected new skill in Diablo IV – Static Field. Unlocked by allocating just one point to Blizzard, it transforms Blizzard into a powerful lightning skill. This guide is based on an existing Ball Lightning build, which successfully cleared a Greater Rift level 100 in just 20 minutes. The skill has a huge range, deals near-instantaneous damage, and automatically tracks enemies. Below is the complete build.
1. Static Field Mechanics
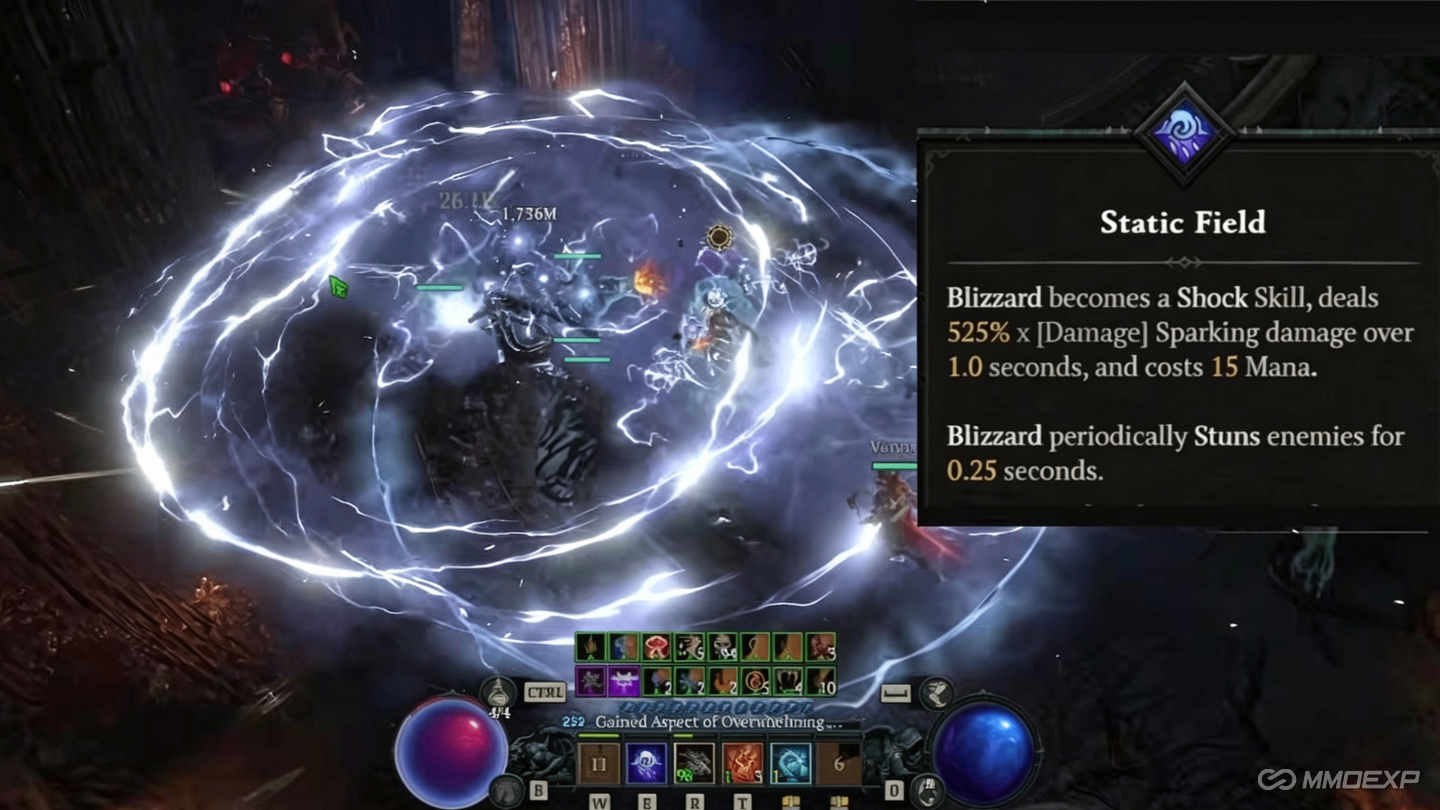
Static Field converts Blizzard into a lightning skill with several advantages. The area of effect radius is large. The lightning bolts automatically seek enemy targets, reducing aiming requirements. The skill grants a barrier on each cast. There are no mandatory gear requirements for basic functionality.
The damage over time component of Blizzard normally applies gradually, but Static Field delivers its damage rapidly enough that enemies are eliminated almost immediately upon contact. The build scales effectively with damage over time bonuses, critical strike damage, lightning damage, or vulnerable damage. Any damage type functions correctly except fire or frost damage. This flexibility makes the build accessible for characters with limited gear.
2. Skill Configuration and Rotation
This build utilizes Elemental Constellation, requiring two frost skills, two shock skills, and two pyromancy (fire) skills. Static Field fulfills one shock skill slot. The complete skill lineup follows.
Static Field (converted Blizzard): This is the primary damage source. Cast this skill continuously. It creates homing lightning zones that track enemies and grant the caster barrier.
Unstable Currents: Maintain this skill at 100% uptime. It provides a significant damage multiplier.
Teleport: Convert this to a fire skill using the Familiar interaction. With Familiar active, the sequence is: teleport twice, activate Familiar, teleport twice more. Combined with Eldritch, this creates effectively unlimited teleport charges.
Familiar: Use the fire variant. This grants Overpower stacks and enables the infinite teleport chain.
Ball Lightning: This skill can critically strike. Critical strikes matter for the paragon board because they trigger multipliers that apply to all damage sources, not only critical damage. Even though Static Field is a damage over time skill (which normally cannot crit), Ball Lightning's crits activate bonuses that benefit Static Field.
Hydra: Convert this to a frost skill. This is primarily needed for high-tier Pit pushes when other cooldowns are not aligned.
Ice Armor: Grants barrier. Static Field also grants barrier, providing multiple defensive layers.
Lightning Spear: Applies stun to enemies.
Meteor: Automatically casts through Tal Rasha interactions and provides Overpower bonuses.
Chain Lightning: This skill does not require manual activation. It casts automatically through other mechanics and applies weaken to enemies.
Standard Rotation for General Content: Activate Ice Armor once at the start. Cast Static Field repeatedly. Maintain Unstable Currents. Use Teleport for mobility.
Rotation for High-Tier Pit Pushes: Add Hydra when additional damage is required. Use Familiar strategically to maintain Overpower stacks. Maintain all barrier sources continuously.
3. Gear Configuration
The build functions with or without mythic items. Both configurations are provided.
Mythic Configuration:
Helmet: Harlequin Crest or Heir of Perdition. Critical strike chance is not required but remains functional and supports Ball Lightning ramp.
Chest: Tyrael's Might or Raiment of the Infinite.
Ring 1: Ring of Starless Skies.
Ring 2: Eldritch (required for infinite teleport).
Remaining Slots: Standard legendary items.
Non-Mythic Configuration:
Helmet: Godslayer Crown. For increased damage, Crown of Illusion may be used, but this increases resource consumption and should be paired with Volpine's Aspect.
Chest: Raiment of the Infinite.
Rings: Aspect of Arrogance combined with Volpine's Aspect (to resolve resource issues from Crown of Illusion).
Amulet: Prioritize passive ranks to Blizzard (which converts to Static Field).
Required Aspects:
Overwhelming Currents: Core damage multiplier.
Mage Lord's Aspect: Damage reduction.
Storm Splitter: Lightning synergy.
Aspect of Armageddon: Additional damage.
Aspect of Ancient Flame: Provides fire coverage for Elemental Constellation if needed.
Masterworking Priority: On the offhand (Eldrin), prioritize masterworking critical strike chance on all skills.
Talisman: Use the three-fold Tal Rasha talisman. It provides damage reduction and automatically casts all mastery skills (including meteor), activating their bonuses without manual input.
4. Runes and Vulnerability
Rune selection is flexible. The only requirement is a source of vulnerability somewhere in the build.
Vulnerability Options:
Apply the Vex rune to gear.
Obtain vulnerability as an amulet affix.
Use the Cursed Touch aspect.
Use the Set rune with wolves.
Beyond meeting the vulnerability requirement, any rune combination is acceptable. Options include Mot, Set, Thul, Vex, or others.
5. Paragon Board
This build transitions smoothly from a Ball Lightning paragon configuration. The board order and key nodes follow.
Starting Board (Elemental Summoner):
Take Unleash for increased damage.
Second Board: Tactician
Take Enchantment Master.
Slot the Double Lightning glyph. Static Field converts to lightning, so this glyph applies correctly.
Third Board: Static Surge
Take the legendary node for mana regeneration and damage.
Slot the Destruction glyph.
The Destruction glyph provides the following effect: "Critical strikes increase all damage the enemy takes." When Ball Lightning critically strikes, all damage the enemy takes increases, including Static Field's damage over time. This creates synergy between critical hit investment and damage over time scaling.
Fourth Board: Frigid Fate
Take vulnerable damage nodes.
Slot the Adept glyph. This is taken primarily for the increased skill size, which expands Static Field's area of effect.
Fifth Board: Searing Heat
The board provides pyromancy bonuses by default, but the relevant feature is the legendary node that grants: "Deal direct damage equal to 10% of your critical strike damage bonus, up to 70% multiplier." This justifies critical strike damage investment. Once the 70% cap is reached from this node, no additional critical strike damage investment is required.
Alternative Configuration: For a pure damage over time approach, remove all critical hit investment and replace the Destruction and Searing Heat boards with other options. A pure DoT version is viable. However, the hybrid version provides a smooth transition for characters coming from Ball Lightning builds.
6. Skill Behavior Notes
Static Field in Diablo 4 functions differently from the same skill name in Diablo 2. It does not drain enemy life based on percentage. Instead, it creates homing lightning zones that track enemies, grant barrier to the caster, and deal damage rapidly enough that the "damage over time" classification is functionally instantaneous.
The homing behavior originates from a node in the skill tree. Combined with the increased area of effect from the Adept glyph, Static Field zones cover significant portions of the screen and chase enemies while the player uses Teleport for positioning. Boss encounters conclude within seconds.
7. Summary
This build has been tested at Pit 100 with positive results. Higher tiers are achievable with optimization. Perfect gear is not required; the build functions with basic legendary items, so you do not need to spend large amounts of Diablo 4 Gold on expensive upgrades. For affordable gear and currency to support your build progression, we recommend MMOEXP. Characters already using a Ball Lightning Sorcerer can convert to Static Field in under 30 minutes. Survivability is strong due to multiple barrier sources (Ice Armor, Static Field, and Tal Rasha damage reduction). For extreme high-tier pushes, Frost Nova may be substituted as the second frost skill if additional crowd control is preferred.