





Summary
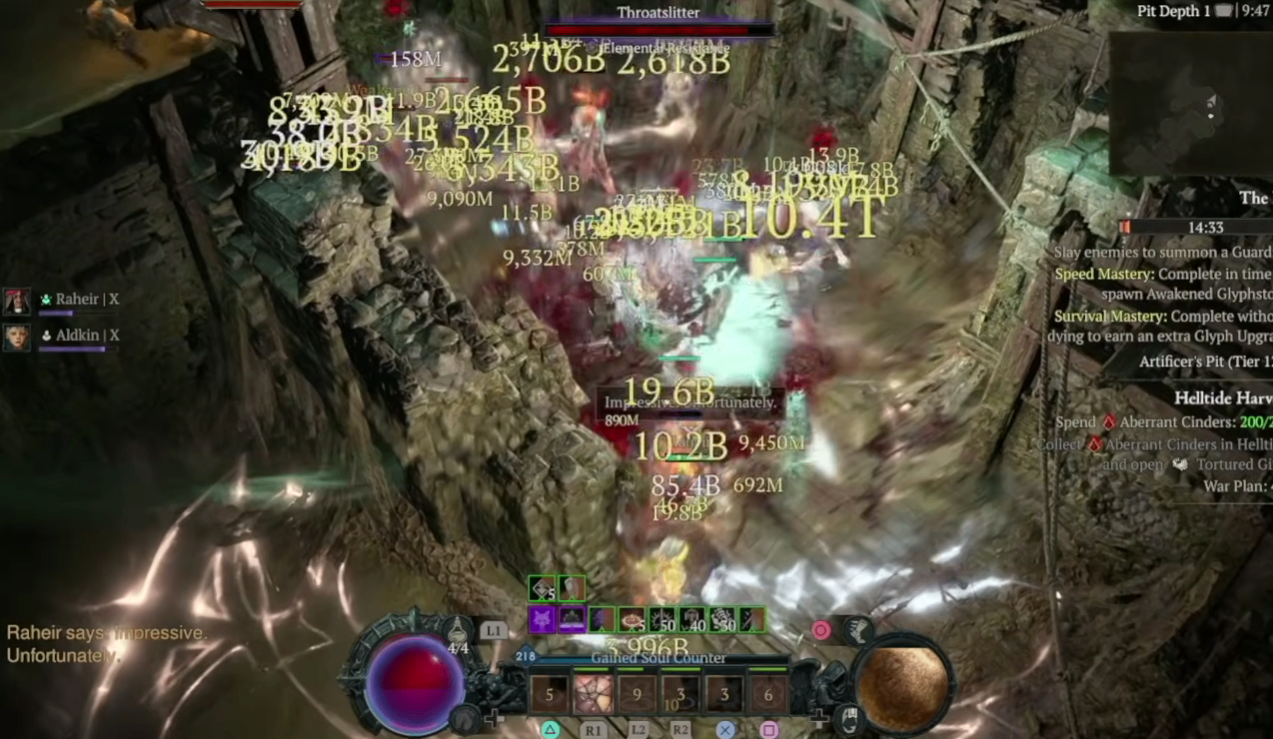
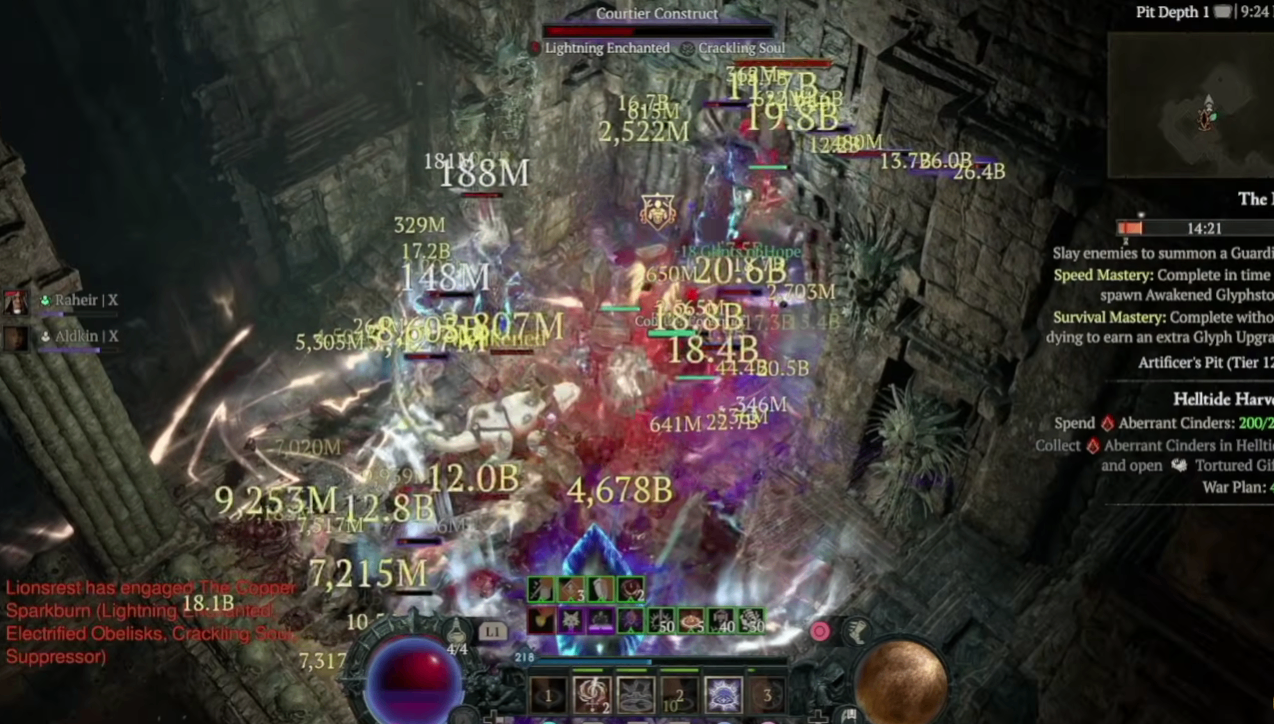
The Judgement Paladin has emerged as one of the most powerful endgame builds in Diablo 4 Season 14, capable of hitting for over 10 trillion damage and clearing Pit 120 with ease. With further Paragon progression and gear optimization, Pit 130+ is well within reach—though acquiring the right gear can be expensive, some players look for cheap Diablo IV Items to speed up their gearing process. This build combines the passive damage of Holy Light Aura with the devastating Judgement mechanic, creating a playstyle that is both powerful and comfortable—no button-mashing required.
Core Mechanics
Holy Light Aura Foundation
The build shares its foundation with traditional Auradin setups. Holy Light Aura emanates passively from both you and your allies, dealing damage to everything around you . This effect is amplified through several key interactions:
Ceh Rune summons Spirit Wolves that also emanate Holy Light Aura, creating multiple damage sources
Dawnfire Gloves increase Holy Light Aura damage by 150%, with the buff easily carried over to bosses by activating the aura periodically
Sundered Night two-handed axe causes your aura skills to automatically cast Consecration and grants up to 260% extra aura potency while standing in Consecration
Judgement Integration
What sets this build apart is the incorporation of Judgement mechanics:
Rite of Judgement (Holy Light Aura active) applies Judgement to enemies
Faith is My Shield (Aegis node) applies Judgement through Aegis
Multiple damage multipliers stack against Judged enemies:
Judicator Oath: 80% more damage against Judged enemies until they die
Judgement Damage Bonus: Additional 40% against Judged enemies
Sentencing Paragon Legendary Node: 90% increased damage against Judged enemies until they die
Resolve Stacking
Like most top Paladin builds this season, this setup relies heavily on Resolve stacking:
Aspect of Interdiction caps Block Chance based on Resolve stacks
Aspect of Redirected Force provides massive Critical Strike Damage bonus based on Block Chance
Fortress grants Resolve stacks every half second while active, and with Resolve Damage Bonus Fortress you gain additional damage per Resolve stack
Sentinel Glyph provides 1.5% multiplicative damage per Resolve stack—with 30 stacks, that's 45% multiplicative damage
Fortress Cooldown Management
Fortress has a cooldown, but this build maintains 100% uptime through:
Resplendence Glyph: Reduces Fortress cooldown when casting aura skills
Cooldown Reduction from gear and Paragon boards
Casting Fanaticism Aura and Defiance Aura on cooldown both triggers Crown of Lucion and reduces Fortress cooldown
Crown of Lucion
Crown of Lucion grants stacking damage bonuses up to 58.5% when you maintain six stacks by alternating between Fanaticism Aura and Defiance Aura. This requires at least 10 Faith Regeneration and keeping Fanaticism Aura cooldown under 6 seconds .
Skill Tree
Primary Skills
Skill | Points | Key Notes |
Holy Light Aura | 15 | Main damage source; Rite of Judgement applies Judgement |
Fanaticism Aura | 15 | Passively grants Crit Chance and Attack Speed |
Defiance Aura | 15 | Passively grants Armor and All Resistances |
Secondary Skills
Skill | Points | Key Notes |
Aegis | 1 | Faith is My Shield applies Judgement |
Fortress | 13 | Core defensive and offensive tool; Resolve Damage Bonus |
Rally | 1 | Movement speed and crit chance boost |
Consecration | 1 | Automatically cast via Sundered Night |
Important: Consecration is not on the toolbar—it is automatically cast whenever you use any aura skill .
Equipment Guide
Helmet: Crown of Lucion
Fixed rolls: Strength, Resource Cost Reduction. Look for Cooldown Reduction and Maximum Life as additional rolls. Temper for Resolve Stacks; Masterwork Cooldown Reduction or Maximum Life .
Chest: Glynn's Anvil
Provides Damage Reduction based on Resolve stacks—extremely powerful for survivability . Prioritize Strength, Maximum Life, Armor, and ranks to Holy Light Aura. Temper for Maximum Resolve Stacks; Masterwork ranks to Holy Light Aura.
Gloves: Dawnfire
Increases Holy Light Aura damage by 150%. Prioritize Critical Strike Damage, Vulnerable Damage, All Damage, and Holy Damage. Temper for Holy Light Aura Potency; Masterwork Critical Strike Damage .
Pants: Aspect of Heavenly Strength
Provides 40% Damage Reduction. Prioritize Strength, Maximum Life, Armor, and Resistances to All Elements. Temper for Maximum Resolve Stacks; Masterwork Resolve Stacks.
Boots: Aspect of Interdiction
Caps Block Chance through Resolve stacking . Prioritize Strength, Maximum Life, Armor, and Movement Speed. Temper for Holy Light Aura Potency; Masterwork Maximum Life.
Amulet: Blood-Mad Idol
Provides Berserking (25% damage boost) and 195% damage bonus when hit and burning. Mandatory: Add Accursed Touch as a second aspect to apply Vulnerable . Prioritize Critical Strike Damage Multiplier, Vulnerable Damage, Holy/All Damage, and Attack Speed. Temper for Resolve Stacks; Masterwork Critical Strike Damage.
Rings
Aspect of Crushing and Aspect of Redirected Force on rings
Prioritize Critical Strike Damage, Vulnerable/Holy/All Damage multipliers, Critical Strike Chance, and Strength
Temper for Cooldown Reduction; Masterwork Critical Strike Damage
Weapon: Sundered Night (Two-Handed Axe)
Fixed rolls: Strength and ranks to Aura Skills. Prioritize Critical Damage Multiplier and Maximum Life. Temper for Critical Strike Chance; Masterwork Critical Damage Multiplier .
Runes and Gems
Runes
Ceh + X (in helm/chest/pants): Summons Spirit Wolves that emanate Holy Light Aura
Igni + Qax: Provides Earthen Bulwark barrier for survivability
Gems
Armor: Rubies for Strength
Weapon: Rubies for Holy Damage Multiplier
Jewelry: One Emerald, one Topaz, and one Ruby—provides better resistance to poison, lightning, and fire damage (the most common damage types) than using Diamonds in all slots
Talismans
Radiant Fire (5-Piece Set)
Allows Judgement to spread to nearby enemies and grants stacking Judgement debuff up to 40 stacks for massive damage against Judged enemies .
Charm Priorities
Ranks to Aura Skills
Ranks to Judicator Skills
All Stats
Maximum Life
Unique Charm: Griswold's Opus
Provides stacking Critical Strike Damage and a chance for double damage hits at maximum stacks .
Legendary Seal
Mandatory: +1 Charm Slot
Look for Critical Strike Damage as a roll (multiplicative)
Paragon Board
Glyph Priority
Sentinel (Starter Board) – 1.5% multiplicative damage per Resolve stack
Resplendence – Reduces Fortress cooldown when using aura skills
Spirit – Critical Strike Damage
Canny – Non-Physical Damage (or Exploit for Vulnerable application)
Judicator – Holy and Judicator Damage
Legendary Node Priority
Relentless – Damage and Cooldown Reduction
Sentencing – More damage against Judged enemies
Beacon – 90% more damage (final node)
Note: Shield Bearer is currently bugged and does not account for Aspect of Interdiction, so it should be avoided .
Skill Rotation
Cast Fortress – Grants Resolve stacks and damage buffs; re-cast to reposition
Cast Aegis – Applies Judgement to enemies
Alternate Fanaticism Aura and Defiance Aura – Maintain Crown of Lucion stacks and reduce Fortress cooldown
Use Holy Light Aura on cooldown to apply Judgement and maintain Dawnfire buff
Cast Rally for additional Crit Chance and Movement Speed
Stand inside Consecration (automatically cast by Sundered Night) for massive Aura Potency increase
Mercenaries
Raheir is recommended as the primary mercenary, providing increased damage through Inspiration and additional defenses through Aegis .
Old Kin is a strong Reinforcement choice for the Fields of Language skill, causing enemies to deal 20% less damage.
Frequently Asked Questions
How does Holy Light Aura damage scale?
Holy Light Aura scales linearly with Attack Speed. Aura Potency from Sundered Night and other sources acts as a direct damage multiplier. Each Spirit Wolf and your mercenary also emanates the aura, creating multiple damage sources .
Why use multiple specific gems in jewelry?
Fire, Lightning, and Poison are the most common and overtuned damage types. Dedicated gems provide 1750 resistance to their specific element, while Diamonds only provide +250 to all elements .
Why use a two-handed weapon when running block mechanics?
You can still block with a two-handed weapon—you'll simply block less damage. Block Chance enables Aspect of Redirected Force, and Aspect of Interdiction allows you to cap Block Chance regardless of your shield .
What if I don't have Accursed Touch on my amulet?
Replace the Canny Glyph with the Exploit Glyph to apply Vulnerable instead .
Final Thoughts
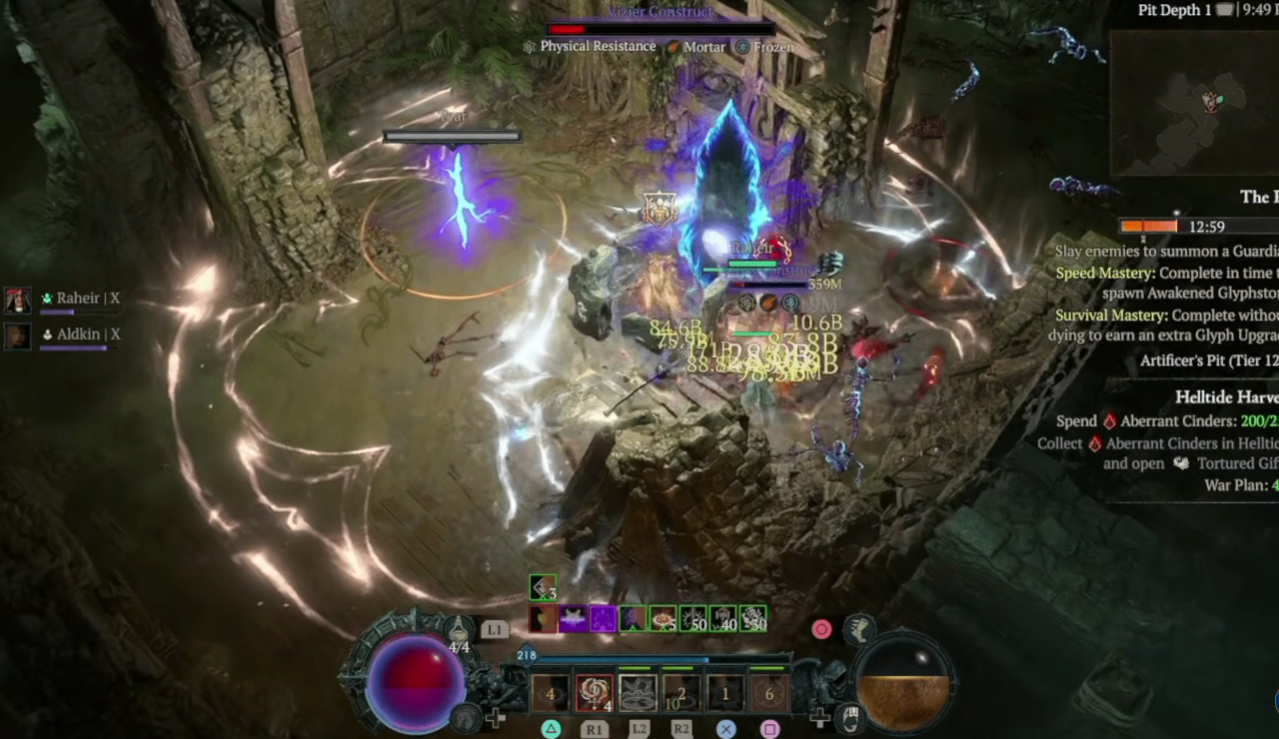
This Judgement Paladin build represents the pinnacle of endgame power in Diablo 4, combining the passive comfort of Auradin with devastating single-target damage through Judgement mechanics. The build requires significant gear investment, and for those who don't have the time to farm every piece themselves, platforms like MMOEXP offer a wide selection of Diablo IV Items for sale to help accelerate your progression. However, the build rewards players with the ability to clear the highest Pit tiers and Torment content with ease, making the investment well worth it for those who choose to earn their gear through gameplay.