
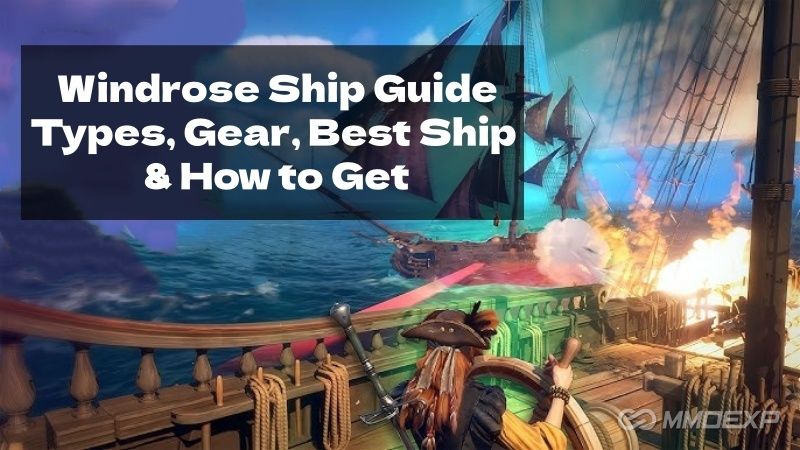
If you want to dominate the seas in Windrose, everything revolves around a single system: your ship. It’s not just transportation—it defines your offense, defense, mobility, and overall progression. Every upgrade meaningfully shifts how combat feels, how efficiently you farm, and how well you survive tougher encounters.
The problem is that Windrose does a poor job explaining its naval systems. Many players waste hours investing in the wrong ship variants, upgrading inefficient components, or misunderstanding combat mechanics. This guide breaks everything down clearly—from ship tiers to gear optimization—so you can progress efficiently and avoid costly mistakes.
Ship Progression in Windrose
The game features three core ship classes: Ketch, Brigantine, and Frigate. Each tier represents a major power spike, and each includes three variants that alter playstyle.
1. Ketch (Early Game)
This is your introductory ship tier, primarily used for early combat and coastal exploration. Think of it as a temporary stepping stone rather than a long-term investment.
Key Traits:
• Low durability
• Limited firepower (max 3 cannons)
• Cheap to build
• Quickly replaced
How to Unlock:
• Early main quest: “Need A Bigger Boat”
Variants:
• Stock Ketch – Balanced stats; best choice for beginners
• Brethren Ketch – Slightly tankier but slower; minimal impact
• Blackbeard Ketch – Fastest variant, can equip heavier cannons but extremely fragile
Strategic Advice:
Avoid over-investing here. Even though the Blackbeard variant looks appealing due to speed and cannon access, the entire tier becomes obsolete quickly. The optimal path is:
Build Stock Ketch → Rush Brigantine
2. Brigantine (Mid Game Power Spike)
This is where Windrose truly opens up. Ship builds start to matter, and your choices begin to define your combat style.
Key Traits:
• Major jump in power
• 6 cannon slots (huge upgrade)
• Strong mobility
• Higher crafting cost
How to Unlock:
• Brethren faction (Reputation Level 2 + 1,000 Piastre)
Variants:
• Stock Brigantine – Balanced but unremarkable
• Brethren Brigantine – Tankier, slower; defensive option
• Blackbeard Brigantine – Fastest (22 knots), can equip 24-pounders, lower HP
Best Choice:
Blackbeard Brigantine
Why It Dominates:
Speed is effectively your defense in Windrose. Instead of absorbing damage, you avoid it entirely. Pair that with 6× 24-pounder cannons, and you get a massive DPS spike that defines mid-game dominance.
3. Frigate (Endgame Warship)
The Frigate is the pinnacle of naval power. This is where optimization, scaling, and min-maxing become critical.
Key Traits:
• Massive HP pool
• 12 cannon slots
• Extremely resource-intensive
• Designed for endgame encounters
How to Unlock:
• Brethren Reputation Level 4
• 3,000 Piastre
Variants:
• Stock Frigate – Balanced and reliable
• Brethren Frigate – Highest HP, slowest (tank build)
• Blackbeard Frigate – Fastest, can equip 36-pounders, lowest HP
Best Choice:
Blackbeard Frigate
Why It’s the Best:
• Up to 12× 36-pounder cannons
• Extremely high burst damage
• Speed still enables survivability despite lower HP
This turns your ship into a glass-cannon battleship, capable of wiping fleets quickly before they become a threat.
Ship Components Explained
Each ship has four equipment slots. Prioritization here is critical.
1. Cannons (Highest Priority – Damage)
Your primary damage source and the biggest scaling factor in the game.
Cannon Progression:
• 12-pounders → Early game
• 24-pounders → Mid game
• 36-pounders → Endgame
Special Variants:
• Tempered Cannons – Bonus delayed damage
• Devastating Cannons – Apply stacking “Raked” debuff
Best Choice:
Perfectly Ordered Cannons
• Boost reload speed (~30%)
• Consistent DPS increase
• Easy to use and reliable
Devastating cannons scale better in longer fights, but Perfectly Ordered offers smoother performance overall.
2. Hull Bracing (Highest Priority – Defense)
Acts as your armor system and determines survivability.
Example Perk:
Steadfast Hull
• Stacking damage reduction
• Consumes stacks to mitigate burst damage
Key Insight:
Enemy damage scales aggressively. Without consistent upgrades, you’ll be destroyed quickly. This is a non-negotiable progression.
3. Book Slot (Utility System)
Provides passive bonuses via Smuggler faction items.
Examples:
• Healing after sinking ships
• Combat sustain boosts
Priority:
• Low early game
• Strong late-game optimization tool
4. Boarding Party Gear (Lowest Priority)
Enhances boarding combat.
Reality Check:
• Boarding is slow and risky
• Sinking ships is faster and safer
Only invest if required for quests.
Ascension System (Endgame Scaling)
Applies to rare blueprint gear.
Requirements:
• Tabonga Ingots
Effect:
• Upgrade from Blue → Purple
• Adds an additional perk
This creates double-perk gear, which is a massive power spike and essential for endgame min-maxing.
Ship Gear Optimization
Hull Modifications (Defense)
Options:
• Keelhold – Repair kits can’t be interrupted (Best overall)
• Standfast – Stack-based mitigation
• Iron Resolve – Strong at low HP
Best Choice:
Keelhold
• Synergizes with repair kits
• Excellent sustain in long fights
Naval Tactics (Passive Buffs)
Top Picks:
• Stretch The Supply – +30% repair kit duration, +200% grog duration
• No Quarter – Heal after sinking ships
• Ambush – Strong opening burst
Best Overall:
Stretch The Supply
• Exceptional synergy with Keelhold
• Best survivability boost in the game
Core Combat Mechanics
1. Speed Control (Notch System)
• Adjust speed using W/S
• More notches = higher speed
• Can reverse at the lowest level
Key Insight:
Speed = survival
You avoid damage rather than absorbing it.
2. Broadside Cycling
Ships fire from:
• Front
• Left (port)
• Right (starboard)
Each side has independent cooldowns.
Optimal Strategy:
• Rotate constantly
• Fire from all angles
• Maximize cannon uptime
3. Frigate Advantage
Frigates can fire multiple rows of cannons, allowing:
• Double volleys
• Massive burst damage
4. Ammo Types
Standard Shot:
• Highest damage
• Longest range
• Default choice
Chain Shot:
• Targets sails
• Disables enemy movement
Optimal Use:
Open with Chain Shot → Disable → Switch to Standard for burst damage
Consumables
Repair Kits (Healing)
• Heal over time
• Drop from enemies and caches
Types:
• Basic → Cheap
• Combat → Balanced
• Master → Best
Insight:
You don’t need to craft constantly—loot often covers your needs.
Buff Consumables
Hard Grog:
• +15% damage resistance (30 minutes)
Highly efficient for boss fights and difficult encounters.
Best Ship in Windrose
The strongest ship overall is the Frigate, specifically the Blackbeard Frigate.
Why It Stands Out:
• Up to 12 cannons (36-pounders)
• High burst damage potential
• Strong enough durability despite lower HP
• Designed for endgame content
Once unlocked, it effectively replaces all previous ships and defines true naval dominance.
Final Takeaways
• Rush progression early (don’t over-invest in Ketch)
• Blackbeard variants dominate due to speed advantages
• Cannons + Hull upgrades are your top priorities
• Broadside cycling is the core combat mechanic
• Frigate is the ultimate goal
Mastering these systems transforms Windrose from a grind-heavy experience into a highly efficient progression loop where every upgrade delivers meaningful power. MMOexp also offers you the most attentive and reliable services—including Windrose items and boosting—to help players enjoy the game.
MMOexp Windrose Team


