Summary
If you are looking for a fast and relatively accessible way to farm FE in Torchlight: Infinite Season 13, the Quant Rush strategy is worth considering. The core idea is simple: clear maps as quickly as possible, stack bonuses that increase loot quantity, prioritize valuable compasses, and use the League mechanic to generate additional rewards.
With a strong build and optimized pets, the strategy can reach around 3,000 Torchlight: Infinite Flame Elementium per hour. Even with weaker or no pets, the same setup can reportedly generate roughly 1,500–2,000 FE per hour, making it useful across different budgets.

How the Quant Rush Farming Strategy Works
The strategy focuses on completing a large number of maps rather than spending a long time fully clearing every map.
Aim for 70–80 Maps per Hour
Speed is the most important factor. A good target is approximately 70–80 maps per hour, including the time spent on the additional bosses generated by the strategy.
The showcased setup completed 229 maps during testing and produced approximately 8,800 FE of net profit, with an average of about 46.9 FE per minute. This translates to roughly 3,000 FE per hour under similar conditions.
Your actual profit will depend heavily on clear speed, build strength, pet bonuses, map luck, and the value of the compasses you obtain.
Prioritize FE and Compasses
FE is the main source of direct profit, while compasses represent another major part of the strategy's value. In the test results, around 30% of the total profit came from compasses.
Other drops, including various cards, Astraliums, crafting materials, and miscellaneous loot, should be treated as additional income rather than the primary objective.
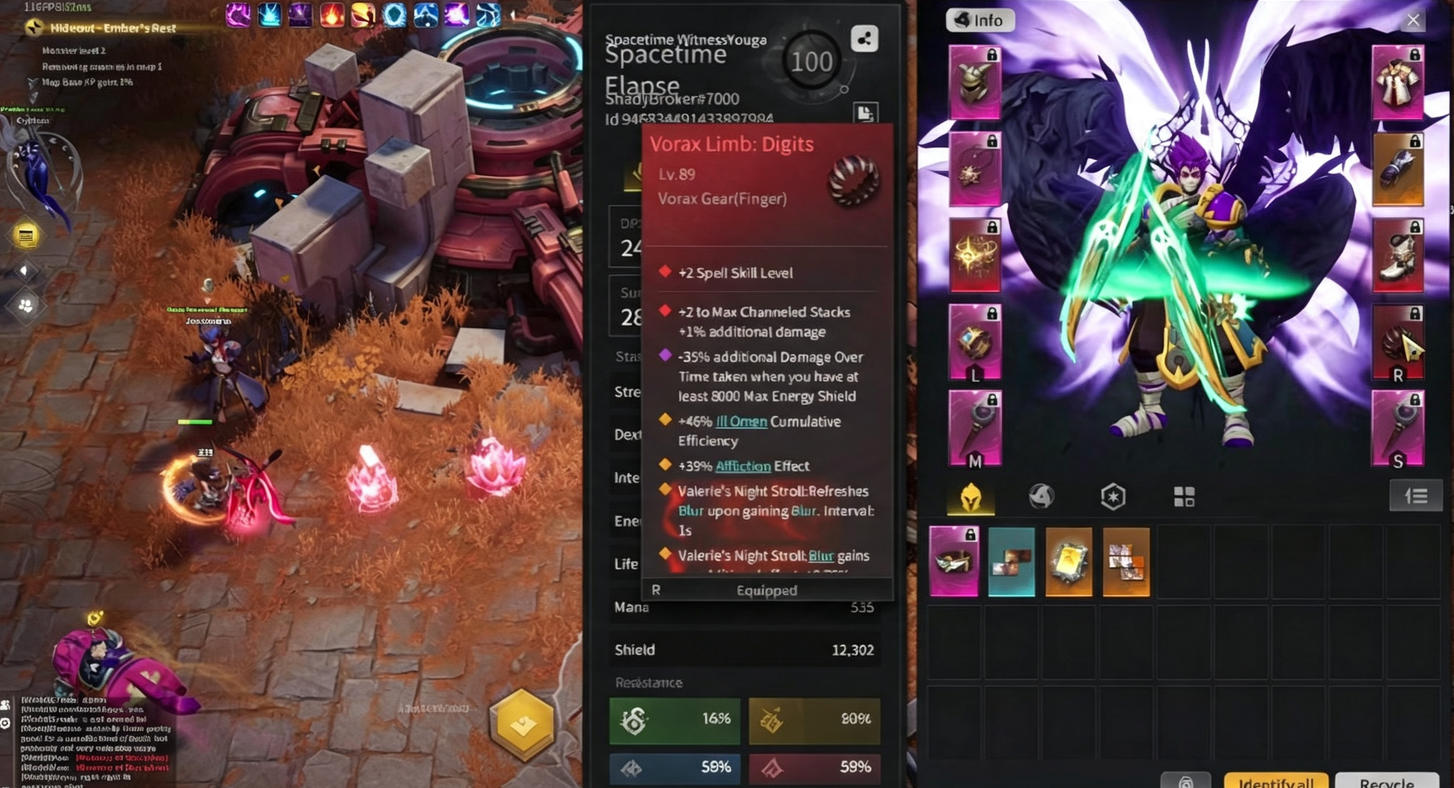
Recommended Pets and Bonuses
Pets can significantly improve the profitability of this strategy, but they are not mandatory.
High-Budget Pet Setup
The showcased setup used:
Spark C1
Spark C3 for compass-related bonuses
Dora C1
League-related C2 and C6 purple pets
Dora can also provide additional opportunities for compasses when League-related drops occur. Even though the proc chance is relatively low, additional compasses can add meaningful value over a large number of maps.
If you have a stronger Spark setup, especially C6 Spark, the strategy can become considerably more profitable.
Budget and No-Pet Setup
You do not need expensive pets to start farming.
A separate test using no pets achieved approximately 1,500 FE per hour consistently, with results sometimes reaching around 2,000 FE per hour depending on luck.
The important point is that the strategy remains viable without investing heavily in pets. Upgrade your pet setup later as your farming income increases.
Atlas Strategy and Quant Investment
The central idea is to heavily invest in Quant, while avoiding unnecessary nodes that do not directly improve the strategy.
Focus on Quantity
When setting up your Atlas strategy, prioritize nodes that increase the quantity of rewards. The goal is to make each fast map produce as much valuable loot as possible.
You generally do not need to invest heavily in unrelated mechanics or additional Resonator effects if your main strategy already generates enough income to cover its costs.
The recommended approach is therefore:
1. Prioritize Quant nodes.
2. Take valuable compass-related nodes.
3. Remove unnecessary investments that do not contribute to the strategy.
4. Keep the setup focused on fast League mechanic encounters and loot quantity.
How to Choose Astralium and Map Bonuses
Not every map will be profitable, and you should expect occasional negative runs. It is normal to encounter several maps in a row that produce little FE or poor compasses.
Priority Order
When selecting Astralium effects, prioritize:
1. Compasses
2. Additional Quant
3. Crystal-related rewards
4. Flame rewards
5. Rainbow rewards
6. Valuable chests when better options are unavailable
Compasses should generally be your highest priority because they provide both direct value and additional scaling for the strategy.
If the available choices are weak, reroll rather than forcing an inefficient option.

Recommended Compass Setup
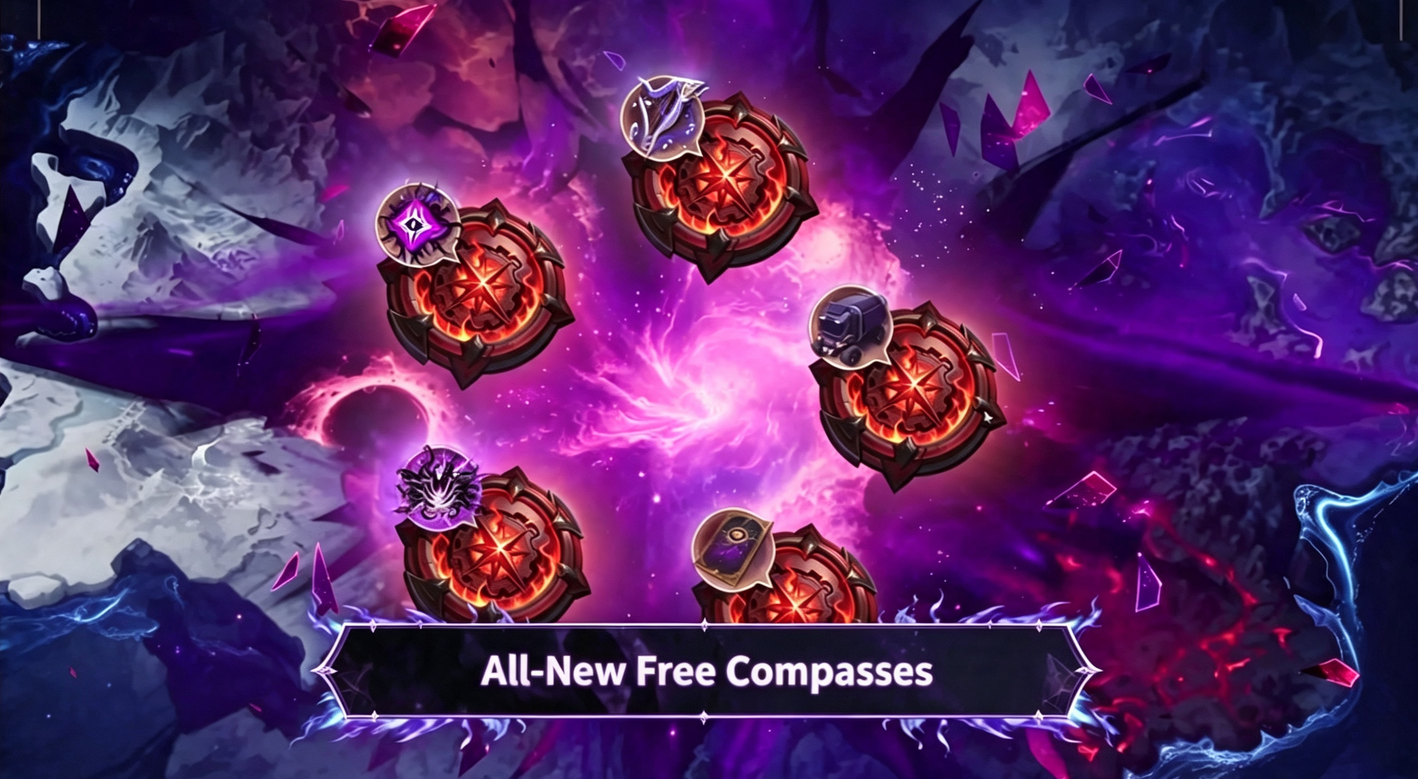
The strategy uses several relatively inexpensive compasses to increase the quantity of rewards.
Use Four Additional Compasses
One important part of the setup is using four random compasses. Their individual effects are not necessarily important. Their purpose is to activate the additional reward-quantity bonus associated with having compasses equipped
The strategy therefore turns inexpensive compasses into a multiplier for the overall farming setup.
Avoid using effects that interfere with the speed or consistency of your League mechanic. In particular, the source recommends avoiding Lunaria because it can introduce unwanted monster spawns and interfere with the intended farming flow.
For a lower-budget setup, you can also use cheaper blue versions of the required materials rather than expensive purple ones.
Map Gameplay: Speed Is Everything
Once the setup is ready, the actual gameplay loop is straightforward.
Clear the Map and Trigger the League Mechanic
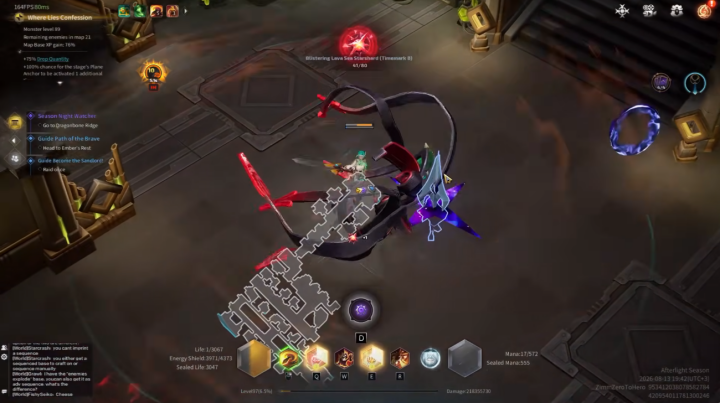
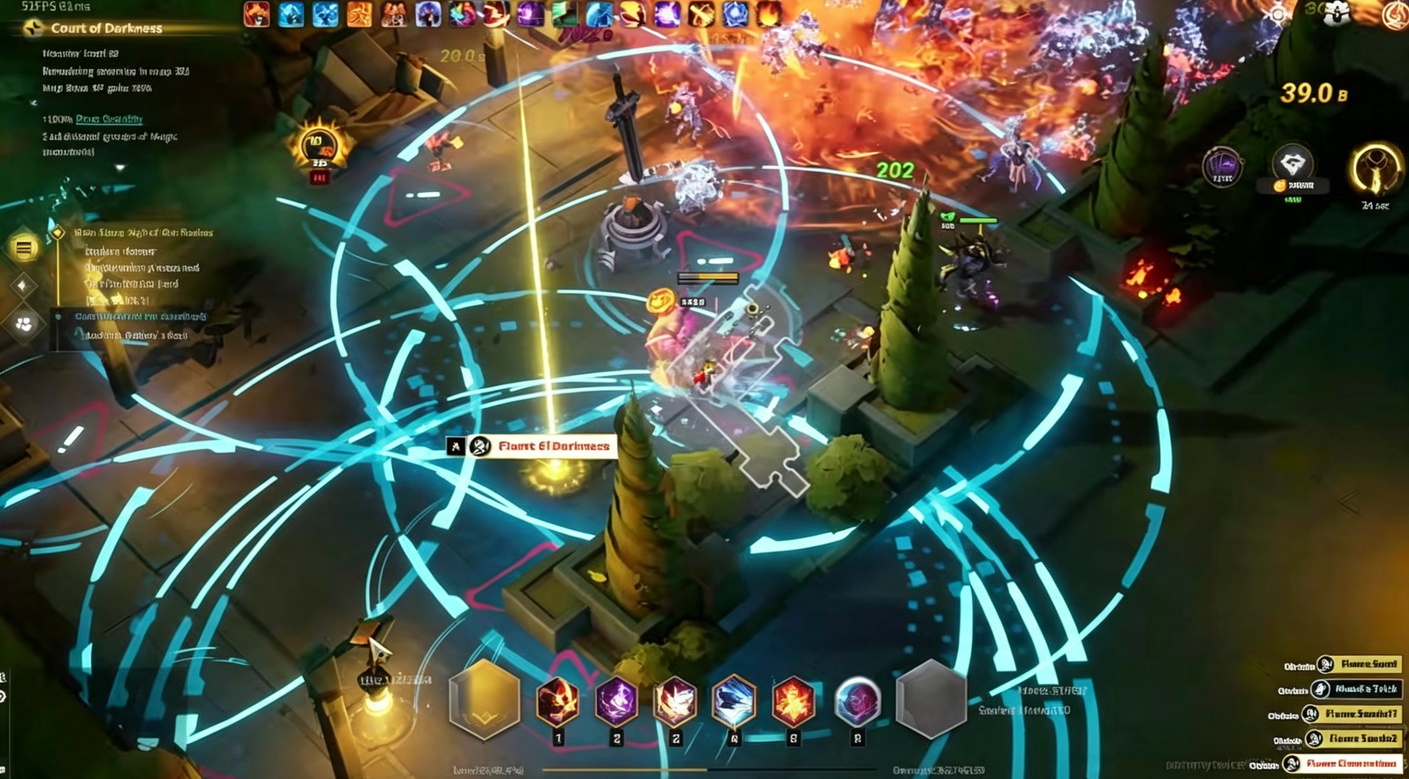
Enter the map and immediately focus on reaching the League mechanic.
Do not waste time killing unnecessary monsters or collecting low-value drops. Your goal is to trigger the main mechanic, defeat it, and move toward the exit as quickly as possible.
A strong run can take less than a minute, with many maps being completed in roughly 40–50 seconds.
Stay Alive
Survival is particularly important during the League encounter.
If you die and the League mechanic ends prematurely, you lose a significant portion of the potential reward from that map. A slightly slower build that consistently survives can therefore outperform a glass-cannon build that frequently dies.
After completing the mechanic, collect the valuable loot and leave the map.
Managing Profit and Map Variance
Do not judge the strategy from individual maps.
Some maps will show a loss after accounting for your setup costs. It is possible to have five or even ten poor maps in succession when the League mechanic produces weak rewards or inexpensive compasses.
The strategy works because profitable maps compensate for those losses.
For example, one test run initially went into the negative before a strong League reward pushed the average back into positive territory. This demonstrates why you should evaluate the strategy over dozens of maps rather than judging it after three or five runs.
Expected FE per Hour
Your results should generally fall into different ranges depending on your investment.
No-Pet or Budget Setup
With minimal pet investment and a reasonably fast build, approximately 1,500 FE per hour can be a realistic baseline, with luck potentially pushing the result toward 2,000 FE.
Optimized Pet Setup
With stronger pets, excellent clear speed, and efficient map selection, the strategy can reach approximately 3,000 FE per hour.
These figures are not guaranteed. Market prices, compass values, League rewards, build speed, and personal efficiency can all significantly change the final profit.
Final Tips for Maximizing FE
The Quant Rush strategy is ultimately about speed, quantity, and consistency.
Use these principles when optimizing your farm:
Aim for 70–80 maps per hour.
Prioritize compasses above most other rewards.
Stack Quant whenever possible.
Use cheap compasses to activate quantity bonuses.
Avoid unnecessary map mechanics that slow you down.
Keep your League encounters fast and consistent.
Do not panic when several maps lose currency.
Upgrade pets as your budget allows.
Track at least 50–100 maps before judging your true FE-per-hour rate.
For players with a fast build, this is one of the more straightforward ways to turn rapid map clears into consistent Torchlight: Infinite Flame Elementium income in Season 13. The strategy scales with both investment and efficiency, so you can begin with a budget setup and gradually improve your pets, map investment, and overall profit.