Weekend Drop -












AION 2 Hard Mode is worth adding to your progression routine once your group can clear it consistently. Krao Cave and Draupnir require 2600 Item Level, have a four-minute boss Frenzy timer, and limit each player to three revives.
Their main appeal is Ariel progression, rare crafting materials, and Philosopher's Stones, alongside increased Kina rewards.
For Ariel, start with the boss your party handles more reliably. Both dungeons list equal fragment and currency rewards. Keep missing equipment upgrades ahead of repeated failed Hard attempts.
Krao Cave vs. Draupnir
Hard Mode Requirements
Both AION 2 dungeons use the same entry threshold and combat restrictions:
Requirement | Krao Cave Hard | Draupnir Hard |
Entry Item Level | 2600 | 2600 |
Boss Frenzy timer | 4 minutes | 4 minutes |
Revive limit | 3 per player | 3 per player |
Ariel material | Krao-specific fragment | Draupnir-specific fragment |
Final-boss fragments per reward claim | 60 to 90 | 60 to 90 |
Kina contribution per boss | 160,000 | 160,000 |
Kina with all three bosses defeated | 480,000 | 480,000 |
Shared progression rewards | Crafting materials, Revelation stones | Crafting materials, Revelation stones |
Open Expedition, select Conquest Hard, and check the fragment type and guaranteed-reward counter. Reaching 2600 permits entry; it does not establish that your group can beat the timer.
Choose by Your Remaining Targets
October 21 Global data lists 160,000 Kina per boss and 480,000 for all three; older references list 510,000. Use the amount actually credited by your current AION 2 client for income calculations, then subtract supplies. Ariel remains 60 to 90 fragments from the final boss; extra bosses do not triple it.
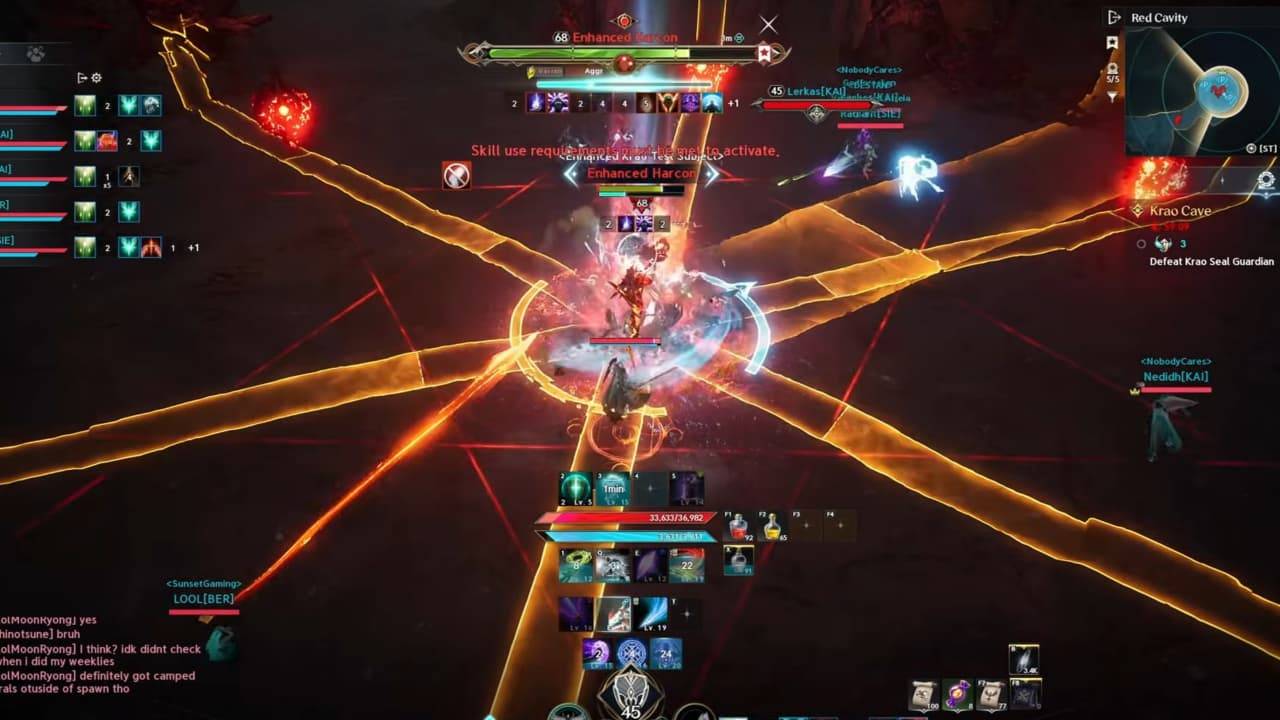
Choose Krao first if you still want weapons or accessories and your group can handle Berk's glowing-rock cover and stagger check.
Choose Draupnir if armor or a Guard is your secondary target, or your party handles Bakarma's waves more consistently. Neither listed reward table gives one dungeon a fragment or Kina advantage.
For Ariel alone, stay with one fragment type until you can make its next crystal. Start with the encounter your group knows better, then switch when its crystal allowance is exhausted or the other dungeon supplies equipment you still need.
Splitting your first claims between two fragment types can leave neither stack at 100.
The higher entry requirement does not turn the old equipment pool into a new endgame set. A low-level drop with useful attributes deserves inspection, but compare it with your actual target and its transfer preview before investing.
Rewards Worth Farming First
Ariel Progression and Guaranteed Rewards
Reserve your first Ariel Fragments for board progression: complete one matching crystal, then target the next useful node within the remaining recipe allowance.
AION 2's reward database lists a Hard Mode selection after 28 Odyle Energy Cube reward claims.
Choose Revelation when that is your next equipment goal. Track the displayed counter: boss reward contributions and guaranteed-reward progress are different units, and a 480,000-Kina payout is not three counter increments.
Treat Hero Artwork and achievement collections as additional goals alongside your fragment and guaranteed-reward progress.
Wrathful Crafting Materials
Both Hard dungeons add access to Wrathful Mind, Wrathful Will, and Wrathful Ego. Keep the materials required by your next planned craft; check the rest against current market listings and your remaining ingredient costs.
When budgeting AION 2 Kina for crafting, compare the cost of the complete recipe with the value of the equipment it produces. Owning one rare ingredient does not make the remaining ingredients affordable, and extra dungeon supply does not guarantee an immediate price drop.
Ariel Fragments and the Board
Convert Fragments into Crystals
Use this sequence after collecting your AION 2 Hard Mode rewards:
1. Check whether you received Ariel Fragment: Krao or Ariel Fragment: Draupnir.
2. Open Substance Morph, then Special, then Daevanion.
3. Select the recipe producing Daevanion Crystal: Ariel (Bound).
4. Check its required fragment type and remaining allowance. Exchange 100 eligible fragments for one crystal.
5. Use the crystal to obtain Ariel points, then inspect the board before spending them.
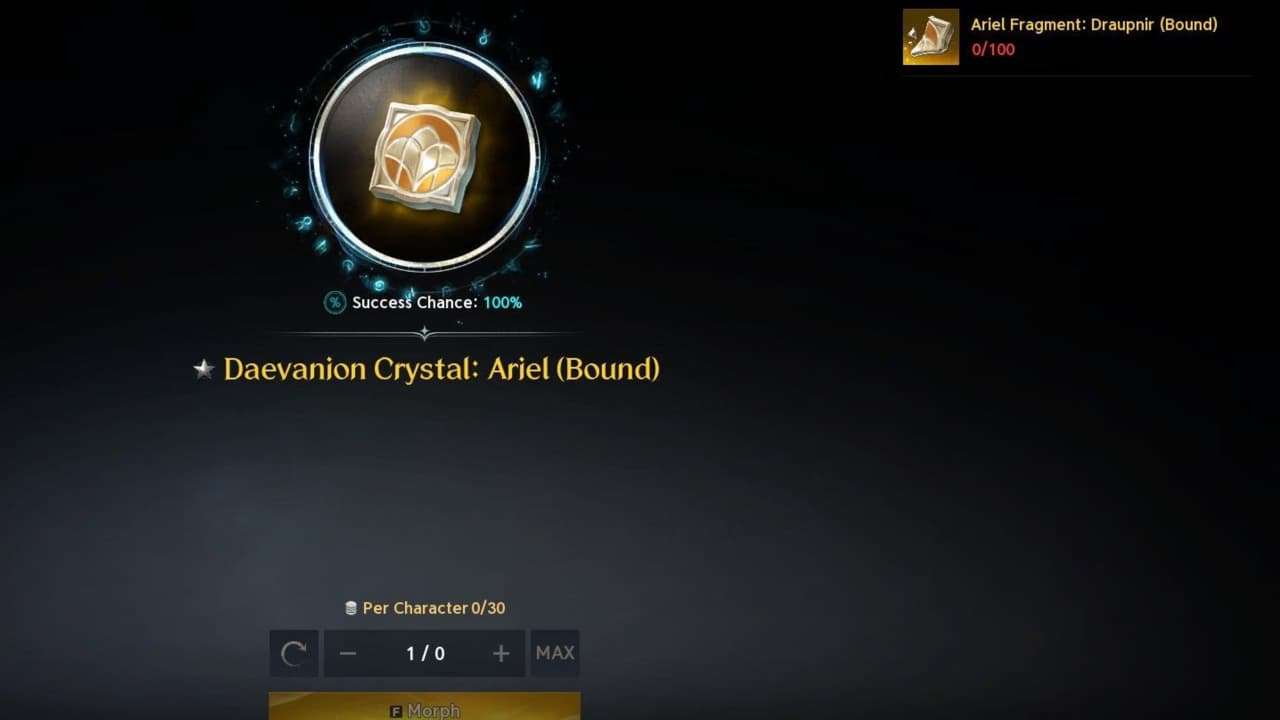
Updated recipe data lists 30 crystals from each dungeon: 60 crystals total, costing 3,000 matching fragments each and providing up to 60 Item Level when spent.
Confirm both recipes' remaining allowances in Substance Morph before using this total; the official notice does not explicitly state 60. This allowance is not the entire Ariel board.
With the listed 60 to 90 fragments per eligible claim, your first claim leaves you short of a crystal. Two claims of the same type give 120 to 180 fragments: exchange 100, then keep the remaining 20 to 80 for the next crystal.
Crystal target from zero | Fragments required | Eligible same-type claims at listed yields |
First crystal | 100 | 2 |
Five crystals | 500 | 6 to 9 |
One dungeon's 30-crystal allowance | 3,000 | 34 to 50 |
These are cumulative bounds at the listed yields, not fixed run counts. Count fragment-bearing claims and use the remaining recipe allowance to plan the next batch.
Choose Nodes for Your Role
Ariel supports PvE progression. Inspect damage options such as PvE Damage Boost and defensive options such as PvE Damage Tolerance on your current board, including the connecting nodes required to reach them.
If you survive reliably, compare paths to useful damage nodes. If deaths end your contribution, consider defensive nodes. Tanks and supports should target the party's actual failure point.
Keep Crystals Ahead of Enhance Stones
The alternative recipe is under Substance Morph, Special, Consumables: one Ariel Fragment becomes five Enhance Stones, with no stated conversion limit. Every fragment used there is unavailable for a crystal.
Use the Enhance Stone recipe once the matching crystal allowance or your planned board progression is complete.
Philosopher's Stones and Gear
Understand the Revelation Reward
Philosopher's Stone: Revelation (Bound) supplies an additional Soul Fuse attribute slot on eligible equipment. For an eligible weapon requiring Revelation, the documented cost is two stones plus 1,000,000 Kina at 100% Soul Binding.
Reaching 100% has its own preparation cost; the million is the fuse fee, not the complete investment.
The first 28-claim selection supplies one stone. From zero, two 28-claim reward cycles mean 56 qualifying counter increments for two selected stones if neither drops randomly.
Check your counter after claiming instead of converting this directly into runs; claim entitlements can differ. A first stone is progress toward the fuse, not a completed upgrade.
Keep AION 2 Kinah reserved for the fuse fee and remaining binding preparation. The bound stone is not market income, and the resulting attribute is not a guaranteed roll of your preferred stat.