Weekend Drop -














Summary
This guide covers Arena Breakout: Infinite's permanent PvE Hostile Sector mode, an intense AI-only extraction raid requiring paid entry tickets. It details four deadly new elite AI enemy types and core survival tactics like isolating fights, using cover, and prioritizing headshots. The article shares optimal perks, T4/T5 gear loadouts, affordable ammo choices, and map tips for beginner-friendly Farm and high-profit Northridge. It also explains profitable mission routes and looting strategies. Players can buy Arena Breakout: Infinite Koens to fund strong loadouts and ticket costs, helping master the high-stakes, rewarding PvE mode for steady in-game profits.
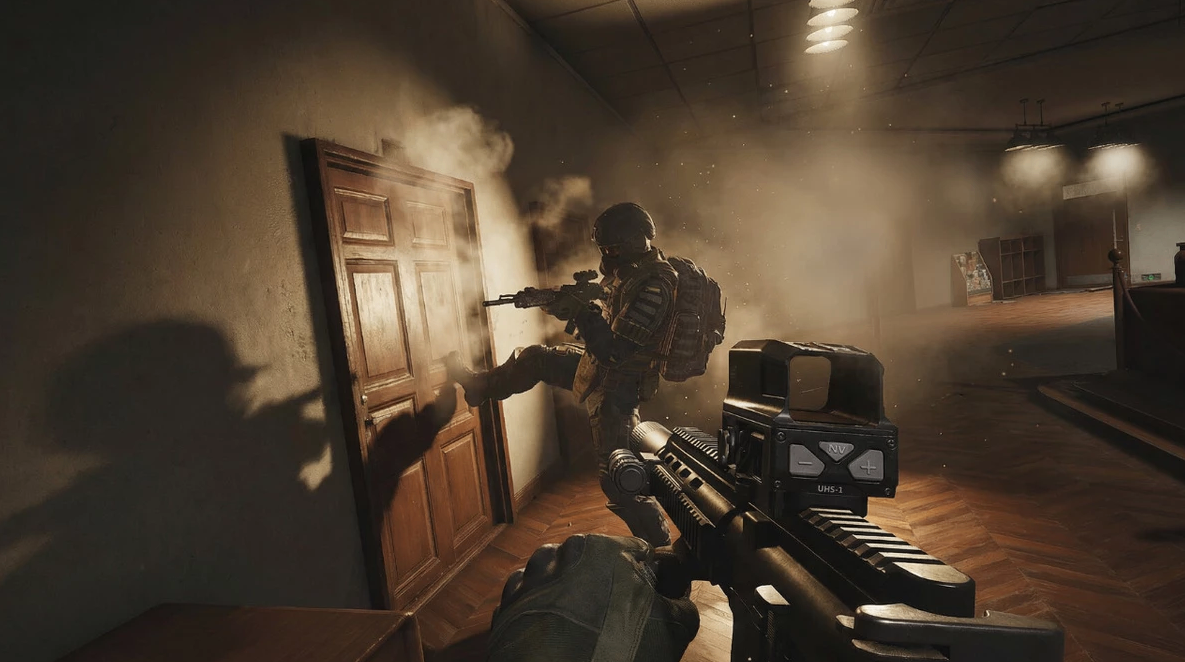
Arena Breakout: Infinite has finally introduced a permanent PvE mode called Hostile Sector. This is not the relaxed experience many players expected. It delivers an intense extraction challenge focused entirely on battling highly aggressive AI rather than other operators.
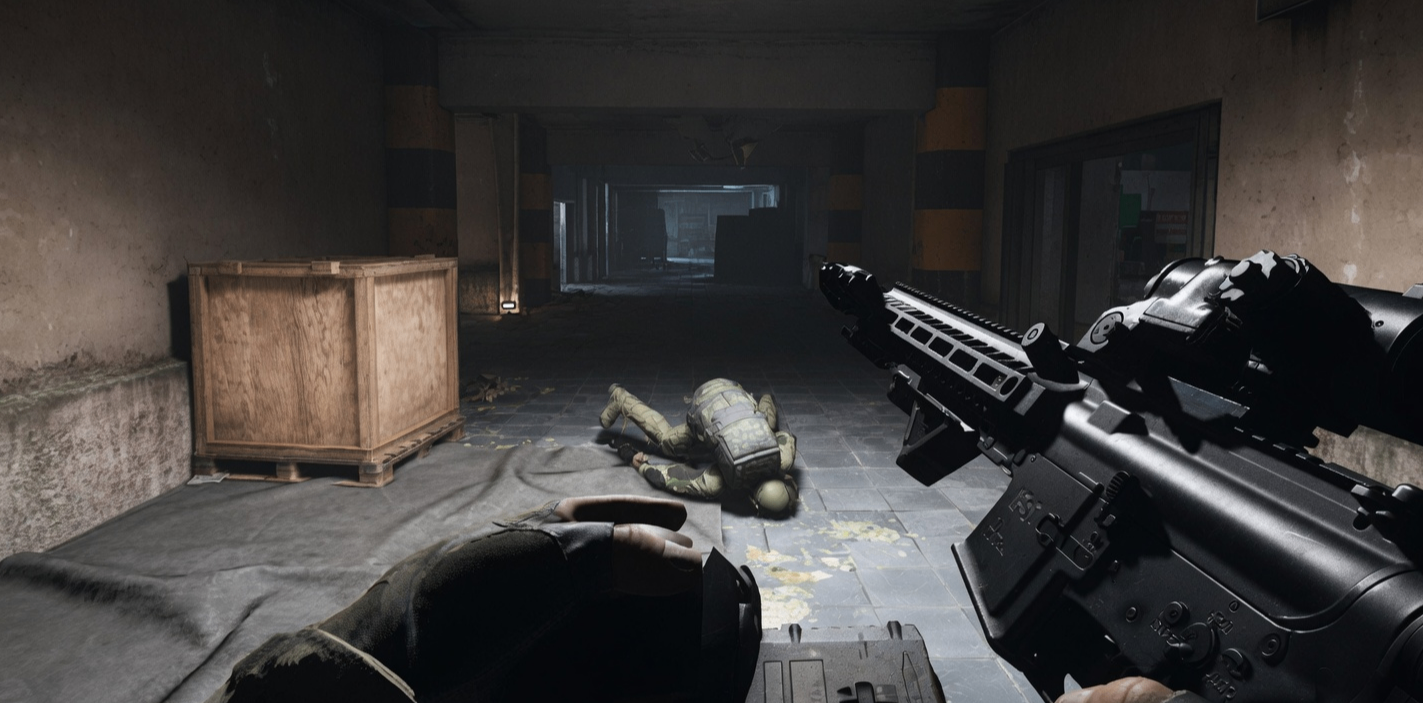
You bring your own gear into the map, collect loot, complete objectives, fight the enhanced AI, and extract successfully. There is no player-versus-player threat, which gives you greater control over engagements. However, the AI is tuned to be far more accurate, reactive, and relentless than in standard modes. Underestimating them often leads straight to the failed extraction screen.
Tickets are required to enter Hostile Sector. These can be found in raids, purchased on the market, or earned through events. At the time of writing, tickets typically cost around 700,000 to 800,000 Koens. Dying means losing both your loadout and the entry fee, so the stakes feel higher. With practice, consistent survival becomes realistic and the mode turns highly profitable. All extracted loot ties into the main game economy, allowing you to sell items, complete quests, or fund other activities.
Understanding the New AI Threats
Hostile Sector features more AI overall, with boosted accuracy and rate of fire. Multiple enemies locking onto you can end a raid in seconds. Four new enemy types stand out as the primary challenges.
Grenadiers carry pistols and throw grenades without cooking them. They are manageable with quick headshots. Loot them for a grenade and useful T4 abdomen armor that can serve as an in-raid swap.
Humigators appear in yellow outfits and throw gas instead of grenades. They are more annoying than lethal. Eliminate them quickly to avoid fighting through gas clouds.
Snipers pose a greater threat. They wear T4 helmets and use T4 gold ammunition, often firing rapidly like semi-automatic Mosins. They can deliver double body-shot kills through T4 armor. Avoid open areas and prioritize taking them out from distance.
Breachers are the most dangerous. These close-quarters shotgunners wear T4 armor, use flashlights and auto shotguns, and have increased health. They can kill even well-geared players in about two seconds through leg meta if they catch you off guard. Mag dump them without conserving ammo. Listen for their distinctive American-accented voice lines such as "Don't let me find you" to prepare before they appear. Flashlights make them especially intimidating in dark spaces.
These AI types spawn in relatively consistent locations across raids. Learning those spots lets you prepare and handle them more reliably.
Essential Combat Strategies for Survival
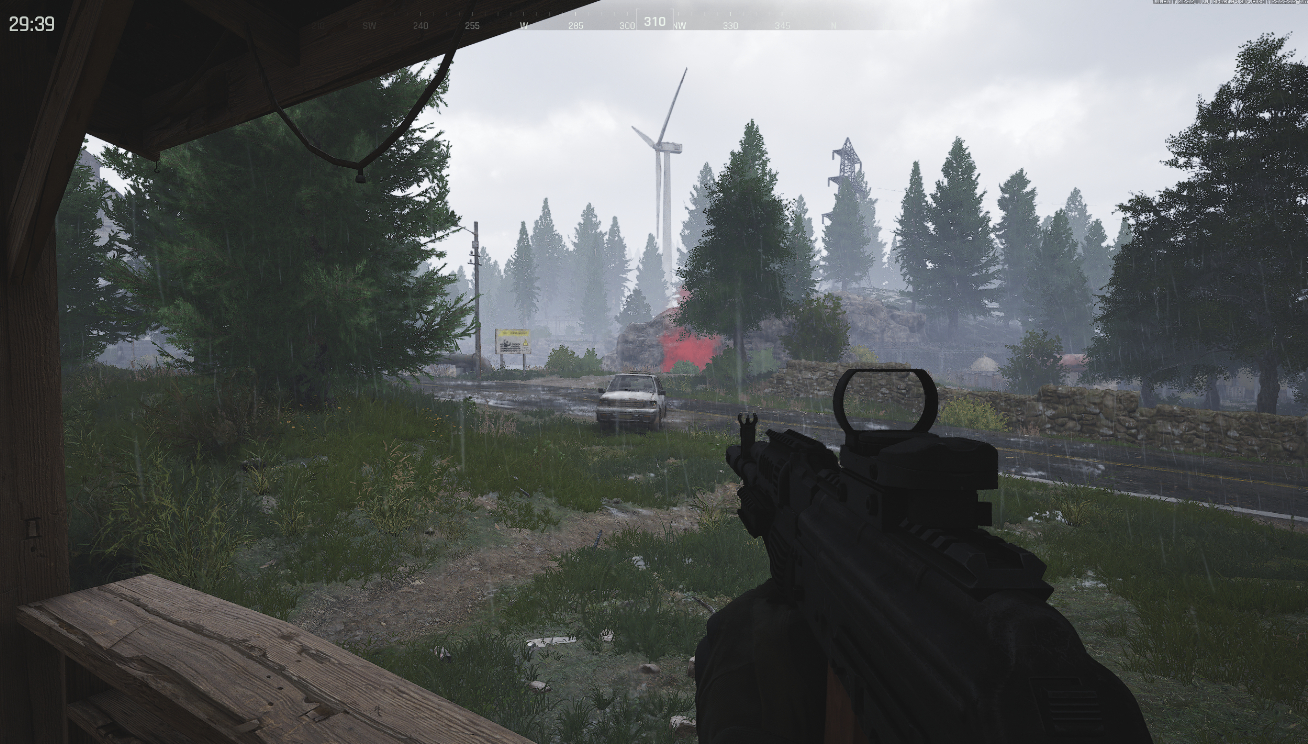
Treating Hostile Sector like normal Arena Breakout: Infinite is a common mistake. Wide swings, standing in the open, or relying solely on armor rarely works. The priority is isolating fights into one-on-one engagements.
Stay indoors or rush buildings whenever possible. Walls, doorways, and hard cover break enemy line of sight and limit the number of angles you face. Fighting three or four AI at once puts you at a severe disadvantage. If multiple enemies engage, fall back, reposition, and re-engage from a better angle.
Healing and reloading create major risks. When wounded, especially while using a surgical kit, AI swarm your position aggressively. Expect pushes and hold choke points such as doorways or hallways so enemies funnel into your crosshair one by one. Avoid healing until aggroed enemies are cleared. Running two large drum magazines helps you handle multiple waves without long reload animations.
Approach points of interest carefully. Enter from safer angles rather than aggroing everything from outside a compound. On Farm's motel, for example, sneaking in from the back reduces the number of exterior patrols you face immediately.
Always aim for the head when possible. Accurate headshots eliminate most AI quickly, reduce exposure time, save ammo, and limit the damage you take. Avoid pure head glitching over cover. Exposing your full body and taking limb shots is often safer than offering only your head as a target.
Against breachers, bosses, and their guards, do not hesitate to full-auto mag dump while still prioritizing heads. These enemies have better armor and higher health, so single shots often fail. Isolate boss fights by quick-peeking for information, drawing aggro, then falling back so they funnel toward you. Avoid fighting on staircases or elevation where head positions become unpredictable. Flat ground keeps crosshair placement consistent.
Utility items help significantly. Molotovs placed in doorways or halls often stall AI long enough for you to heal or reload. Never shoot through doors first. Doors are wall-bangable, but AI will not return fire accurately until you initiate. Once you shoot, they respond with high precision.
Mastering these habits turns Hostile Sector from punishing to consistently survivable.
Building the Right Loadout
Certain mastery perks prove nearly mandatory. Sleight of Hand speeds up magazine packing. Porter increases carry weight for more loot. Pharmacist extends stimulant duration by 35 percent. A fourth perk can be Heavy Mortar for faster movement in heavy armor or Effective Looting for occasional instant container access.
Maximize bag space with the largest available options, such as the 926 bag or crafted Field Backpack. Pair it with a high-capacity rig like the 926 Premium or Stormtrooper. Commander headphones work well on both maps.
T4 helmets with visors, such as the KSS TAC, provide solid protection. T5 options like the Alton offer extra safety while learning. For body armor, T5 defenders with abdomen protection help beginners. Experienced players can run T4 armor and swap with AI drops to maximize profits.
Focus on the cheapest Tier 3 ammunition available-currently often 5.45x39, 5.8x42, or 7.62x39. Choose full-auto weapons with large magazines compatible with that ammo. Strong options include the AEK, ACE, AKM, AK-12, RPK, or especially the U191 with 5.8 ammo. Equip the largest magazines, suitable grips, compensators or suppressors, and preferred optics. Red dots excel in close quarters. Keep lasers on for improved hipfire since there is no PvP concern.
Bring around 600 rounds when starting out, plus two molotovs, optional smokes or a grenade, liquid painkillers, a nebulizer for gas on Northridge, the STTO surgical kit, several E3 meds, a regen stim, a green emergency stim, and a few endurance and hydration items. Buy stations on the map provide two free items per raid-use them for extra heals, surgicals, or grenades.
Choosing Between Farm and Northridge
Farm is the smaller map with 10 large safes, three mini safes, and a 35-minute timer. AI generally wear Tier 3 armor and use weaker ammo, making it more forgiving for learning. Routes can hit every safe in 15 to 25 minutes, leaving time for additional looting. Loot quality sits at a slightly buffed lockdown level.
Northridge is larger with 18 large safes, six mini safes, and a 50-minute timer. AI wear Tier 4 armor and present tougher fights, but the map offers enhanced loot between lockdown and forbidden quality plus nearly twice the safes. AI frequently drop Tier 3 ammo for resupply. It suits squads especially well.
New or solo players should start on Farm for easier learning and solid profits. Once comfortable, Northridge rewards higher risk with greater potential. Surprisingly, Farm often delivers comparable or even better returns for some players due to factors like boss spawn rates.
Missions, Profit Potential, and Efficient Play
Both maps feature short blue missions marked by triangles. Completing them yields about 40,000 Koens plus a chance at valuable items delivered by mail. The single orange mission in the map center is more demanding. On Farm it appears randomly; on Northridge it is always available. It requires visiting multiple locations, then defending a beacon for two minutes against waves. Success rewards 200,000 Koens and a chance at rare items. The time investment often outweighs the benefit for pure profit runs unless the reward fits your route.
With consistent survival, profits easily cover the ticket cost and more. Efficient looting focuses on high-value safes, AI gear, and key containers while maintaining awareness of threats. Keys can open additional high-value rooms. Interactive maps and practiced routes help maximize returns without unnecessary risk.
Hostile Sector rewards preparation, positioning, and disciplined combat more than raw gear quality. Once the AI patterns and map layouts become familiar, the mode offers reliable money-making, skill practice, and a refreshing change from pure PvP. Players looking to expand their resources can also buy Arena Breakout: Infinite Koens to support stronger loadouts while mastering the mode.
Arena Breakout: Infinite Koens remain central to progressing through tickets, gear, and market activity. Combining solid fundamentals with smart resource management turns Hostile Sector into one of the most engaging and rewarding experiences currently available in the game.