Weekend Drop -












Summary
"Stranded" is the tenth mission in the Call of Duty: Modern Warfare 4 campaign and the only open-ended sandbox map in the entire campaign. Playing as Private Park Hyun-jun, you clear enemy forces, gather intel, and unlock containers and bunkers across the Korean peninsula battlefield. The mission carries the campaign's largest collection of collectibles: 26 yellow supply crates and 58 notes, tied to the "Time to Crate" and "Noteworthy" achievements respectively—though some players skip the grind using CoD Modern Warfare 4 Bot Lobbies instead.
If you're searching for a complete reference covering every lock on the map, this guide compiles the full COD MW4 Stranded codes list alongside crate locations and an efficient collection route. Whether you're just entering the map or stuck on the last few crates, this will help you finish.
1. Why "Stranded" Deserves Your Attention
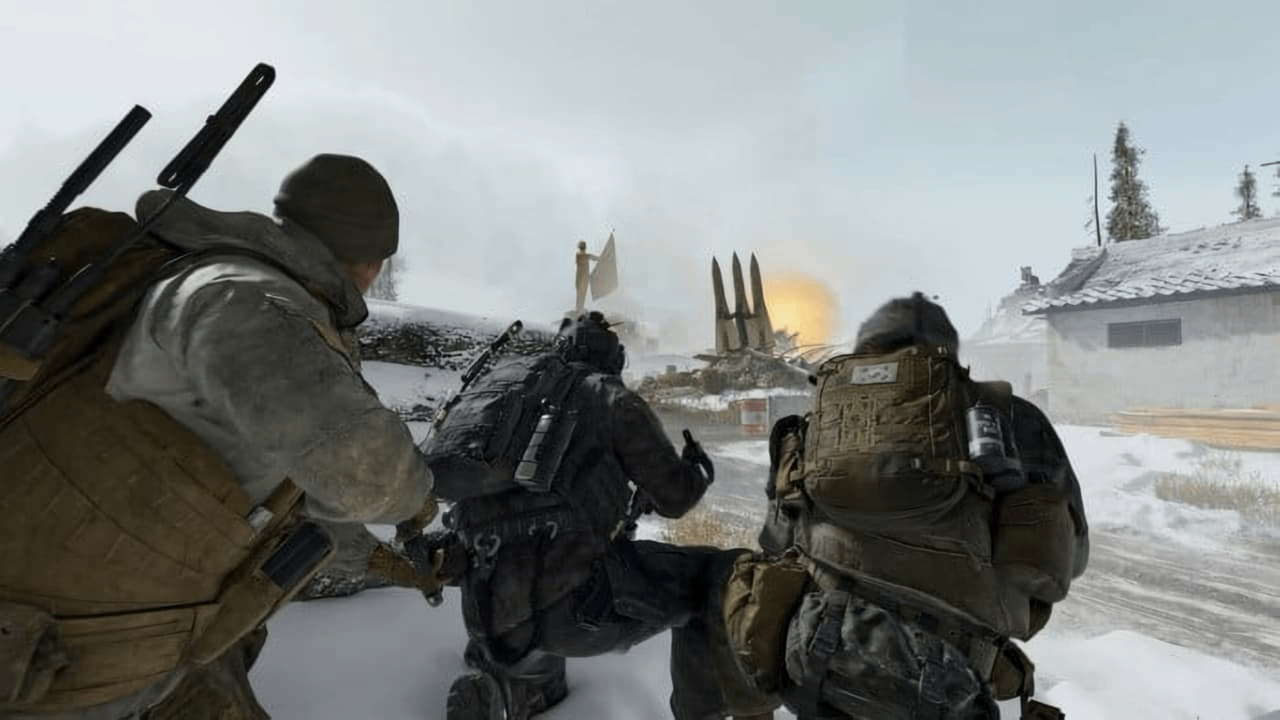
In Modern Warfare 4's campaign structure, "Stranded" stands out. The official description calls it an "open combat mission," where players freely choose their approach—clearing outposts, collecting supplies, unlocking hidden locations. Set against the backdrop of the Korean Peninsula war, Park Hyun-jun's unit fights to survive a collapsing frontline, and this sandbox map captures that "chaotic battlefield" experience.
But what keeps players returning is the collectibles. Some of the 26 crates contain weapon and equipment upgrades (suppressed pistol, recon drone, backpack expansion), while others grant supply points for base building. The 8 code-locked containers and bunkers tend to have the highest crate density. In other words: no codes, no complete set of 26 crates.
2. Code Locks: 8 Locations, 8 Puzzles
Codes aren't randomly generated. Each lock has a note nearby listing "previously used codes," from which you deduce the pattern. Codes are fixed across all playthroughs and can be entered directly.
Quick Reference Table
# | Location | Coordinates | Code | Logic |
1 | Base camp container | 644, 158 | 0024 | 0006 → 0012 → 0018, +6 each time |
2 | Container south of jammer | 667, 125 | 8609 | 5903 → 6805 → 7707, +1/-1/0/+2 per digit |
3 | Southeast village container | 652, 187 | 0078 | 0012 → 0034 → 0056, last two digits +22 each time |
4 | Cliffside container near base | 646, 149 | 0600 | 9300 → 6400 → 3500, -2900 each time |
5 | Large sign container | 634, 136 | 1234 | 1000 → 1200 → 1230, sequentially filled digits |
6 | Island container | 618, 132 | 6789 | 3456 → 4567 → 5678, consecutive digits +1 start |
7 | Farmland hidden bunker | 631, 127 | 0330 | Fixed code (supply stations 10+20+100+200=330) |
8 | Island hidden bunker | 615, 169 | 0008 | Fixed code (river outposts 1+2+5=8) |
Minor discrepancy: Some guides list the cliffside container as 646, 149, others as 646, 150 or 646, 158. This is likely a small map-labeling offset between versions; the actual location is on the cliff north of the base either way.
Detailed Breakdown
1. Base Camp Container (644, 158) — 0024
The easiest to find, right next to the radio tower. The note lists 0006, 0012, 0018—adding 6 each time, so the next is 0024. Opening this container gives you a tactical map that automatically marks all other locked containers. Start here to save yourself a full-map search.
2. Container South of the Jammer (667, 125) — 8609
Northeast corner of the map, south of the jammer, next to a tall tower and a truck. The pattern changes per digit: first +1, second -1, third stays 0, fourth +2. From 7707: 7+1=8, 7-1=6, 0 stays, 7+2=9 → 8609.
3. Southeast Village Container (652, 187) — 0078
Southern village, near the river bridge, in front of the large red sign. The last two digits increase by 22 each time: 56+22=78, formatted as 0078.
4. Cliffside Container Near Base (646, 149) — 0600
Head north from the base to the green container by a truck on the cliff edge. Decreasing by 2900 each time: 3500-2900=600, padded to 0600.
5. Large Sign Container (634, 136) — 1234
Northern part of the map, beside a large sign. The digits are filled sequentially: 1, 2, 3, then 4 → 1234.
6. Island Container (618, 132) — 6789
On a small river island—swim or take a boat, and clear the watchtower guards first. Each group is four consecutive digits with the starting number +1: next is 6789.
7. Farmland Hidden Bunker (631, 127) — 0330
The note doesn't give a full sequence, but the code is fixed at 0330, containing supplies and multiple crates. The clue: the four supply station values (10, 20, 100, 200) sum to 330.
8. Island Hidden Bunker (615, 169) — 0008
Fixed code 0008. The clue: the river outpost counts (1+2+5) sum to 8. Contains one crate.
3. The 26 Crates: Categories and Distribution
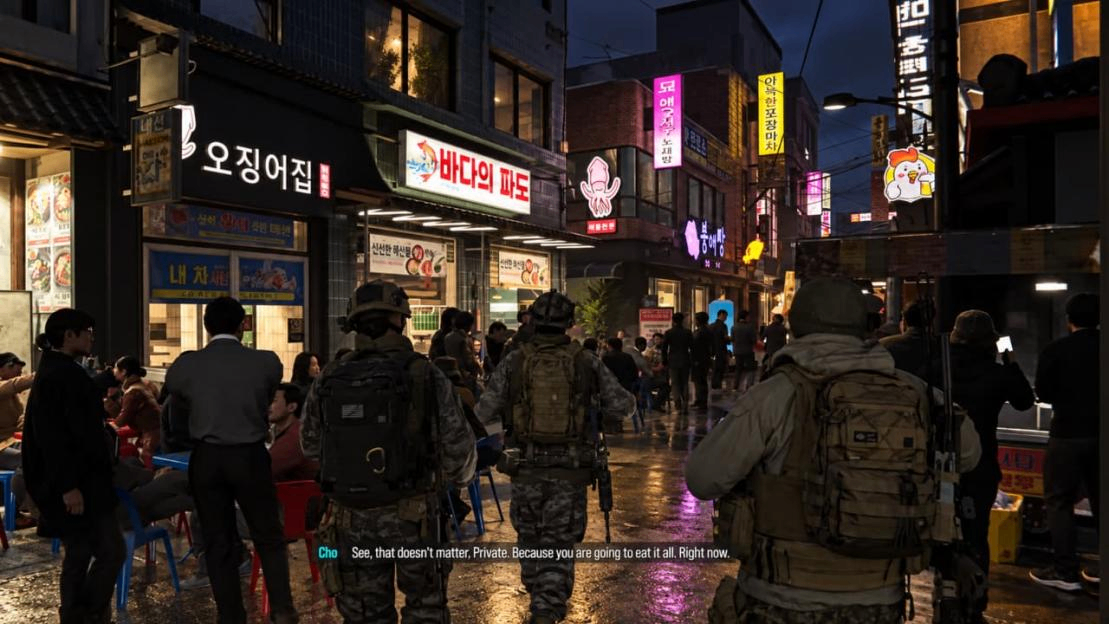
"Time to Crate" requires opening all 26 yellow supply crates. 24 are at fixed coordinates; 2 are on moving vehicles.
Special Crates Table
Type | Location / Method | Coordinates | Contents / Notes |
Mobile · Train | Jump onto the train looping on the southern tracks | Moving | Mosin-Nagant sniper rifle |
Mobile · Truck | Intercept the enemy convoy circling the base mountain (red marker on tactical map) | Moving | Recon drone |
Climb · Radio Tower | Top of the blue radio tower near the base | Near 644, 158 | Top platform |
Hidden · Sewer | Enter the sewer from the blue building, follow arrows on the wall | 639, 164 | Avoid traps, other side of locked door |
Climb · Water Tower | Small water tower by the southern tracks, climb the pipes | 648, 192 | — |
Trap Building | Northeast hillside shop; throw a grenade first to detonate tripwires | 605, 114 | Hug the right wall, crate in left room |
Locked House | Door locked; climb the roof and drop through the gap | 651, 134 | — |
Outpost · Type 73 | Appears after clearing the outpost | 672, 141 | Light machine gun |
Outpost · Kastov 762 | Appears after clearing the outpost | 668, 183 | Suppressed Kastov 762 |
Crate Contents
Crate contents are randomized—different playthroughs can yield different items. Guides have recorded the same container giving a drill charge, suppressed pistol, or backpack expansion. Regardless of what you get, every crate counts toward the achievement, so there's no "wrong crate" to open.
4. Efficient Collection Route
Region-by-Region Table
Phase | Area | Goal | Contents |
Step 1 | Base surroundings | Get the map first | Base camp container (0024), radio tower crate, cliffside container (0600), sewer crate |
Step 2 | Northeast | Clear + loot | Container south of jammer (8609), jammer fixed crate (671, 121), trap building crate (605, 115) |
Step 3 | North & river | Water crossings | Large sign container (1234), island container (6789), island bunker (0008) |
Step 4 | South & southeast | Along the tracks | Southeast village container (0078), water tower crate, train crate, farmland bunker (0330) |
Step 5 | West & central | Outpost cleanup | Type 73 (672, 141), Kastov 762 (668, 183), other outpost crates |
Final | Whole map | Moving targets | Intercept the patrol truck, camp the train |
Route Logic
Get the map first: Start at the base camp container (0024) to reveal all other locked containers on your tactical map. Grab the radio tower crate while you're there.
Clear by region: The map divides into several areas; progressing region by region is far more efficient than wandering. Each cleared outpost becomes a fast-travel point for later.
Handle moving targets last: The train and truck crates can be intercepted anytime, but if you've missed them, do a dedicated lap at the end. The truck shows a red marker on the tactical map; the train's route is fixed—just wait by the tracks.
5. Practical Tips
Tip | Details |
Clear outposts before looting | Several crates sit inside enemy outposts; clear them first for safe access |
"Noteworthy" needs 50 notes read | 58 notes exist on the map—grab papers off tables as you loot; opening the 3rd and 5th crates auto-unlocks two notes |
Watch your surroundings when entering codes | Enemies patrol near the southeast village and island containers—clear them first |
Supply points have real use | Crates grant supplies for base building; all 26 provide a substantial amount |
Follow the arrows in the sewer | Follow the arrow shapes on the wall, not compass directions, or you'll loop back |
Conclusion
"Stranded" has a clear design intent: give players a sandbox big enough that exploration itself is the reward. The code puzzles aren't hard—each note provides enough of a pattern to deduce the answer—and the crate distribution encourages clearing outposts, climbing heights, and crawling through sewers rather than pushing straight down the road. All 26 crates, 58 notes, and 8 code locks will take roughly one to two full exploration runs—or you can Buy CoD Modern Warfare 4 Bot Lobbies from MMOEXP, which offers secure, fast delivery. But when you open that final crate and see "Time to Crate" pop, that's when the Korean battlefield map has truly been walked end to end.