Think you know Mob of the Dead? Think again. What if I told you there’s a weapon that never runs out, hits every zombie in your train, and deals infinite damage—no matter what round you’re on? Sounds broken, right? It is. But here’s the catch: 90% of the guides out there skip the most crucial first step, leaving you stuck with a glorified paperweight. So why is everyone getting this wrong, and how do you actually unlock the Hell’s Redeemer without wasting hours? Let’s settle this once and for all.
The "Dog Head" Hunt: Where Most Players Already Mess Up
Before you even think about throwing that tomahawk, you’ve got to wake up the three dog heads scattered across Alcatraz. One sits right next to the spawn area, another lurks under the crashed plane, and the last one waits at the docks. Feed each one enough zombie souls until they glow and stop eating. This isn’t optional—it’s the key that unlocks the base Hell’s Retriever. Miss even one, and you’re done before you start. Once all three are satisfied, grab your new toy from the spawn dog head. That’s your ticket to infinite power, but right now, it’s just a sharp stick.
The Silent Grind: 20 Kills That Nobody Tells You About
Here’s where every YouTube short fails you. After you pick up the Retriever, you can’t just run to the bridge and pray. You need to get around 20–25 kills with the tomahawk on Alcatraz Island itself—and no, gun kills don’t count. Train your horde in the cafeteria or near the docks, chuck the axe into the thickest group, and listen carefully. When you hear that creepy afterlife jingle, you’ve cleared the hidden threshold. This is the make-or-break moment. Skip this, and the bridge step becomes a waste of time. Do it right, and you’re halfway to god-mode.
Buy CoD Black Ops 2 Bot Lobbies at mmoexp, save your sanity, and enjoy the real endgame—because grinding this quest with a half-baked plan is the fastest way to rage-quit.
Bridge or Bust: One Full Round, One Rule
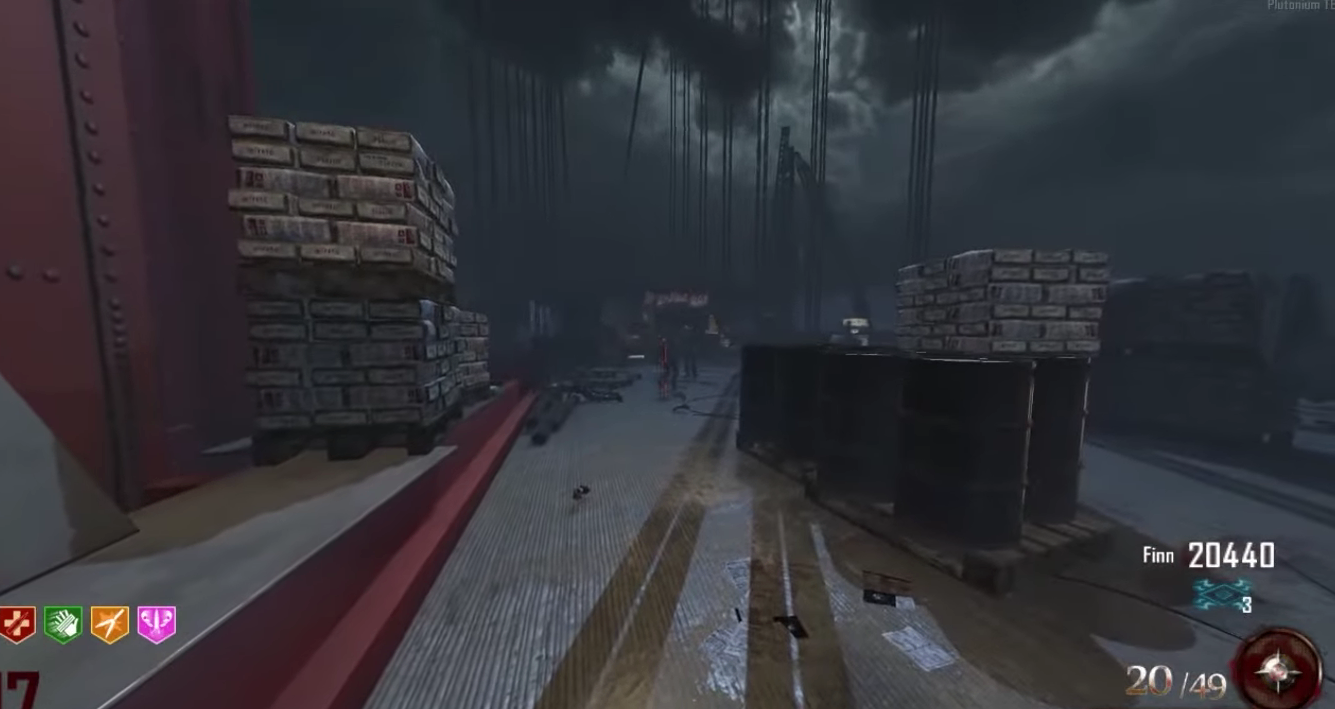
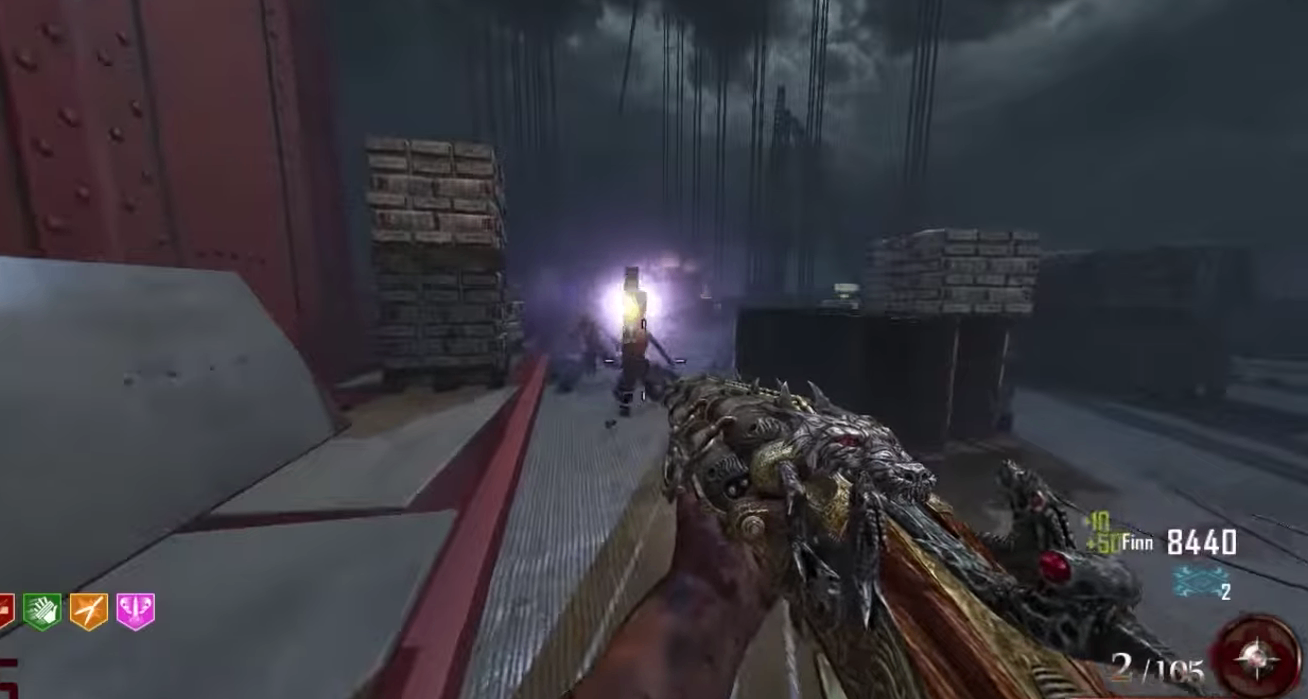
Now it’s time to build the plane and fly to the Golden Gate Bridge. Once you land, finish your current round with guns if you want—but the next round is pure tomahawk time. You must survive an entire round using only the Hell’s Retriever. No bullets, no traps, no grenades. Just you, your axe, and a growing mob of undead. The trick? Run the same training loop—around the wing, through the middle, then turn and throw. If you’re on a low round (like round 10–15), this flies by. If you hear that afterlife chime again at the end of the round, congratulations—you’ve just passed the hardest test.
The Lava Pit Secret: The Final Sacrifice
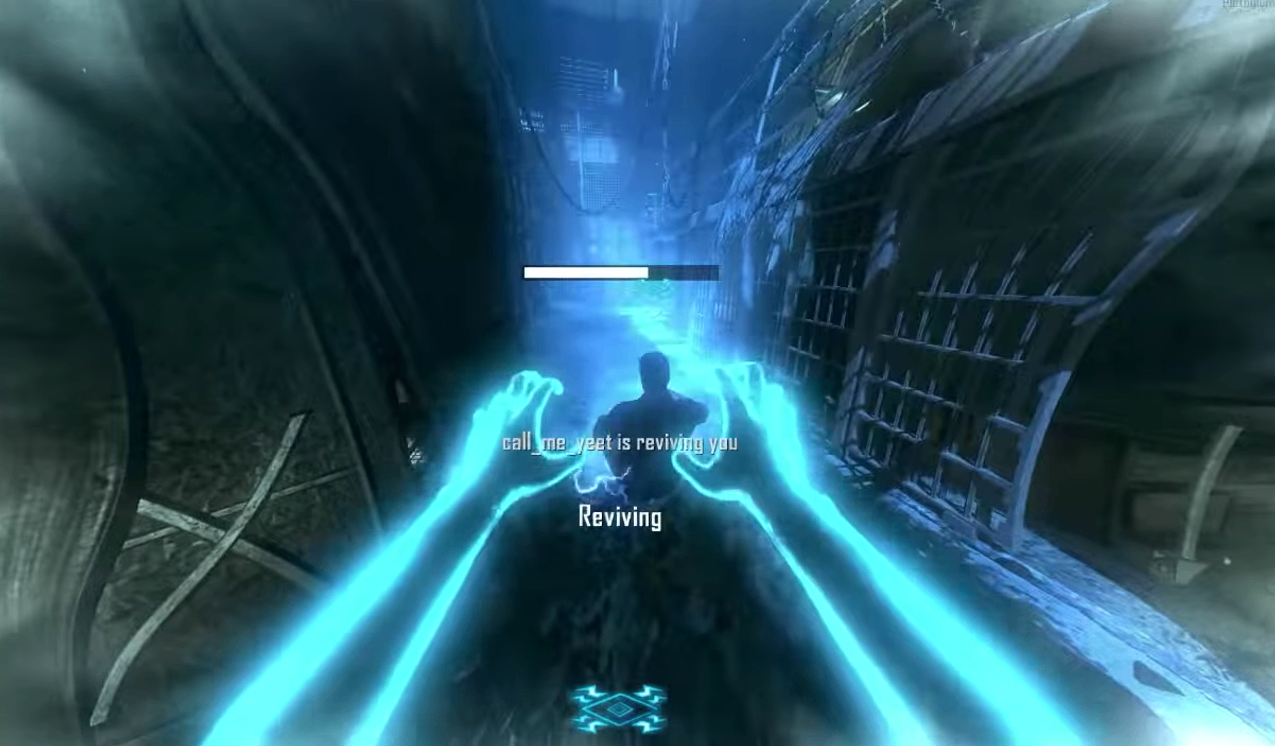
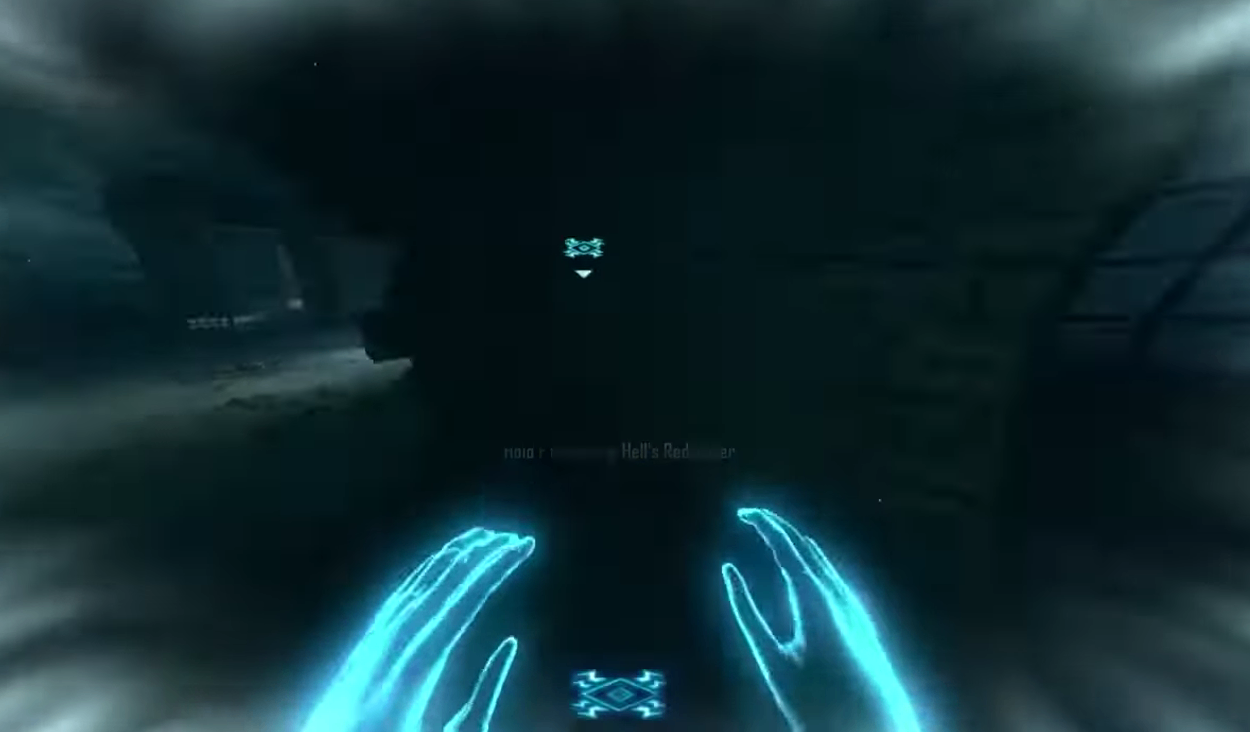
Hop back on the electric chair to return to the prison. Now, walk to the dog head closest to spawn—the one where you first grabbed the Retriever. Face the lava pit right next to it, take a deep breath, and throw your tomahawk straight into the fire. If the game acknowledges your offering, the tomahawk won’t return to your hand, and you’ll hear the afterlife sound for the last time. This is the ritual’s climax. Now, all you have to do is survive until the next round starts. Pop your afterlife mode, drop down to the original retriever location, and there it will be—glowing, spinning, and absolutely devastating.
Why This Thing Breaks the Game (And Your Ammo Problems)
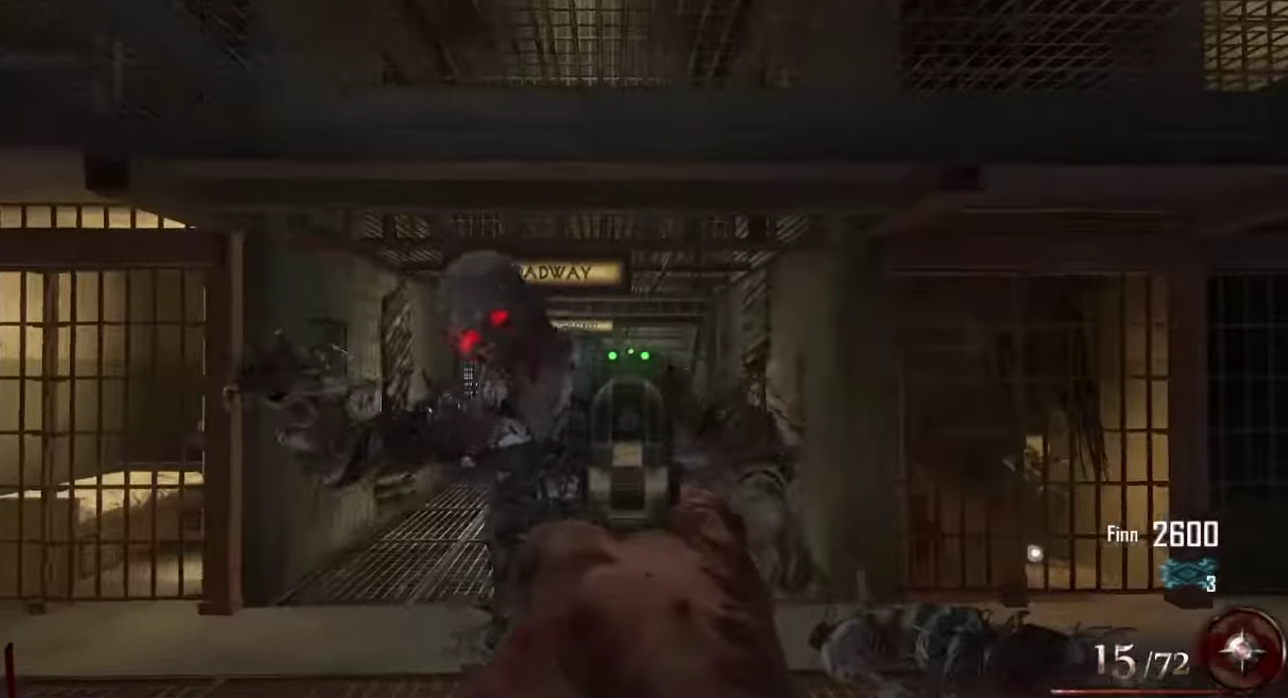
The Hell’s Redeemer isn’t just a shiny upgrade—it’s an infinite-damage, multi-kill monster that scales forever. At round 50, 80, or 100, it still one-shots entire trains. That means you stop depending on wall guns, PaP, or max ammo drops. It’s the ultimate high-round survival tool, and it turns Mob of the Dead from a tense scramble into a power trip. But here’s the kicker: if you mess up the order—especially that early 20-kill grind—you’ll never see the upgrade. That’s why so many players call this quest “bugged” when it’s really just misunderstood.
And if you’re tired of failing due to bad RNG or shitty teammates, buy CoD BO2 Bot Lobbies at mmoexp, save your sanity, and enjoy the real endgame—because this quest is already hard enough without running on empty.
Pro Tips for a Smooth Run
· Round choice matters: Start the feeding process by round 5–6. The lower the round, the faster the tomahawk kills (zombies have less health, but remember—the Redeemer deals infinite damage anyway, so it’s more about training efficiency).
· Don’t panic on the bridge: If you’re struggling, bring a shield for protection, but never use it to kill—only block. Keep your loop tight, and throw when the horde clusters.
· Listen for the sound cues: The afterlife jingle is your only true checkpoint. If you don’t hear it after the bridge round, you either missed kills on Alcatraz or used a non-tomahawk kill on the bridge. Restart the round or try next cycle again.
· PC players: If you’re on Plutonium or BO2, this works identically. No mods required—just patience.
Who Is This Guide For?
Player Type | What You Get |
High-round chasers | The only weapon that guarantees ammo independence past round 50. |
Easter egg hunters | A mandatory step for the main Mob storyline—now you know the exact sequence. |
Casual players | A fun, rewarding side-quest that makes you feel like a god for zero cost. |
Frustrated veterans | Clear, step-by-step correction for the errors in older, incomplete guides. |
Final Verdict: Mob of the Dead Still Rules
This quest is peak Zombies design—challenging, cryptic, but incredibly satisfying once you nail it. The Hell’s Redeemer turns you into a one-man army, and now you’ve got the correct 2026 method to claim it. No more guessing, no more failed bridge runs. Just pure, infinite-damage carnage. If you’re on PC and haven’t tried the free Plutonium version, do yourself a favor—it’s the best way to experience BO2 Zombies today.