Weekend Drop -













Summary
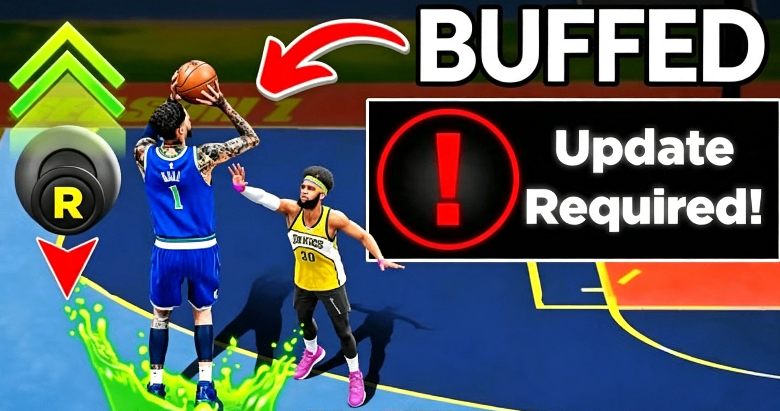
Rhythm shooting in NBA 2K27 is significantly stronger than most players realize. According to Mike Wang himself, mastering rhythm shooting will make you better off than every button shooter in the game. What he didn't emphasize enough is just how easy it is to learn. If you're tired of memorizing 40 different timings—dealing with speed-ups, slow-downs, bad catches, or teammate pass accuracy—rhythm shooting is your solution. Need a boost to get your player ready? NBA 2K27 VC For Sale is out there—but rhythm shooting itself is the real game-changer. Now let's break it down.
Here's the key: Rhythm shooting doesn't go off your visual timing settings (jump, set point, push, release). Instead, it's based entirely on the natural motion of your player's jump shot. All you have to do is release right before your player flicks their wrist.
Why Rhythm Shooting Is Superior
The Problem with Button Shooting
Button shooting in NBA 2K27 is complicated because:
Different shot timings exist for different situations
Speed-ups and slow-downs affect your release
Bad catches can throw off your timing
Left/right fades have different speeds
Right-handed vs. left-handed fades feel different
Pass accuracy from teammates affects catch quality
The Rhythm Shooting Advantage
Rhythm shooting eliminates all these variables:
Consistent visual cue: Right before the wrist flick
No timing settings matter: Jump, push, set point, release—none of it affects rhythm shooting
Same cue every time: Regardless of catch quality, fade direction, or defensive pressure
Easy to learn: Just watch your player's wrist
Getting Started: Your Jump Shot Selection
The Recommended Jump Shot
While you can use any jump shot for rhythm shooting, this tested setup works exceptionally well:
Setting | Recommendation |
Base Shot | Chad Benz's jumper (or similar smooth release) |
Release Timing | Set point (4 ticks below push) |
Visual Cue | Right before wrist flick |
Important Note: The release timing setting only matters for button shooting. For rhythm shooting, the timing is entirely visual.
Why This Specific Setup Works
The set point timing at four ticks below push provides:
A clear visual cue for button shooting (when you occasionally need it)
A smooth, predictable motion for rhythm shooting
Consistent release point that's easy to track visually
Step-by-Step Rhythm Shooting Technique
Step 1: Choose Your Shot
Rhythm shooting works for all shot types:
Shot Type | Stick Motion |
Stand still | Flick right stick down, then up |
Fadeaway | Hold left/right + flick right stick down, then up |
Step-back | Hold RT + flick right stick down, then up |
Pull-up | Dribble move into flick right stick down, then up |
Step 2: Look at Your Player
This is the most important step. Watch your player's shooting motion:
Track the ball as it comes up
Watch the elbow and wrist
Release the right stick right before the wrist flicks forward
Step 3: The Rhythm Motion
The rhythm shooting motion is simple:
Flick down on the right stick (start the shot)
Wait for the visual cue (player's wrist about to flick)
Flick up on the right stick (release the shot)
The Visual Cue
The green window for rhythm shooting is right before the player flicks their wrist. This is:
The point where the ball leaves the hand
The natural end of the shooting motion
Consistent for every single shot
Common Rhythm Shooting Mistakes
Mistake #1: Not Looking at Your Player
Many players try to use muscle memory instead of watching their player. While possible with hundreds of games of practice, this makes rhythm shooting unnecessarily difficult.
Fix: Force yourself to watch the shooting motion. You'll green significantly more shots.
Mistake #2: Timing Based on Settings
Some players think rhythm shooting is affected by their release timing setting (jump, set point, etc.). This is false—those settings only affect button shooting.
Fix: Ignore your timing settings entirely when rhythm shooting.
Mistake #3: Inconsistent Stick Motion
Rushing the up-flick or doing it too slowly can cause misses.
Fix: Practice the smooth down-up motion. The speed between down and up should feel natural, not rushed.
Advanced Rhythm Shooting Tips
Tip 1: Heat Check and Takeover Synergy
When you have:
Heat Check: Your green window expands
Calibrated Takeover: Your green window expands even further
Combined with rhythm shooting, these make you nearly unstoppable.
Tip 2: Front Fades vs. Side Fades
Side fades: Easier to time because the motion is more pronounced
Front fades: Slightly trickier, require more attention to the wrist cue
Pro Tip: Front fades become second nature with practice—just focus on that wrist flick.
Tip 3: Deep Threes
Rhythm shooting works equally well from deep:
Use the same visual cue (right before wrist flick)
The motion doesn't change regardless of distance
With Heat Check, you can shoot from well beyond the arc
Tip 4: Muscle Memory vs. Visual Cue
While muscle memory can work, it's inconsistent. The most reliable approach is:
Look at your player for the majority of shots
Use muscle memory only when you have extensive practice
Even professional players miss when relying solely on muscle memory
Practice Routine
Day 1: Free Throw Practice
Go to the practice facility
Start with stand-still threes
Focus exclusively on the visual cue (wrist flick)
Ignore all timing settings
Day 2: Moving Shots
Add side fades
Practice step-backs
Incorporate dribble moves before shots
Day 3: In-Game Application
Play casual games (Park/Rec)
Commit to rhythm shooting every shot
Don't switch back to button shooting
By the end of Day 3, you should see significant improvement.
Real-World Performance
What to Expect
In testing, rhythm shooting produced:
Metric | Result |
Green window accuracy | 90%+ when looking at player |
Stand-still threes | Nearly automatic |
Fadeaways | Consistent with practice |
Step-backs | Very greenable |
Deep threes | Effective with Heat Check |
Sample Stats
One tester went from 54% to 58% three-point percentage in a single session. With continued rhythm shooting, expect steady improvement:
60-70% from three is attainable
80%+ with Heat Check and Takeover
Perfect games (8/8, 7/7) are common
Common Concerns
"I've Always Button Shot"
Rhythm shooting is a different skill. It might feel awkward initially, but:
Most players adjust within 2-3 games
The visual cue is intuitive once you see it
Many players find it easier than button shooting
"My Timing Settings Are Different"
They don't matter for rhythm shooting. Whether you use jump, set point, push, or release, rhythm shooting uses the same visual cue.
"It Feels Like Cheating"
The irony is that rhythm shooting is the method used by many "cheaters" in NBA 2K27. If you're accused of cheating, it's likely because:
You're greening every shot
Your rhythm shooting looks consistent
Opponents can't stop you
The truth: You're just using the game mechanics correctly.
Additional Resources
Free VC Giveaway
To support the community, a free VC giveaway is ongoing:
Subscribe with notifications on
Like the video
Comment one "nerd game" you play in your free time
Build Recommendation
For rhythm shooting, use a build with:
86+ three-point rating (for green window consistency)
Calibrated Takeover (expands green window)
Good shot IQ badges (Heat Check, Deadeye, Limitless Range)
Final Thoughts
Rhythm shooting is the most powerful shooting method in NBA 2K27. It eliminates the complexity of button timing, relies on a consistent visual cue, and can be mastered in a single day of practice.
The key is simple:
Choose a smooth jump shot
Look at your player
Release right before the wrist flick
Practice consistently
If you're struggling with button shooting, give rhythm shooting a try. It genuinely saved my 2K27 experience. By the end of a day of practice, you'll likely be greening everything and enjoying the game much more. Want to speed up your grind? Buy 2K27 VC from MMOEXP—trusted and fast. Now go practice that wrist flick and start greening!
Remember: It's not about being the greatest player—it's about finding what works for you. And for most players, rhythm shooting works exceptionally well.