Weekend Drop -













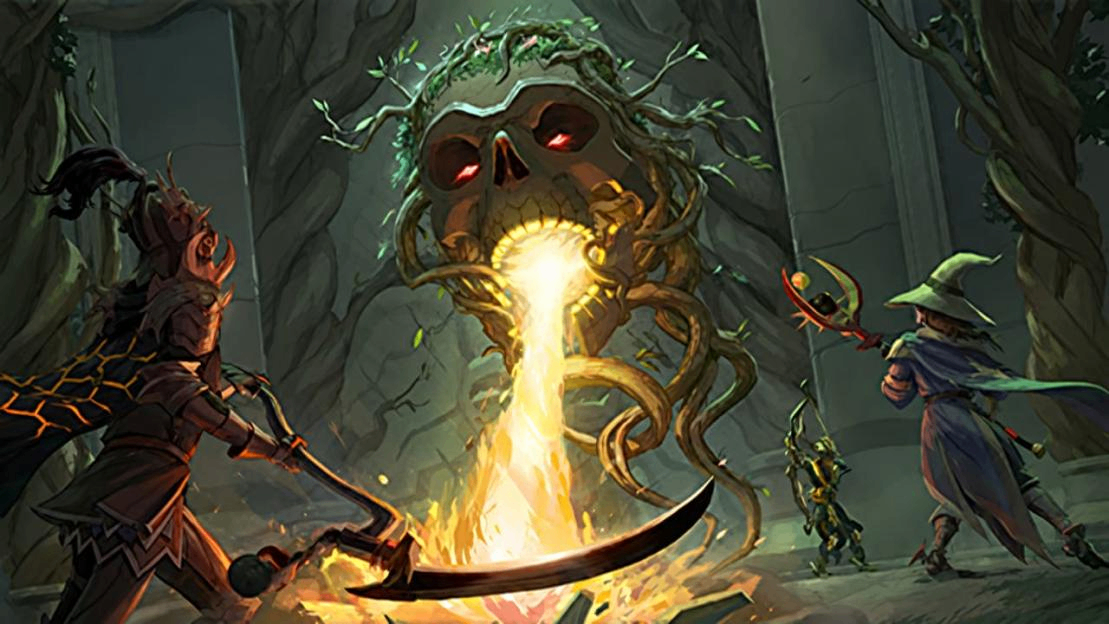
To beat the Archive Guardian, use Protect from Missiles while it is airborne, break its shield with help from the arena's Flame Pillars, then switch to Protect from Melee when it drops.
During the grounded phase, attack and move away from the tiles you just occupied. When the Guardian charges its late-fight laser, gather the team on one agreed tile to share the hit.
The Archive Guardian opens every OSRS Fractured Archive run. For a first clear, keep your ranged setup during both forms, change protection prayers on the down, and move after each shot. Spend Flame Pillars on difficult shields; add melee switches and pillar conservation once the group survives consistently.
Quick Fight Strategy
Before starting, agree who calls Flame Pillars and where everyone will gather for the laser. Access to this OSRS raid requires While Guthix Sleeps. These instructions cover a group attempt; solo players cannot reproduce the damage-sharing plan described here.
Fight State | Protection and Position | Immediate Action |
Airborne with a shield | Protect from Missiles; avoid close rear tiles | Use ranged attacks and finish selected Flame Pillars to damage the shield. |
Shield breaking | Move clear of the landing area | Prepare Protect from Melee before resuming attacks. |
Grounded | Protect from Melee; keep a clear escape tile | Attack once, move away from your previous position, then attack again when ready. |
Charged laser | Gather the group on the agreed tile | Share the hit and stay together until it resolves. |
Repeat this cycle, regrouping whenever the laser charges. Early reports place enrage near the final third of health; use the mouth charge as your cue, not an exact percentage.
Break the Shield with Flame Pillars
Open with Ranged Protection
Activate Protect from Missiles before someone starts the fight, then attack the airborne Guardian with your ranged weapon. Keep out of the close tiles behind it: the tail movement associated with its ranged attack can also catch nearby players with melee damage.
Choose a position with room to move. Even with high-end RS items, check for mushrooms and the Guardian's rear attack before changing sides.
Assign Calls and Finishing Hits
The Archive Guardian shield phase in OSRS has four Flame Pillars around the arena's corners. Finishing them causes substantial shield damage. Plan finishing hits while the shield is active, then prepare for the grounded window.
Assign a caller and a finisher before the pull; one player can handle both jobs in a small group. Use shared compass labels for the pillars so everyone recognizes the call.
Role | While Preparing a Pillar | On the Finish Call |
Caller | Names one pillar and whether to weaken or finish it | Calls the pillar, watches the shield and announces the landing. |
Finisher | Stops before the assigned pillar dies | Lands the finishing hit, then checks for the phase change. |
Other players | Help weaken it only when asked, then return to the Guardian | Continue boss damage while watching for the landing; avoid extra hits on the prepared pillar. |
After each pillar, check the remaining shield before calling another. Keep attacking the Guardian between calls. If an accidental pillar kill breaks the shield, cancel the next finish call and handle the landing immediately.
For first clears, including the opening shield, spend pillars as needed to complete the current break. Save weakened pillars for later phases only once the group handles the current shield consistently.
Keep Mushroom Routes Clear
Default to routing around mushrooms. Their explosions can disrupt running. If a route is blocked and no clear alternative is available, one player can attempt the clearing sequence below while teammates stay away.
1. Choose a retreat destination about two tiles away, with no other mushroom in the path.
2. Approach the mushroom's edge to trigger it, then immediately click the retreat destination. Leave before the blast resolves.
3. Wait outside the hazard until the explosion finishes, then pass through the cleared route.
The reported method preserves movement by getting away promptly. Lingering beside the mushroom, clicking through it to reach another target, or allowing an attack click to pull you back toward it risks exposure. The exact run-energy penalty and trigger radius remain unconfirmed; about two tiles is the reported retreat, not a guaranteed safe radius. If the retreat fails, route around other mushrooms until you can observe the timing safely.
Dodge Tentacles While Grounded
Prepare for the Landing
When the shield is nearly gone, stop crowding the Guardian's landing area. Its drop can deal nearby area damage, so leave a little space before moving into melee range. Switch to Protect from Melee as it enters the grounded phase.
Keep melee protection active even when using ranged attacks. If juggling multiple RS items makes you miss the prayer change, simplify your equipment switches until you can handle the transition reliably.
Attack Once, Then Move
For your first OSRS attempts, keep ranged equipped and use short dodges to the nearest position you can confirm is clear. Tentacles threaten recently occupied attack positions. Do not wait for an active tentacle to hit before leaving.
1. With Protect from Melee active, fire once from a clear position.
2. As soon as the shot is released, click a nearby clear destination. Avoid both your previous attack position and teammates' threatened tiles.
3. During the weapon's cooldown, check the ground. Keep moving if your new position becomes threatened; cooldown is not permission to stand still.
4. Fire again only when the weapon is ready and your current position is clear, then move again. Return to an old position only after its danger has cleared.
The rhythm is one shot, immediate movement, then the next shot when ready. Match it to your actual weapon rather than copying a four-tick count with a different attack speed. A one-tile diagonal step is an early player-reported shortcut, not established safe clearance; move farther whenever the actual danger requires it.
Use a Shared Route If Needed
If players keep scattering, agree on two clear positions and one caller. The move-across strategy uses opposite sides of the Guardian as recognizable destinations: attack once, move on the call, and check the old position before returning. Inspect the route as well as its ends; crossing the boss is not required when a nearer safe destination works.
Never wait on a threatened position for every teammate to finish an attack. If the group loses coordination, stop chasing damage, move clear and resume the short-dodge ranged loop.
Add Crush after Clean Downs
Add a four-tick Crush weapon once you can finish grounded windows without repeated movement hits or missed prayer changes. Keep the same attack-and-move sequence, checking that each destination remains in a position from which you can resume melee safely. Remove the switch again if it brings the mistakes back.
Survive the Enrage Laser
Gather during the Charge
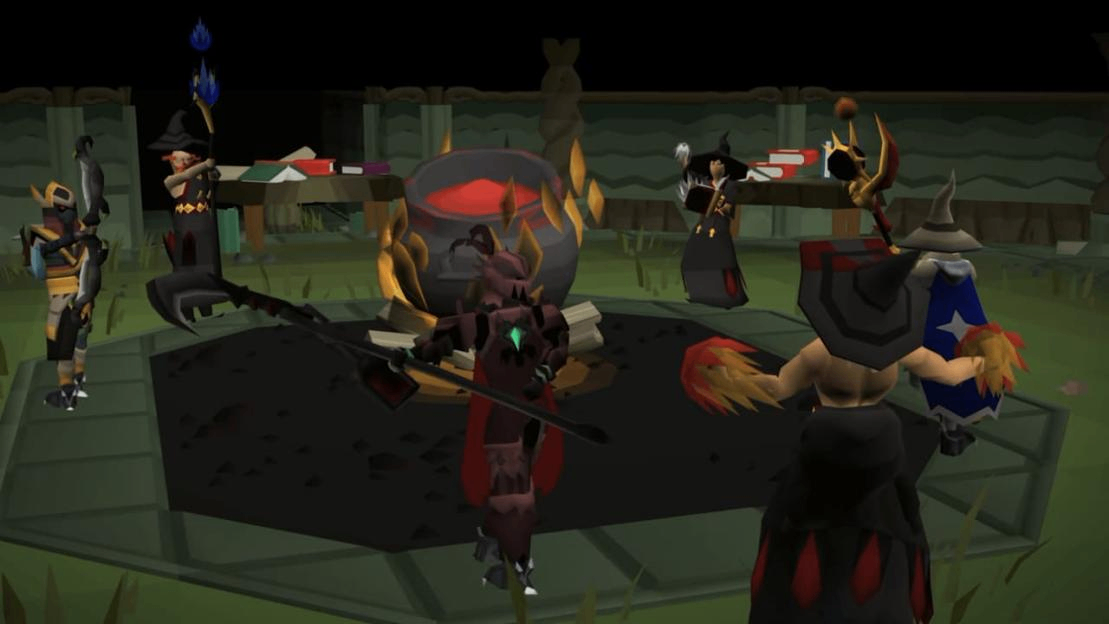
Watch for a large fireball gathering in the Guardian's mouth. Call the charge immediately and move to the agreed gathering tile. Everyone should reach the same tile before the hit and remain together until the damage resolves. A separated player can take a lethal hit.
Choose an identifiable gathering point with a mushroom-free route. Move on the charge cue; an extra attack can leave you outside the stack.
The normal OSRS prayer changes still apply to the airborne and grounded attacks. For the charged beam, prioritize the stack. Its exact interaction with Protect from Magic remains unconfirmed here, so do not rely on a prayer switch to rescue a separated player. Likewise, adjacent tiles should not be treated as a guaranteed safe substitute for stacking on one tile.
Spend Saved Pillars on Shields
Use remaining Flame Pillars on late shields. With two weakened pillars left, finish one and check the shield before spending the second. Prepare for the landing when it breaks.
If the mouth charge begins while someone is working on a pillar, call everyone back to the stack. Resume target handling after the beam resolves. Keeping a player isolated at a corner to finish one more target risks losing the damage-sharing group.
Early teams report destroying Flame Pillars with the laser, but exact positioning remains uncertain. To try it, agree on a pillar and gathering point before the charge, stay together, and check the pillar and shield afterward. Abandon the alignment if it compromises the stack; attacking saved pillars is the simpler plan.
Choose Weapons by Phase
For this Old School RuneScape encounter, these loadouts offer alternatives to Twisted bow and Zaryte crossbow. The lower-cost setup offers starting candidates; consistent clears with this exact equipment have not been established.
Slot or Job | Lower-Cost Learning Candidate | Further Investment |
Airborne weapon | Dragon crossbow with dragon bolts | Armadyl crossbow or Zaryte crossbow if already owned; Twisted bow for high-end ranged setups. |
Ranged body and legs | Blessed d'hide body and chaps | Keep these while learning; use stronger ranged armour already available to you. |
Flame Pillars | Toxic blowpipe | Retain a fast pillar weapon rather than making every switch more elaborate. |
Grounded weapon | Abyssal bludgeon; omit the melee switch if it causes mistakes | Inquisitor's mace with a dragon defender, if available. |
Abyssal bludgeon is a four-tick Crush option. It and Inquisitor's mace appear in encounter damage models, which omit movement losses and cannot establish a practical ranking.
When deciding which RS items to prioritize, focus on your ranged weapon, compatible ammunition and supplies. Ranged handles the airborne phase and provides the simplest grounded strategy.
Leave the Crush switch out first if switching causes errors. A dedicated blowpipe is optional when your main ranged weapon already finishes called pillars reliably; keep it only if the extra switch helps.
After a clean attempt, compare upgrades using your own stats and the airborne target in a damage calculator. Long shields despite clean prayer and movement suggest a damage bottleneck.
Repeated tentacle hits call for simpler execution before more equipment. If you add a bludgeon, remember that it replaces both crossbow and off-hand; restore both slots when returning to ranged.
Check Supplies before Entering
· Check bolts, or darts and scales for a blowpipe, plus charges for any other equipment you bring.
· Pack healing, prayer restoration and combat boosts. If using Saradomin brews, account for their stat reductions with super restores and reboost afterward.
· Start with health, prayer and run energy restored. Confirm that the caller, finisher and laser gathering point are agreed.
· Plan for the full raid: you cannot bank inside, and the later points-based resupply depends on performance. No fixed first-clear inventory has been established here; adjust after noting what ran out on your previous attempt.
Common Mistakes and Fixes
Problem | Correction |
Taking damage as the boss drops | Move clear before the shield breaks, then approach after the landing. |
Repeated tentacle hits | Make the movement click after each attack; check the destination before returning. |
Running out of Flame Pillars early | Coordinate finishing hits and preserve weakened pillars when the shield is already manageable. |
Arriving late for the laser | Pick the gathering tile in advance and move on the charge cue. |
Losing track while switching gear | Use ranged during the down until prayer and movement are consistent. |
A full wipe returns the group to the lobby with a gravestone outside; OSRS Hardcore deaths are unsafe. Before retrying, use the western Strategy Board to spectate a party allowing viewers. Watch the transition or movement that caused your wipe, then agree on one correction for the next pull.