Weekend Drop -













Summary
The "Build Factor" series presents a gauntlet for Path of Exile 2's most ambitious endgame builds, subjecting them to the toughest content the game has to offer—content so demanding that even multi-mirror investments can falter if the build lacks a solid foundation. This guide extracts the principles and strategies observed in these trials, offering a practical framework for evaluating, optimizing, and piloting your own builds, whether you're grinding for gear or considering where to buy POE2 Currency to accelerate your progression. After all, knowing how to spend your currency effectively is just as important as earning it in the first place.
Understanding the Gauntlet: The Grand Spirit Box Strategy
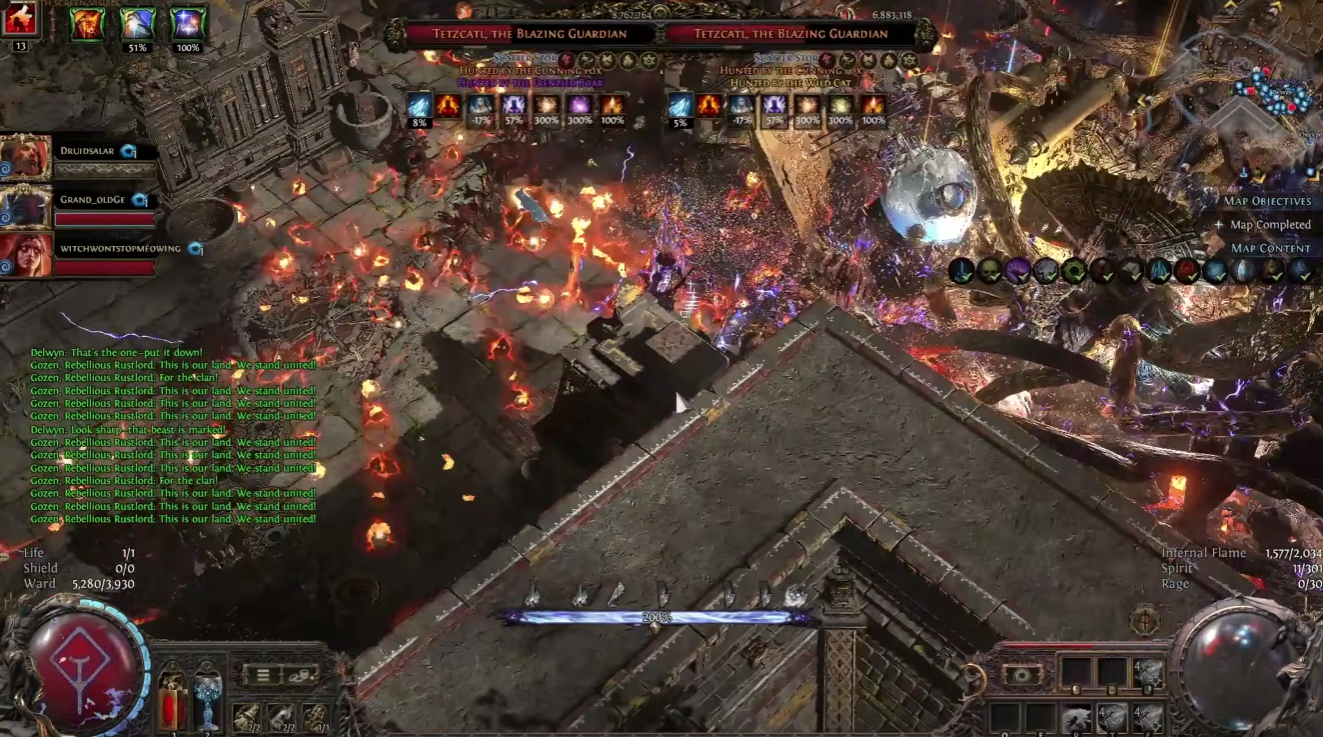
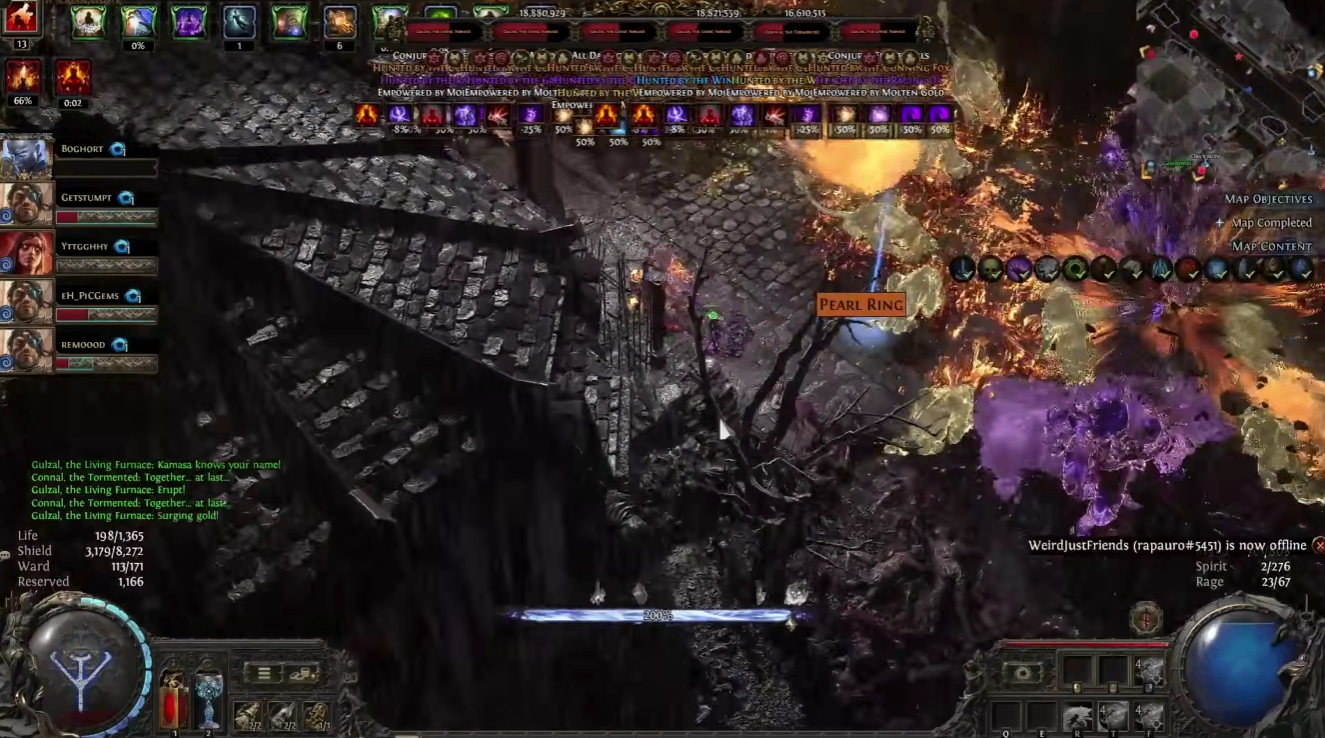
The core of the Build Factor challenge is the Grand Spirit Box strategy. This approach is designed to create a highly stressful, chaotic environment that pushes builds to their absolute limits.
What It Is: A mapping strategy that utilizes specific Scarabs to spawn a massive number of unique monsters from strongboxes .
Why It's Hard: The description notes this content is "100 times harder than Grand Expeditions." This is likely due to the sheer volume of rare and unique monsters, each with dangerous modifiers, all converging on the player simultaneously. It’s a test of both raw power and survivability.
The Goal: Builds must demonstrate they can not only survive this onslaught but also clear it efficiently, proving their mettle for the most challenging "juiced" content in the game.
Build Archetypes and Performance Analysis
The series puts a diverse range of builds to the test. Analyzing their performance reveals key factors that separate success from failure.
The Glass Cannons: High Damage, High Risk
Several builds relied on overwhelming damage but paid the price in survivability.
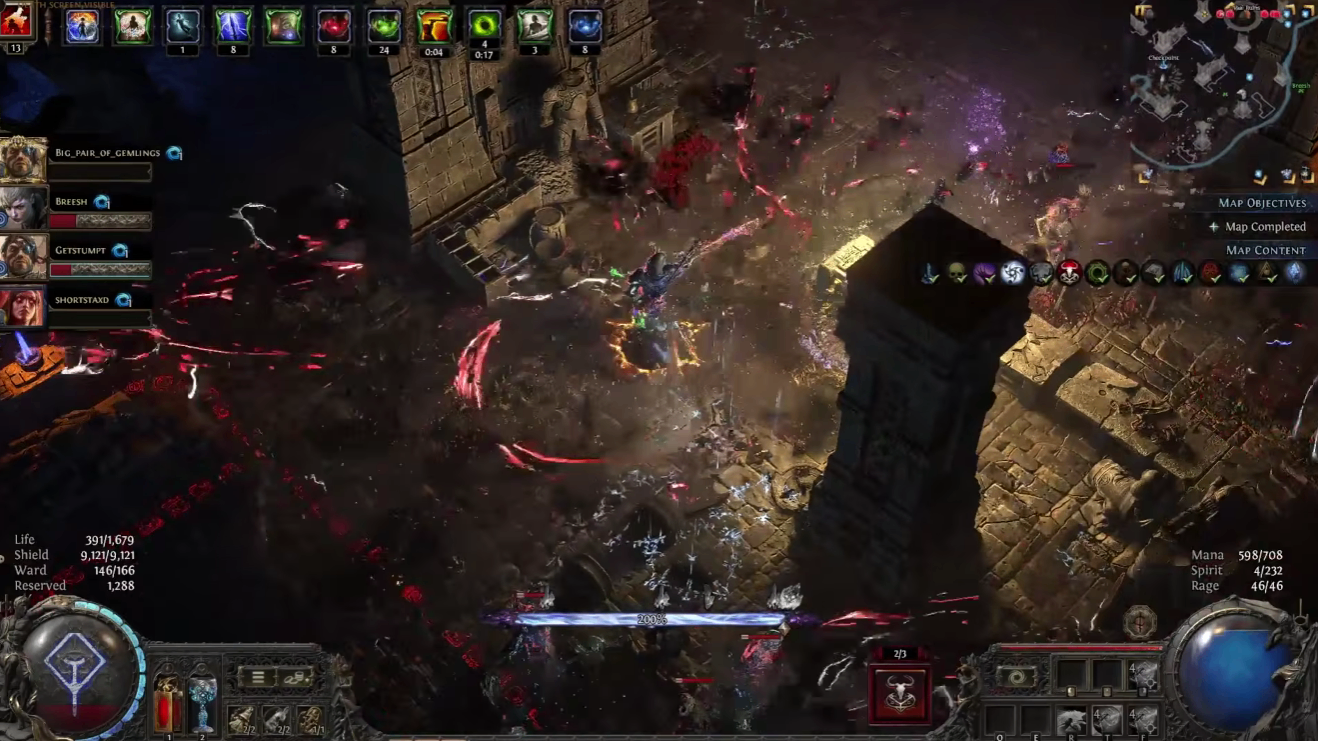
Hollow Form Whirling Assault Monk: This is noted as one of the most popular builds, suggesting high damage potential. However, it "went splat" quickly, indicating a weakness to large packs of enemies. The build's reliance on being in melee range without sufficient defenses against a swarm is its critical flaw.
Flicker Strike Martial Artist: Another melee powerhouse, the Flicker Strike build is known for its extreme speed and damage . However, the "Okay, we're flickering" followed by immediate failure suggests that the constant teleporting, while great for clear, can be a liability against a horde of unique monsters with overlapping area-of-effect attacks, as it's harder to manually dodge.
Giga Mana Stacker Shaman: With an estimated budget of "15 mirrors or more," this build represents the pinnacle of investment. Despite this, it failed. This is a powerful reminder that even the most expensive gear cannot fully compensate for a build's mechanical weaknesses against certain types of content. It likely demonstrates that raw mana and damage are not enough without a layered defensive strategy.
The Survivors: Defense and Tactics Win the Day
Other builds showed that careful planning and defensive layers are essential for conquering this gauntlet.
Incendiary Shot Gemling (The "Thanos Build"): This build succeeded where melee builds failed. The use of range and chaos proliferation was key. The ability to damage and control enemies from a distance, while spreading ailments, provides a massive advantage against a densely packed battlefield .
Comet Infernalist Ward Stacker: This build's success was visually obvious, with a massively high ward pool allowing it to absorb hits that would kill other builds. Ward, as a shield that recharges quickly, is an excellent defense against many small hits from a swarm of unique monsters.
Spirit Walker Chimera Loyalty Build (Ber): This build took a unique approach: commanding a massive army of 39 minions. While the damage was not the highest, the player could survive and clear the content because they were not the primary target. The ability to "Twitch chat while doing the box" is a testament to the survivability provided by a minion army.
Oil Barrage Martial Artist (Benji): This build showcased a balanced approach. It had high effective HP (400k EHP) and invested in mobility ("cast on dodge") in addition to damage. This hybrid strategy allowed the player to survive and clear the content, demonstrating that investing in defensive mechanics and movement is not a waste, even for a damage-oriented build.