Weekend Drop -













Summary
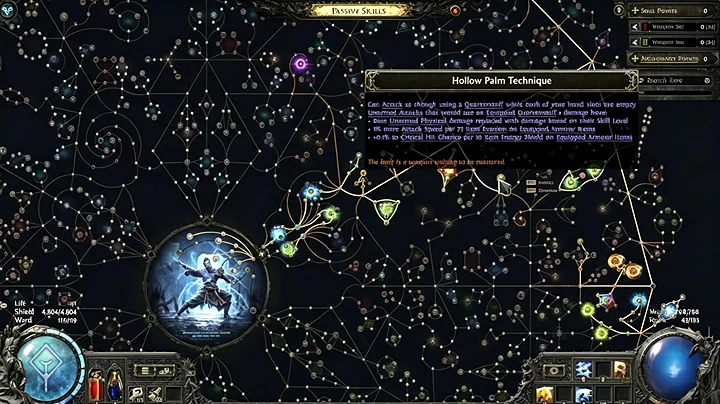
Struggling to make progress because your build feels too expensive? Many players assume endgame mapping requires multiple Divine Orbs, but this 1 Divine Hollow Palm Monk proves otherwise. By prioritizing the right uniques, support gems, and defensive layers, you can comfortably clear difficult content without overspending. If you're saving POE2 Currency, this guide walks through the complete setup in the same order you should build the character, helping you avoid unnecessary purchases while maximizing value.
Why Choose the 1 Divine Hollow Palm Monk?
If your goal is to complete difficult content with minimal investment, this build offers an efficient solution.
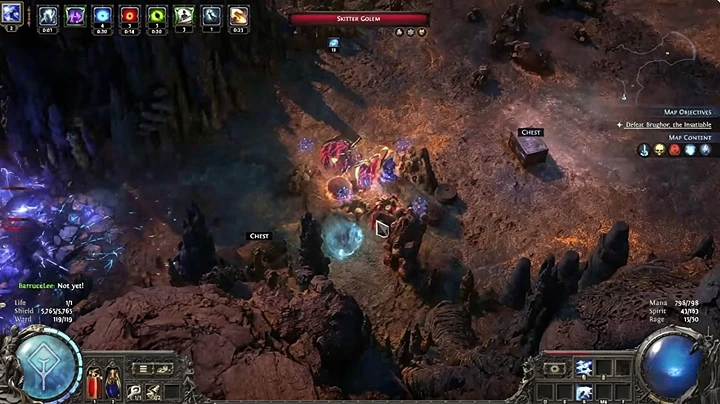
The entire character is built around a 1 Divine (440 Exalted Orbs) budget while remaining capable of:
200% Delirious Tier 15 six-mod maps
Atzeri
Zest
Simulacrum
Instead of relying on expensive crafted gear, the build focuses on smart item selection and the Hollow Palm Technique, allowing all damage to come from unarmed combat.
How to Build Your Gear First
Start with the equipment before selecting support gems.
Your first priority is:
Loktonial Caress
These gloves are the engine of the build because they generate Power Charges, which directly improve Whirling Assault inside Hollow Form.
Next, purchase:
Flat Physical Damage rings
Flat Cold Damage
Flat Lightning Damage
At the same time, cap all elemental resistances at 75% with the help of Runic Meridians.
For armour pieces, prioritize:
Energy Shield
Evasion
Spirit (if affordable)
The build intentionally avoids buying or crafting a weapon, allowing the budget to be spent on more impactful upgrades.
Correct Method: Swap Accessories for Different Content
Do not use the same setup everywhere.
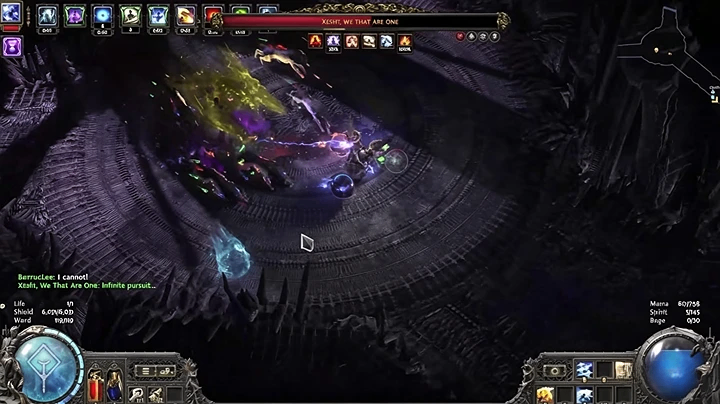
For difficult maps
Equip:
The Forgotten Warden
Socket it with:
Oil Barrage
Elemental Armament II
Hulking Minions
Romira's Requital
The additional companion improves both survivability and overall damage during difficult encounters.
For bosses
Switch to:
Ryslatha's Coil
This belt provides significantly higher Physical Attack Damage, making it the preferred option against bosses with large health pools.
How to Take Advantage of Hollow Palm Technique
The build works because Hollow Palm Technique replaces traditional weapon scaling.
Leave both weapon slots empty.
Instead, scale damage through:
Energy Shield
Evasion
Physical Damage
Critical Strike Chance
Since Hollow Palm gains offensive bonuses from your armour rather than your weapon, hybrid Energy Shield and Evasion gear becomes much more valuable than a conventional weapon setup.
How to Set Up Your Skill Gems
Follow the complete skill sequence instead of replacing individual gems.
Rend
Supports:
Rapid Attacks III
Prolonged Duration II
Rage III
Perpetual Charge
This setup converts Power Charges from Loktonial Caress into additional Lightning damage.
Hollow Focus
Supports:
Cooldown Recovery II
Blind II
Magnified Area
Execute II
This increases Bell uptime, improves critical strikes, and deals more damage against low-life enemies.
Whirling Assault
Supports:
Efficiency II
Heavy Swing
Heightened Charges II
Blindside
This remains your primary damage skill throughout mapping and boss fights.