Weekend Drop -













Summary
Delirium Mirror farming is one of the simplest and most rewarding currency strategies in Path of Exile. The core idea is straightforward: activate a Delirium Mirror, clear the map as quickly as possible, collect Delirium rewards, and profit from Delirium Orbs, Simulacrum Splinters, Cluster Jewels, Eldritch currency, and valuable random drops.
As a league progresses, Delirium Orb prices tend to rise. At the same time, high Simulacrum prices make heavy Delirium scaling particularly attractive. This strategy takes advantage of both without requiring extreme levels of investment. To get started, buy POE currency and stock up on Delirium Orbs and Simulacrum splinters to scale as prices rise.
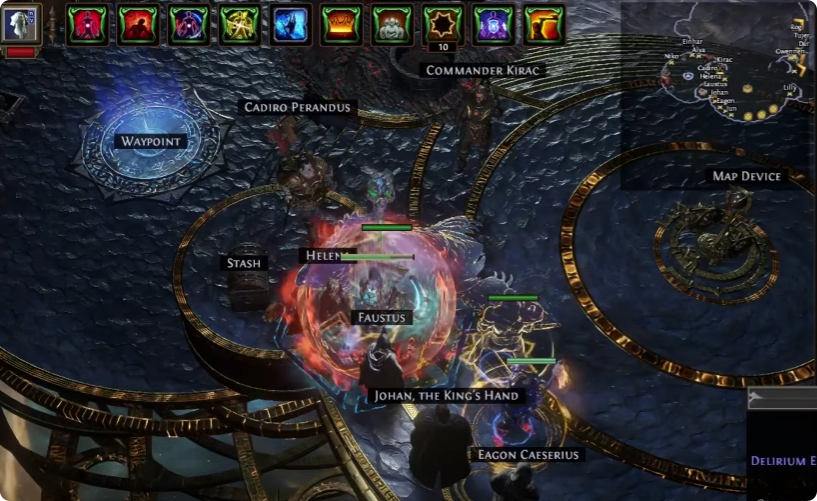
Why Farm Delirium Mirrors?
The biggest advantage is simplicity. You activate the mirror, kill monsters while moving through the map, and collect the rewards generated by the Delirium explosion at the end.
Your main rewards include:
Delirium Orbs
Simulacrum Splinters
Raw currency
Cluster Jewels
Eldritch Embers from Red Altars
Scarabs
Corrupted Gems
Fractured Bases
Divination Cards
Other valuable items from the Delirium reward explosion
The strategy is especially strong because Delirium rewards are not entirely dependent on one valuable drop. Simulacrum Splinters and Delirium Orbs provide consistency, while random drops create additional high-value payouts.
Recommended Map Strategy
Activate the Delirium Mirror immediately and clear the map while maintaining a fast pace. Ideally, your build should complete a map in three minutes or less.
You should kill the map boss before the Delirium Mirror dissipates. This makes Jungle Valley a poor choice for this particular strategy, despite its popularity for other farming methods.
You can boss rush on suitable layouts, but most of the best Simulacrum Splinter maps are designed around efficient full clears rather than pure boss rushing.
Eldritch Altars: Red or Blue?
Red Eldritch Altars are recommended for this setup, although Blue Altars remain a viable alternative.
The reason is that much of your profit comes from the Delirium explosion. Player modifiers such as quantity and duplication from Blue Altars do not affect those Delirium explosion rewards in the same way. Meanwhile, Red Altars generally offer stronger minion-related modifiers, which are more useful for this strategy.
If your build benefits significantly from Blue Altars, however, their quantity and duplication modifiers can still be valuable.
Map-boss rewards can also help with challenges requiring bosses to be killed while affected by numerous Eldritch Altar modifiers. Just make sure your build can handle the resulting difficulty.
Best Scarab Setup
The recommended setup is:
3x Delirium Scarab of Paranoia
1x Delirium Scarab of Neurosis
1x Delirium Scarab of Mania
This combination provides a strong balance between Delirium reward types, reward-counter progression, Simulacrum Splinters, difficulty, and investment.
Delirium Scarab of Paranoia
Paranoia is the main engine behind the strategy. It adds two additional reward types to each Delirium encounter, and you can stack up to five.
Adding more reward types substantially increases your chance of obtaining Delirium Orbs. Testing a basic setup with no Paranoia produced noticeably fewer Orbs, so adding several Paranoia Scarabs is worthwhile.
Three Paranoia Scarabs are the preferred balance. Four or five can increase Orb generation further, but the additional cost becomes increasingly difficult to justify.
Delirium Scarab of Neurosis
Neurosis is extremely cheap and provides excellent value.
When you kill a unique Delirium boss such as Kosis or Omniphobia, Neurosis adds one point to every Delirium reward counter. It also adds Kosis and Omniphobia to the map.
Because the bosses can also spawn naturally, you can potentially encounter additional copies. As a result, a full clear can generate roughly two to four extra ticks on your Delirium reward counters.
These guaranteed ticks do not suffer the same diminishing-return problem associated with pushing the reward counter higher through normal monster kills, making Neurosis particularly efficient.
Delirium Scarab of Mania
Mania makes Delirium reward counters fill 100% faster and causes Delirium intensity to increase faster as you move away from the Mirror. With the relevant Atlas passive investment, the intensity scaling becomes even stronger.
This significantly increases difficulty, but it also produces substantially more Simulacrum Splinters.
Two Mania Scarabs are possible, but the difficulty rises considerably and the second Mania provides diminishing returns. The preferred setup is therefore one Mania + one Neurosis + three Paranoia.
Running four Paranoia without Mania can also work, but it costs more and relies more heavily on Delirium Orb RNG.
Avoid Beyond
Beyond initially looks attractive because it adds more monsters, but it performs poorly in heavily Delirious maps.
At higher difficulty, Beyond can turn maps into a severe performance problem while also forcing you to spend extra time killing spawned demons. Breach, Abyss, and similar mechanics are also too point- and scarab-intensive for this setup.
The better approach is to invest your resources directly into Delirium.
Delirium Astrolabe Setup
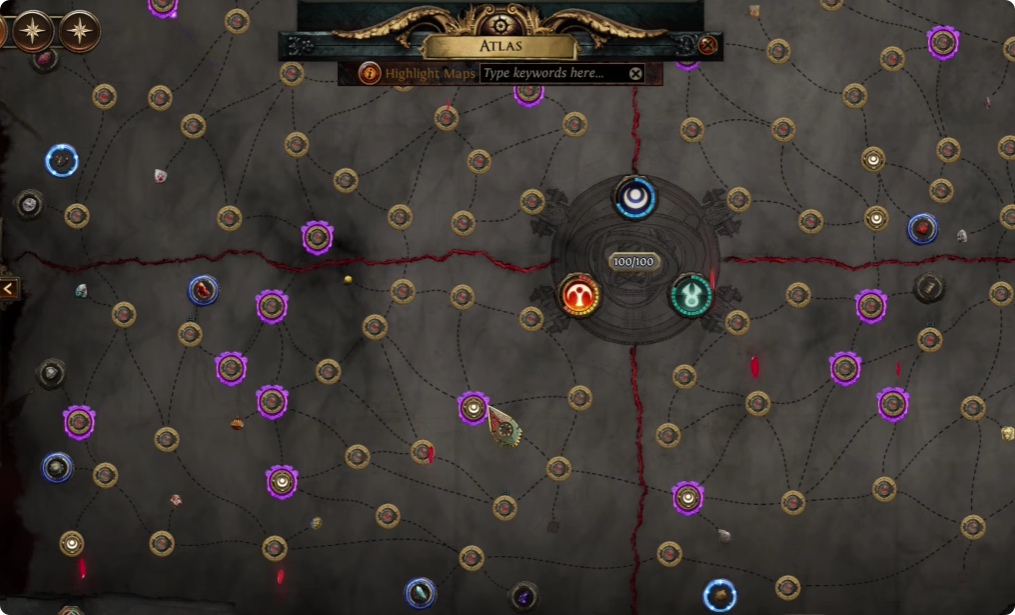
Use Deceptive Astrolabes to guarantee Delirium Mirrors rather than spending Atlas passive points on the chance to spawn them.
These Astrolabes provide several useful bonuses, including:
Increased chance to obtain Delirium Orbs
Increased Simulacrum Splinter size
Additional Delirium Mirror rewards
Increased chance for Delirium bosses to spawn
Improved map-completion rewards
Since the strategy revolves entirely around Delirium Mirrors, these bonuses make the Astrolabes extremely efficient.
Best Maps for Delirium Farming
Different maps work depending on your build strength and the quadrant you're farming
City Square
City Square is one of the easiest and fastest choices. You can boss rush and then full clear efficiently.
Its weakness is lower Simulacrum Splinter output, so profitability depends more heavily on good Delirium Orb and general currency RNG. It is a particularly good option for weaker builds.
Beach
Beach is the best general recommendation for most players.
It provides a strong balance between map length, monster density, boss difficulty, and clear speed. It is relatively easy to full clear while still producing a healthy amount of Splinters.
Its Divination Card options also provide additional upside.
Tropical Island
Tropical Island is a classic Simulacrum Splinter farming map. It has a long, straightforward layout that makes full clearing easy, and its boss is manageable.
However, Delirium scaling can make the map significantly harder. Monster life, resistances, and other map modifiers can combine multiplicatively with increasing Delirium intensity, so build strength matters.
Strand
Strand is another excellent option for powerful builds and can produce the highest Simulacrum Splinter output among these choices.
It is somewhat harder than Tropical Island, and some quadrant-specific Astrolabe rewards can be inconsistent. Still, for a very strong build, Strand is one of the best options.
Map Rolling
Keep the map setup simple:
Run corrupted 8-mod maps that your build can comfortably handle.
You do not need expensive maximum-investment maps or extreme juicing. Tier 16 maps are sufficient; additional scarabs and currency investment are unnecessary.
Most importantly, do not run Delirious maps. A Delirious map prevents you from properly applying the Delirium Mirror setup and effectively bricks the strategy.
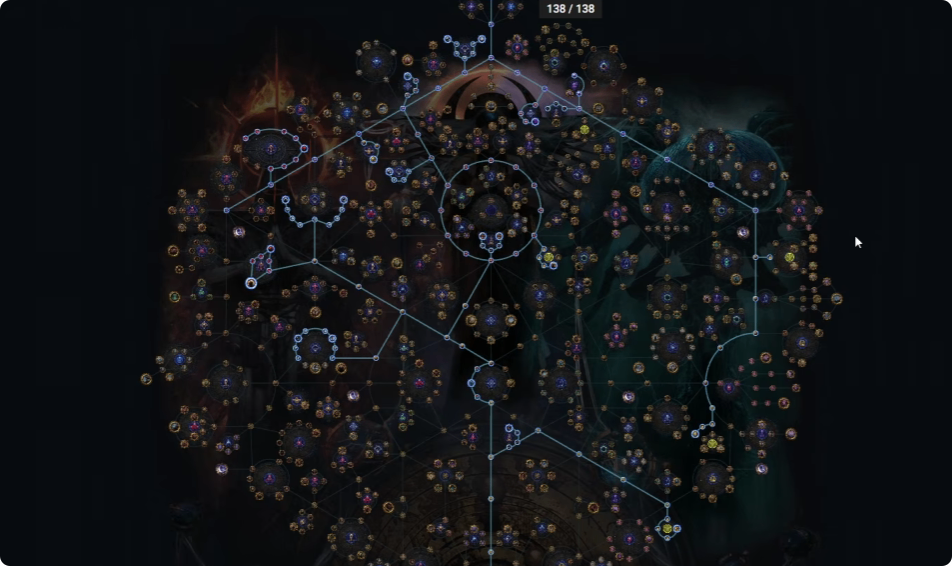
Atlas Passive Tree
The core Atlas setup focuses heavily on Delirium while supporting map efficiency and scarab generation.
Take:
Delirium passives
Descent into Madness
Singular Entity
Significant Troves
Delusions of Persecution
Imagine Pursuits
Screaming Whispers
Paranoid Fixation
Shrine passives
Pack Size and Map Modifier Effect
Strong Scarab investment
Divination Scarab-related nodes
Red Eldritch Altar investment
Descent into Madness increases difficulty but substantially improves Simulacrum Splinter rewards.
Singular Entity provides more Delirium fog uptime, making full clears easier.
Significant Troves synergizes with boss kills and Scarab rewards, while Delusions of Persecution improves your chances of encountering Kosis and Omniphobia.
Imagine Pursuits adds Delirium Mirror progress from the map boss, and Screaming Whispers improves Splinter generation.
Finally, Paranoid Fixation gives a chance to obtain additional Delirium Orbs from unique monsters. Since your maps contain multiple unique enemies, this provides another source of Orb income.
Alternative Mercenary Tree
If you specifically want to farm Mercenaries, you can drop most of the Scarab investment and allocate those points toward Mercenary-related passives.
Keep Amplified Artifacts if you want additional Scarab rewards from rare monsters, then invest into Mercenary support, additional Mercenary opportunities, and Contract Killer.
Mercenaries can provide useful extra damage, especially during the later portions of heavily Delirious maps. However, you must be strong enough to defeat the Mercenary encounter reliably.
For general farming, the Scarab-focused tree remains the more universally useful option.
Final Delirium Farming Setup
For a simple, efficient setup, use:
3 Paranoia + 1 Neurosis + 1 Mania + Deceptive Astrolabe + corrupted 8-mod maps.
Choose Beach for the best overall balance, City Square for easier farming, Tropical Island for strong Splinter generation, or Strand if your build can handle the highest difficulty.
The key is speed. A strong build that clears maps in around three minutes or less will get substantially more value from this strategy than a slower character. Delirium Mirrors reward constant forward momentum, and the combination of consistent Splinters and Delirium Orbs provides a reliable baseline of profit while valuable random drops create additional jackpot potential. With POE currency, you can maximize speed and profit from every run.