Weekend Drop -














Summary
In the desolate, dieselpunk world of SAND: Raiders of Sophie, survival isn't just about firepower—it's about strategy. You'll drop into a vast desert, pilot a massive walking fortress called a trampler, and fight other players (and the undead) for loot, before racing to extract with everything you've earned. But success requires understanding the rules of this hostile planet—and knowing what's worth fighting for, whether it's rare mechanical parts, black boxes, or even a valuable SAND: Raiders of Sophie Crown that could give you a serious edge in the market. This guide covers everything from your first drop to winning ship-to-ship combat.
Your First Run: Setup Matters More Than You Think
Choose Voyage Mode First
There are two ways to enter the desert. Voyage is your learning ground. There's no time limit, extractions are available from the start, and you can loot at your own pace. Storm Dive is the battle-royale style mode with a shrinking circle—save it for later.
Pick the Grumpy Walker
For your starting trampler blueprint, choose the Grumpy Walker preset. It's cheap to rebuild if you get destroyed and has solid all-around stats for a beginner.
Pack the Right Gear
Before dropping, prepare your inventory. Keep it simple: some armor, two guns with matching ammo (a revolver for close-to-mid range, plus a rifle for distant targets), a stack of canned food, and a few fuel rods. Pack your trampler with cannons, shells, more food, spare fuel, and backup gear.
Load Everything Immediately
This is the most critical step. Nothing spawns loaded—not your guns, not your cannons. Your first job on every drop is to gear up before you start driving.
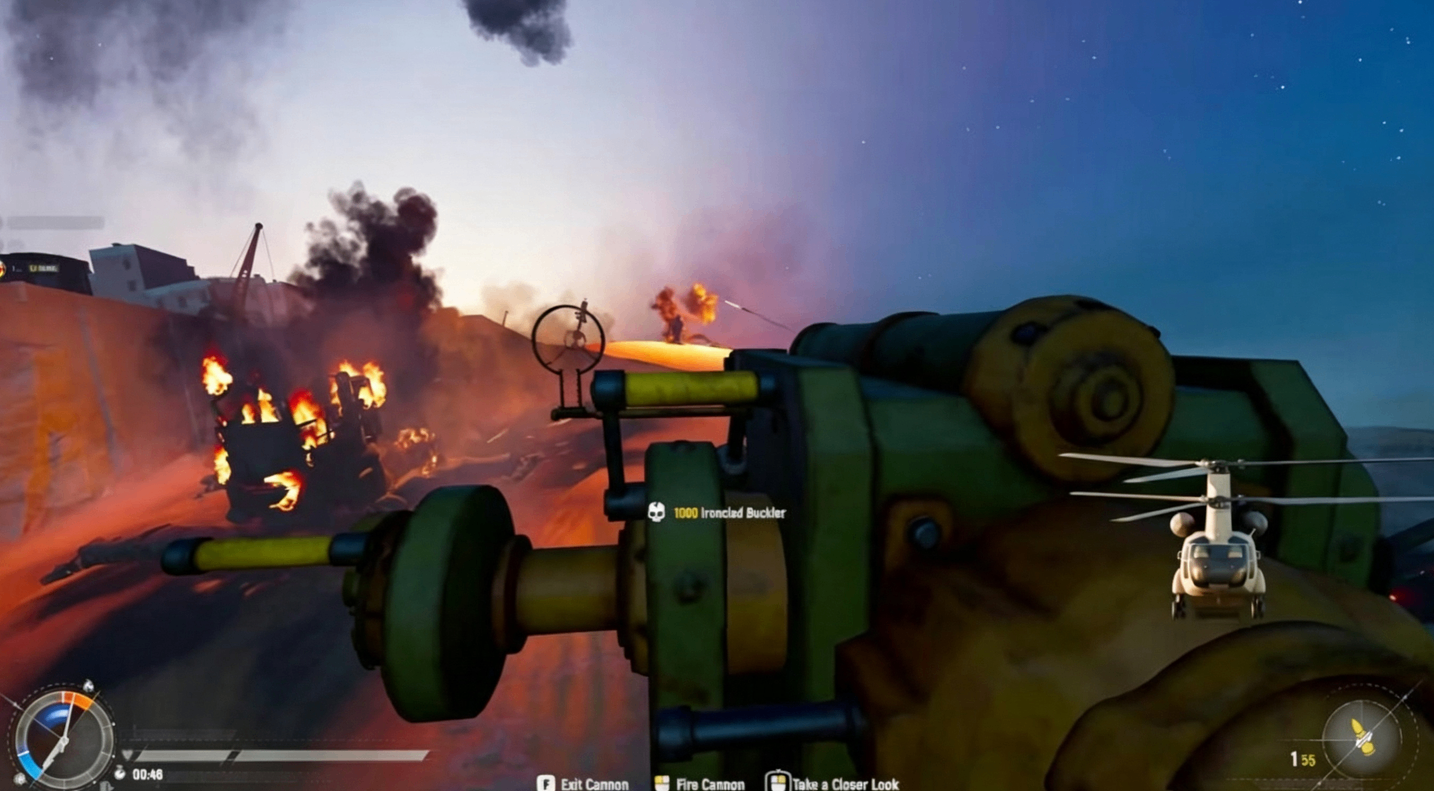
How to load cannons efficiently: Your character can only carry one or two shells at a time. Instead of loading cannons piece by piece, pick up the cannon kit, hold tab, and transfer the entire stack of ammo directly into it. Then mount the cannon. Do the same for your personal weapons.
Looting: The Green Box is Your Best Friend
The Golden Rule
Your character's inventory is tiny. You don't loot directly into it. Instead, grab an empty green storage box (spares are in your fridge) and carry it to the loot. Walk up to a crate and everything pours straight into the box.
Rack Your Loot or Lose It
Loot only counts if it's on the racks. When you bring a full box back, place it on the shelves inside your trampler. Anything left loose on the floor when you extract is gone forever. Fill boxes, rack them, extract them—that's the loop.
Know Your Crates
Loot comes in colored crates with symbols on top. Brown crates hold common items. Green crates contain mid-tier loot. Red crates carry rare weapons and valuable parts. A cogwheel symbol means utility parts. A weapon symbol means weapons. A cannon symbol means cannon ammo and parts.
Cabinets hold medical items. Safes hold valuables and coins. Locked doors can be blown open with grenades or time bombs.
What to Always Extract
Mechanical parts are the most important resource in the game. They let you rebuild a basic trampler dirt cheap after a bad run. Always extract them.
Survival: Stay Hidden, Stay Alive
Engine Off When Stopped
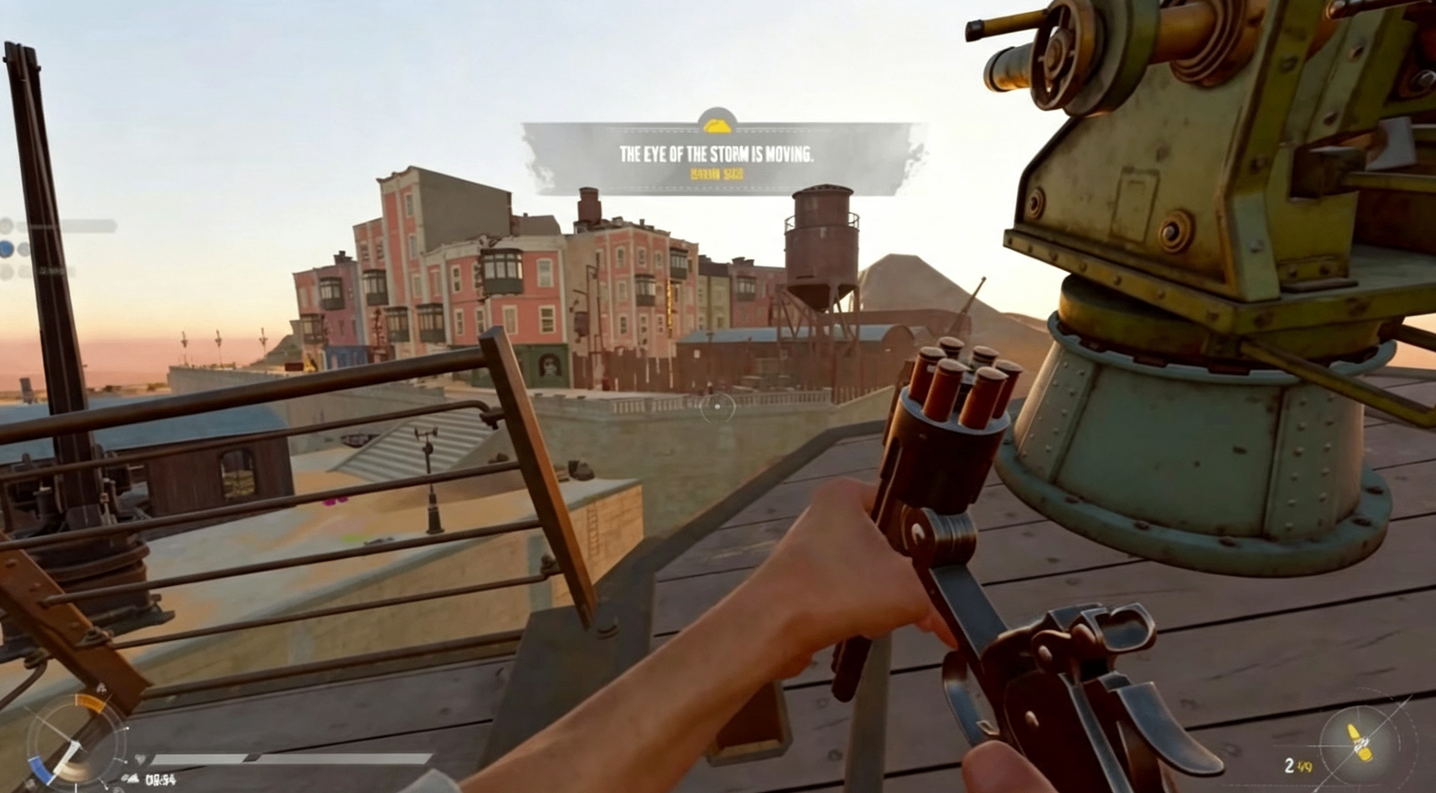
A running engine creates a thick column of black smoke that other players can see from miles away. It also burns fuel even when parked. Whenever you stop to loot, turn the engine off—it hides you and saves fuel.
Use Your Binoculars
Get in the habit of scanning the horizon with your binoculars. The smoke plumes from other tramplers are visible from immense distances, giving you early warning of approaching threats.
Put Food in the Fridge
If you die, you'll respawn in your captain's quarters. The respawn timer depends on whether you have food in the fridge—stock it for quick respawns. A can of food also patches up a chunk of your health in a pinch.
Watch for the "Eye" Symbol
When you see an eye-shaped symbol on your map, NPC Ironclad robots are about to spawn. You have two options: get out of range immediately or fight aggressively. Robots have a brief delay after spawning, so you can land free shots before they start moving.
Extraction: The Catch That Trips Everyone Up
How to Extract
Drive into one of the evacuation circles marked on your map, climb the tower, and interact with the radio. A ship will come to collect you. Only one trampler can use a given extraction point at a time, so make sure the coast is clear.
The Game Doesn't Explain This
Your ship and your character extract separately. Your racked loot leaves with the ship—but you must physically get off the trampler and grab the rope to extract yourself. Many players have watched their gear vanish because they were still on deck when the timer ran out.
Combat: Winning Trampler Fights
Know Your Cannons
Each cannon has a different role. The 80mm is the heavy hitter—one big slow round that deals serious damage. The 40mm is the workhorse, offering continuous fire with decent range, but it overheats if held down. The 70mm is the shotgun cannon, weak against tramplers but devastating for killing enemy crew up close. A popular all-rounder setup is a 40mm for sustained pressure and an 80mm for the finishing blow.
Target Priority
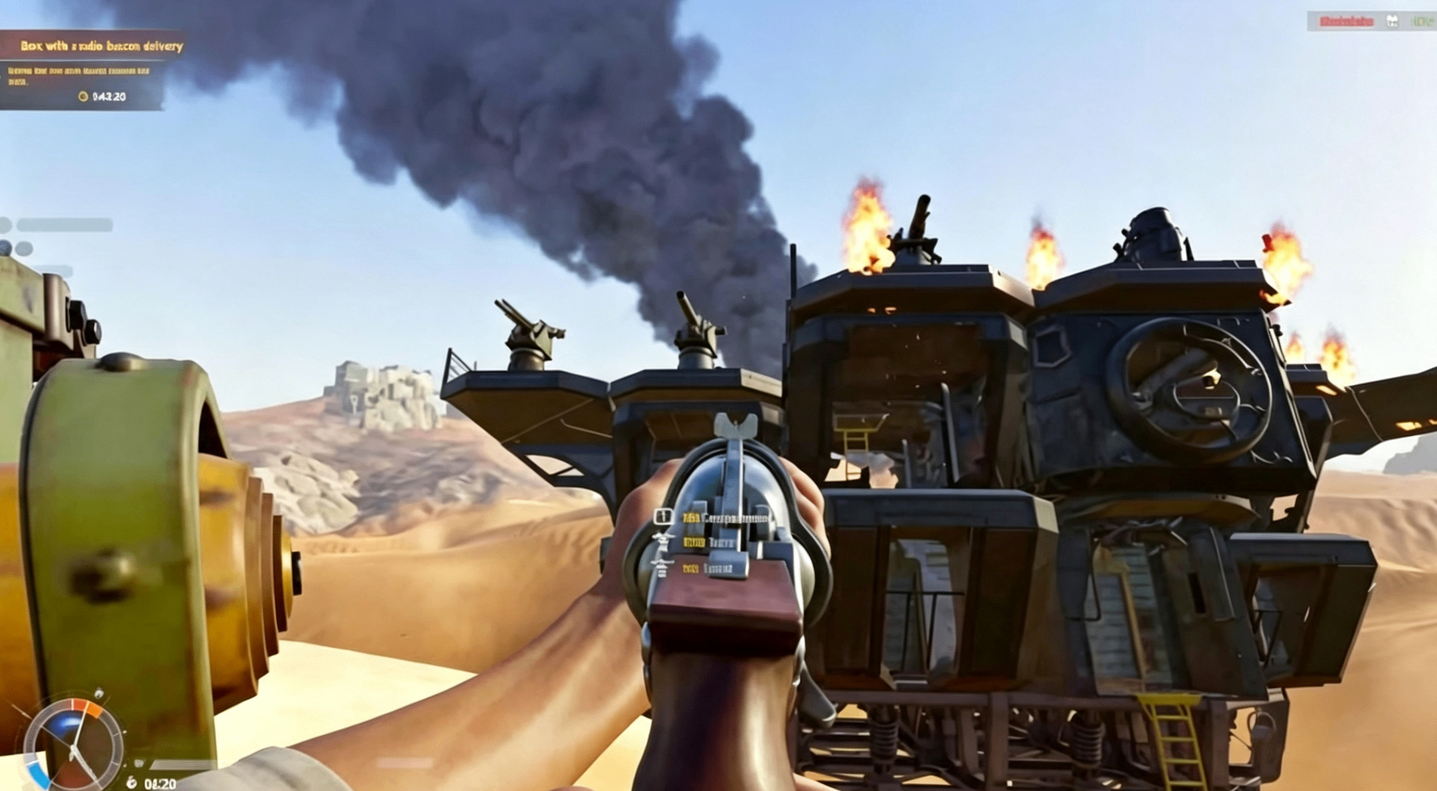
Most new players get this wrong. There's a specific order that decides fights. First, target the legs to cripple their mobility. They can't flank or escape and become a slow, predictable target. Second, take out their cannons to remove their ability to punish you. Finally, destroy the reactor—wrecking it destroys the ship and stops enemy respawns. But that's only half the kill—the captain is still alive and can run for extraction or try to steal your ship.
Repair Constantly
The second your trampler takes damage, get on the multi-tool and patch it up. Damaged legs slow you down. These fights are often won by attrition—the one who kept repairing is the one who limps away.
Boarding: The Bold Play
Once you've weakened an enemy, physically push your trampler into theirs. Breach the captain's cabin, interact with the terminal on the table, and you claim their ship and all cargo, instantly denying their ability to respawn. Time bombs and C4 are brilliant here for blowing open doors.
Grab the Black Box
Every wrecked reactor leaves a black box behind. It sells for a tidy sum, so grab it on your way out.
Solo vs. Squad
For solo players, go small and fast. Mobility is your best defence. A booster with a 40mm or 80mm gives you hit-and-run flexibility. Keep your wheel, reactor, and cannons clustered so one person can manage them all.
For squads, your trampler becomes a mobile base. Load up on armor, crew rooms, and turrets. Hide the reactor where it's hard to hit. Split roles—one or two players boarding and invading while another works the cannons. Outfitting a squad takes serious resources, which is why some players choose to buy SAND: Raiders of Sophie Crown. I'd recommend MMOEXP for competitive rates and fast delivery.
Final Tips
Load everything immediately—nothing spawns ready, so don't move until you're geared.
Use green boxes for loot—your inventory is too small, and boxes let you haul everything.
Turn the engine off when stopped—no smoke means no players finding you.
Target legs first—cripple movement before removing cannons.
Always extract mechanical parts—they keep you in the game after a bad run.
Get off the trampler to extract—your ship and character extract separately.
Good luck out there, raiders. The desert is unforgiving, but the rewards are worth the risk.