Weekend Drop -














Summary
Building the perfect Trampler for a small crew is all about finding the right balance. You need enough firepower and durability to win fights, but you can't afford to be slow, clunky, or so expensive that losing it ruins your whole session. If you're short on resources and want to skip the grind, you can always buy SAND: Raiders of Sophie Crown from trusted platforms to get a head start on your fleet. This guide walks you through a proven late-game build designed specifically for crews of 2–3 players who want to dominate the dunes without overcomplicating things.
Why Choose the Great Chassis?
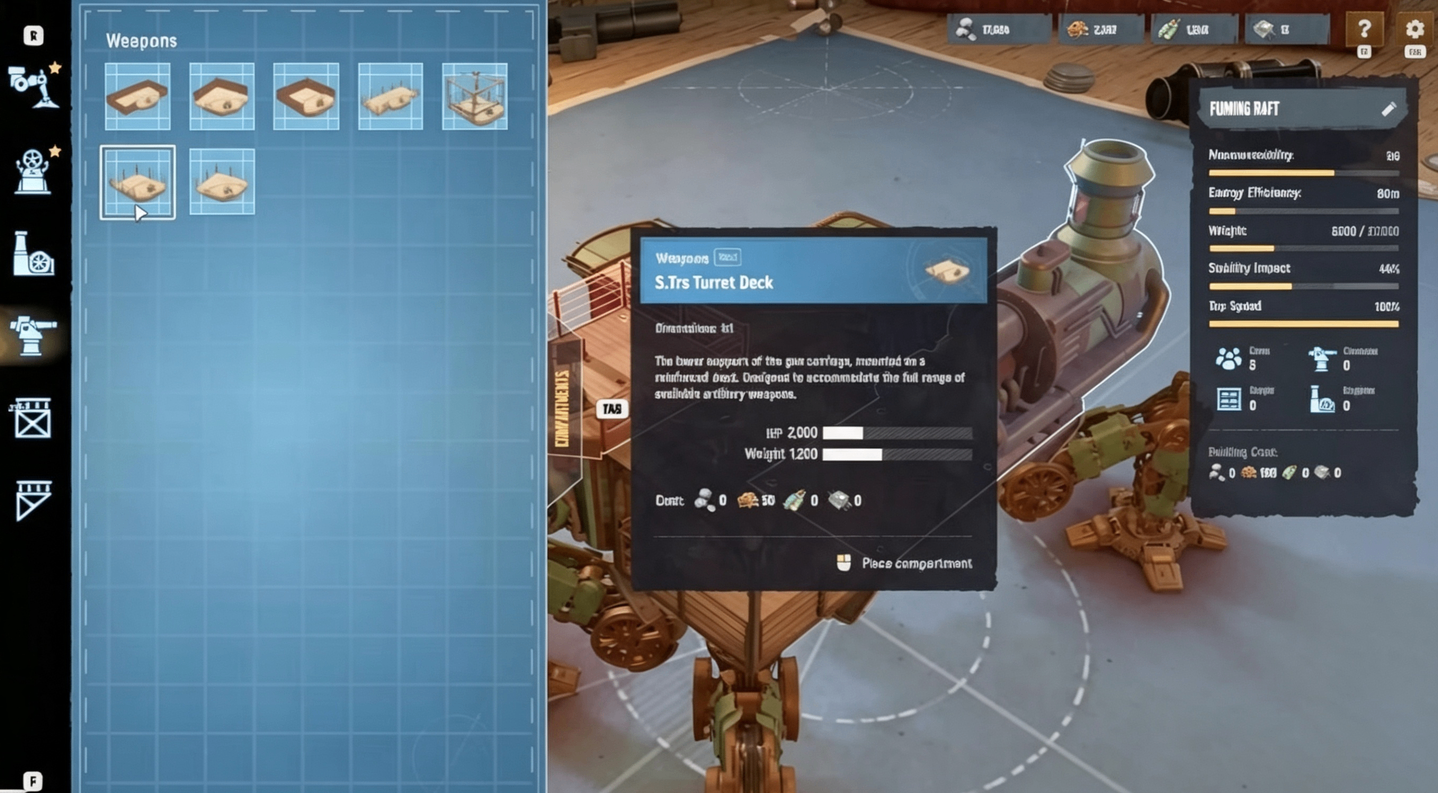
For a small crew, bigger isn't always better. While the Royal Chassis might look tempting, it's simply overkill for three people. It's too massive, drives up the cost significantly, and requires more crew to manage effectively than you have. The Great Chassis is the smarter choice—it's affordable, maneuverable, and still provides plenty of room for everything you need.
A good rule of thumb: never deploy a Trampler you can't afford to lose. The Great Chassis ensures you can get back into the fight quickly even if things go wrong.
Great Chassis Advantages:
Ideal for 2–3 players
Affordable cost
High maneuverability
Manageable risk if lost
Royal Chassis Disadvantages:
Best for 4+ players
Extremely expensive
Low maneuverability
Devastating if lost
Prerequisites: Tech Tree Unlocks
Before you start building, make sure you've progressed far enough in the Tech Tree. You'll need access to the following components. Most of these are Tier 3 or 4 unlocks:
From the Main Tech Tree:
Armored Captain's Quarters
Tier 3 Maneuverability Engine
Metal Corridor
Long Motor Reactor
Great Chassis (the one with the long name)
From Kai's Friends (Faction):
Armored Cargo Hold
Tier 4 U-Shaped Armored Cargo Hold
From K.K Lanwehr (Faction):
Armored Artillery Deck and Armored Corner Artillery Deck
Battering Ram
Tier 3 Pilot Bridge
Regular Vestel Tube (for the entrance)
Tip: Having a good understanding of the Blueprint Editor is key. Use the C key to copy decks, X to remove parts, and R/F to adjust floor levels.
Step-by-Step Build Guide
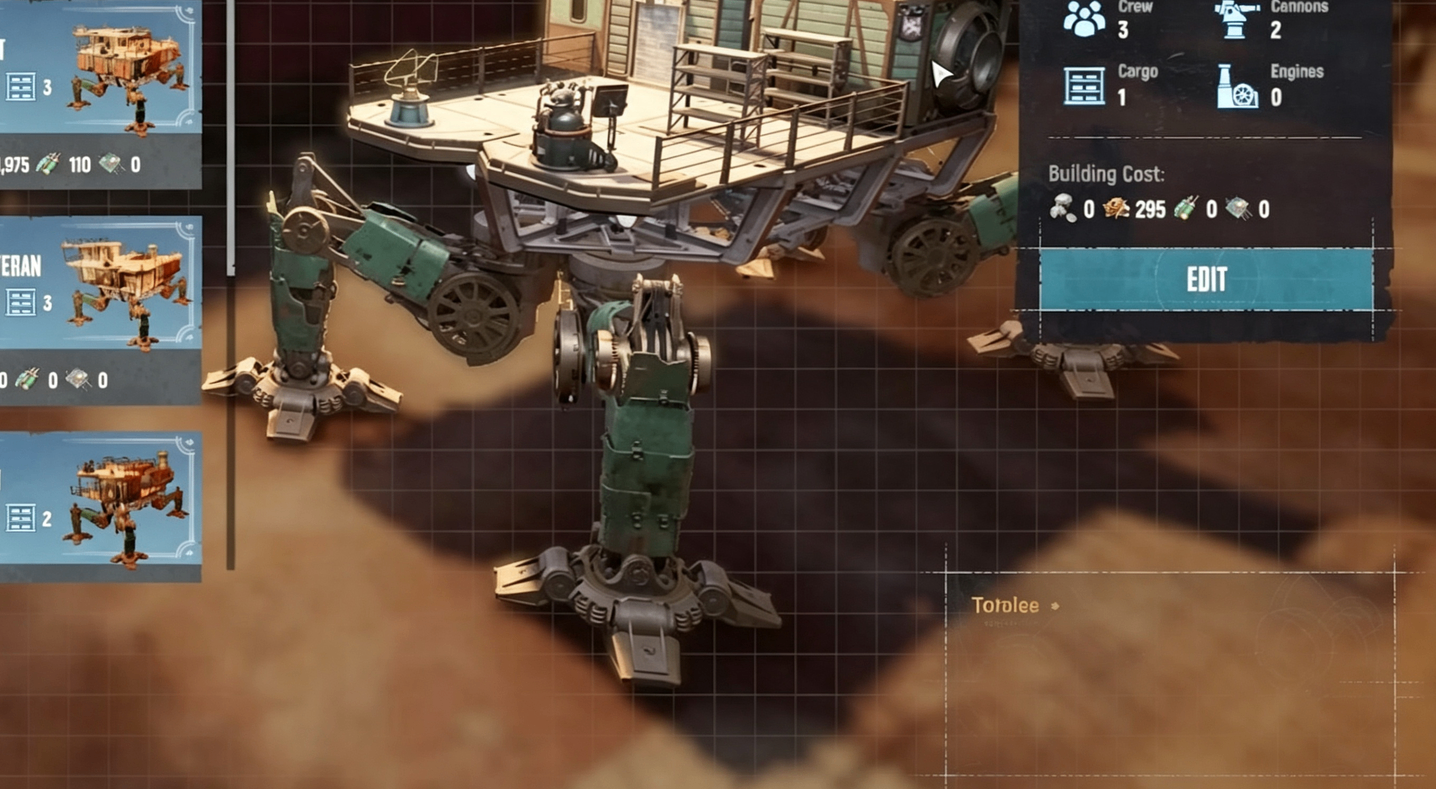
We're building this Trampler from the bottom up, starting at the front.
Layer 1: The Foundation
Start the Chassis: Place your Great Chassis as the base.
Front Section: Place the U-Shaped Armored Cargo Hold near the front. Directly in front of it, attach the Battering Ram. Next to the U-Shaped hold, place a small cargo bay.
Reactor Core: Place the Long Motor Reactor behind the front section.
Reactor Protection: On one side of the reactor, place an Armored Auxiliary Corridor. On the other side, place an Armored L-Shaped Cargo hold. This creates a protective barrier around your vulnerable reactor.
Expand the Base: Add a small armored compartment on both sides of the corridor and L-Shaped cargo.
Rear Storage: Place a large parallel cargo bay on both sides at the very back of the chassis. These should be the unarmored version to save on weight.
Entrance: Place the Vestel Tube at the rear as your entrance. Ensure the metal plates on the tube connect to the Trampler structure to avoid errors.
Fix Doors: Press T to open the door edit mode and replace all large open doorways with actual doors.
Layer 2: The Command and Crew Deck
Bridge: Place the Pilot Bridge (steering wheel) in the center of Layer 2.
Artillery Mounts: On both sides of the helm, place Armored Turret Deck Corner pieces. Place a standard deck (no railings) directly behind each of these corner pieces.
Auxiliary Rooms: Place a regular L-Shaped Cargo Bay directly behind the helm. Next to it, place a regular Parallel Cargo Bay.
Captain's Quarters: Place the Armored Captain's Quarters on one side.
Crew Room: On the opposite side, place a non-armored Two-Person Crew Cabin to support your team.
Fix Doors: Again, press T and ensure all internal doors are properly set.
Layer 3: Top Deck and Engine
Decking: Place an Armored Turret Deck near the front. Directly behind it, place a normal floor with no railings.
Engine: Place the Tier 3 Maneuverability Engine.
Rear Gun: Place a normal cannon deck at the very back.
Final Adjustments and Weight Management
Weight management is crucial. You might have a little weight left over. You can use this for minor additions like armor plates at the front, but it's not essential.
Recommended Weapons and Crew Roles
This build is designed for a specific, aggressive playstyle. The weapon loadout and crew roles are just as important as the blueprint itself.
Weapon Loadout
Primary Offense (Top Cannon): A 70mm Shotgun Cannon. This is essential for clearing the enemy deck and eliminating their crew up close. Its wide spread makes it perfect for fighting boarders or attacking the enemy captain.
Sustained Fire (Front Cannons): Two 40mm Auto Cannons. These are your workhorses for sustained pressure on the enemy Trampler. Fire them in short bursts to avoid overheating.
Emergency Backup (Rear Cannon): An 80mm Cannon in the back. This is a "break glass in case of emergency" option, useful if an enemy gets behind you and you need to hit a weak point like a leg.
Crew Roles and Combat Strategy
The Captain: The driver controls the Trampler and will also operate one of the 40mm cannons when opportunities arise.
The Gunner: This player focuses on the top 70mm Shotgun Cannon. Their job is to "smoke" the enemy crew and clear their decks, making it impossible for them to repair or use their weapons effectively.
The Engineer or Support: The third player mans the second 40mm Auto Cannon and is responsible for constant repairs. In SAND, defense wins fights. Repairing damaged legs, pipes, and plates is critical for survival.
The Ultimate Tactic: The Ram
Ramming is incredibly powerful in small crew PvP. Your goal is to close the distance and physically ram other Tramplers. The Battering Ram on the front of your build deals massive damage.
Primary Target: Ramming is most effective against smaller and medium-sized Tramplers.
Exception: Avoid head-on ramming against Royal Chassis. They are so massive that the ram does little damage. In this case, your best bet is to target their legs and use your superior maneuverability to circle around them.
Boarding: After a successful ram, consider boarding. Push your Trampler into theirs, breach their Captain's Cabin, and use the terminal on the table to steal their ship and cargo.
Conclusion
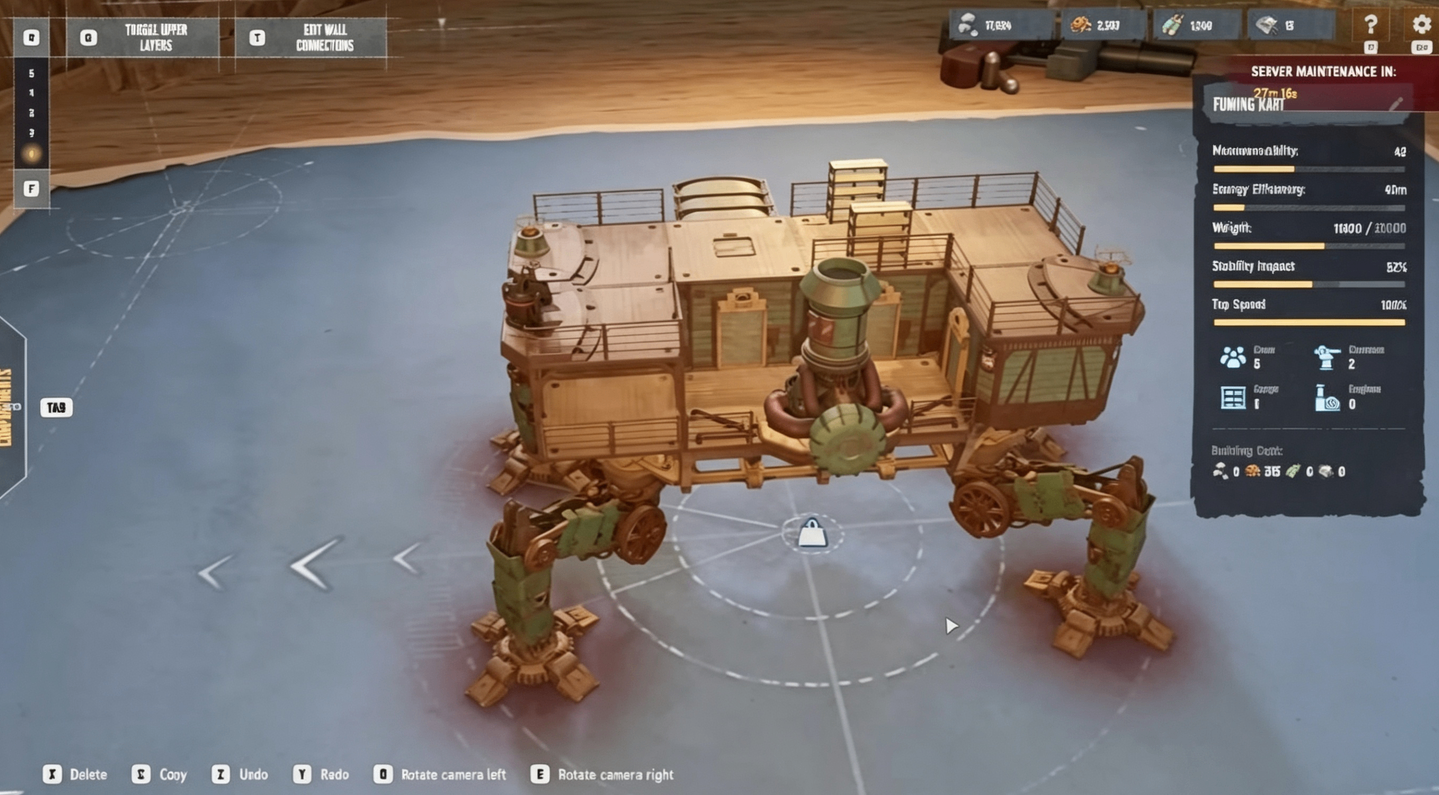
This build focuses on a simple, effective philosophy for a small crew: stay mobile, stay aggressive, and keep your costs manageable. The Great Chassis gives you the speed and affordability needed for late-game PvP, while the ram and shotgun cannon combo makes you a serious threat on the dunes. For those who want to skip the grind, cheap SAND: Raiders of Sophie Crown is available at MMOEXP with great prices and fast delivery. Coordinate your crew, prioritize repairs, and you'll be extracting with valuable loot in no time.