Summary:
Want to win more PvP battles in SAND: Raiders of Sophie? This complete guide covers the best naval weapons, boarding strategies, combat engagement tactics, Experimental items in SAND: Raiders of Sophie Crown, and Trampler organization tips to help solo players and crews dominate every encounter.
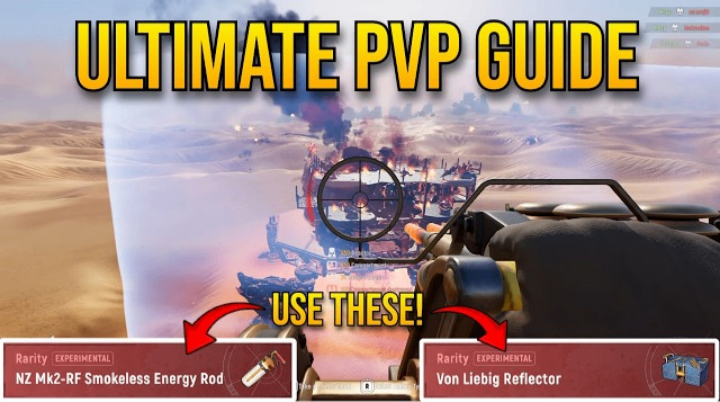
Step 1: Master Naval Combat Before Anything Else
Every successful PvP battle begins with superior naval combat. Your Trampler's weapon setup often determines whether you control the fight or become easy prey.
The 70mm Shotgun Cannon – The King of PvP
Many players underestimate the 70mm Shotgun Cannon, but experienced crews know it's arguably the strongest weapon in the game.
It features three ammunition types:
Regular Shells – Excellent for eliminating enemy players.
Slugs – Useful for destroying Trampler legs and Ironclads.
Smoke Shells – The most powerful PvP ammunition available.
Why Smoke Shells Are So Powerful
Smoke shells create instant confusion by blocking enemy vision.
A winning strategy is:
Fire a Smoke Shell.
Close the distance immediately.
Let teammates bombard the enemy with 40mm autocannons.
Switch to Regular Shells.
Clear enemy players from the deck.
This simple combination frequently overwhelms opponents before they can react.
Step 2: Use the 40mm Autocannon to Destroy Enemy Trampler
While the shotgun controls players, the 40mm Autocannon destroys vehicles.
It has the highest sustained DPS among all naval cannons.
Available ammunition includes:
Standard Rounds
Long-Range Rounds
Low-Recoil Rounds
Although long-range ammunition extends firing distance, this weapon performs best at close range because accuracy drops significantly over distance.
Once enemies are blinded by smoke, rush forward and unleash continuous fire on:
Reactor
Compartments
Critical systems
The Experimental Autocannon becomes even stronger because its fire rate increases as it overheats, allowing experienced gunners to melt enemy Trampers within seconds.
Step 3: Understand When to Use the 80mm Cannon
The 80mm Cannon is more specialized than the previous two weapons.
It excels at disabling rather than destroying.
Its ammunition options include:
Standard Shells
High Velocity Rounds
Proximity Fuse Shells
EMP Shells
Destroy Enemy Cannons
Proximity Fuse ammunition allows players to damage cannons without direct hits.
Simply landing shells near enemy turrets deals massive damage and disables their firepower quickly.
Break Enemy Legs
If enemies attempt to escape, target their Trampler legs.
Destroyed legs:
Slow movement
Prevent repositioning
Create easy opportunities to attack reactors
EMP rounds are incredibly rare but devastating.
A successful EMP hit disables the enemy reactor, leaving them completely immobile for your crew to finish.
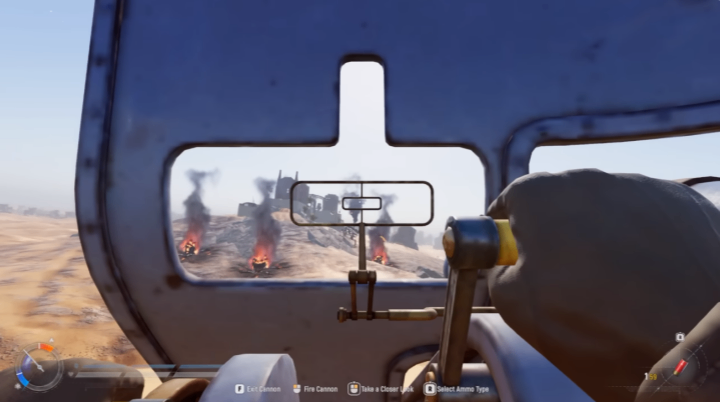
Step 4: Upgrade Cannons Efficiently
Weapon quality matters.
Every cannon progresses through four tiers:
Rusty
Worn
Pristine
Experimental
Higher tiers improve:
Reload speed
Accuracy
Damage consistency
One of the easiest methods for acquiring Worn Cannons is by raiding military ships scattered throughout the world.
Later in progression, players can unlock reliable purchases through the Tech Tree and Kaiser's shop, making Pristine upgrades much easier to obtain.
Step 5: Learn When Boarding Wins More Than Shooting
Boarding isn't simply about killing players.
It's about disrupting the enemy crew.
Ask yourself:
Will they outdamage us in a straight naval fight?
If yes, boarding becomes an excellent option.
Once aboard:
Kill defenders.
Remove ammunition from enemy cannons.
Disable their engine.
Force panic.
Even if the boarding team dies afterward, removing ammunition forces opponents to reload every weapon, buying valuable time for your teammates.
Chaos is often more valuable than raw kills.
Step 6: Steal Enemy Trampers
Even after losing your own Trampler, the battle isn't necessarily over.
An advanced strategy involves capturing enemy vehicles.
A successful takeover usually follows these steps:
Hide until opponents approach.
Equip multiple C4 charges.
Drain enemy supplies through repeated fights.
Board aggressively.
Destroy internal doors.
Remove food crates to reduce respawns.
Locate the Captain's Quarters.
Interact with the control console.
After capturing the Trampler:
Enemy respawns stop.
Your team regains respawns.
The enemy vehicle becomes yours.
This is one of the most rewarding comeback mechanics in SAND.
Step 7: Know Exactly When to Engage PvP
Not every battle should be taken immediately.
The strongest crews attack weakened opponents.
One effective tactic is watching distant combat.
If another crew has just finished fighting, rush them before they repair.
Using:
Smokeless Energy Rod
Speed Boost Energy Rod
allows your Trampler to approach almost invisibly while moving significantly faster.
Many crews never realize they're being attacked until you're already firing at point-blank range.
Step 8: Prioritize the Right Targets
Winning isn't just about dealing damage.
It's about damaging the correct components.
Target priority changes depending on the situation.
If enemies are escaping:
Destroy:
Legs
Reactor
Against heavily armored Trampers:
Destroy:
Cannons
Wheelhouse
Compartments
Reactor
Breaking external compartments first exposes the reactor, allowing future shots to penetrate much more efficiently.
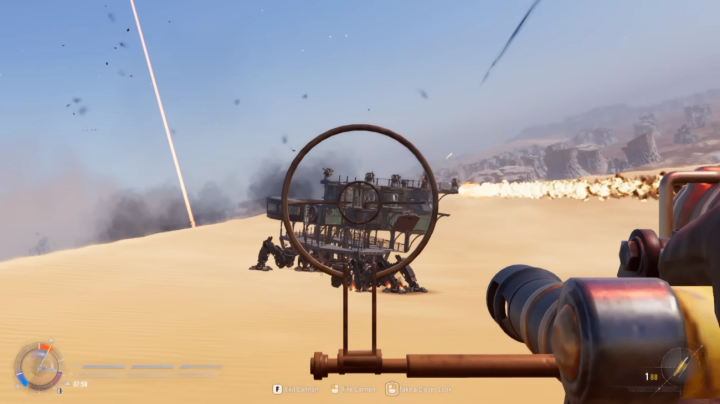
Step 9: Avoid Becoming the Third Party Victim
One of the biggest PvP mistakes is rushing blindly.
Before every engagement:
Look around.
Check surrounding terrain.
Watch for nearby Trampers.
If another crew is nearby, wait.
Allow both enemies to weaken each other before entering the fight.
Being the third party is far safer than becoming the team trapped between two enemy crews.
Step 10: Master Experimental Equipment
Experimental items represent the highest tier of equipment.
They dramatically change PvP outcomes.
Orbital Strike Launcher
Calls devastating bombardments after a short delay.
Best used against:
Immobilized enemies
Disabled reactors
Large Trampers
Great Silence
Temporarily shuts down an enemy reactor.
Combining Great Silence with Orbital Strike almost guarantees massive damage.
Walk Bomb
Perhaps the rarest weapon in the game.
It creates an enormous explosion capable of devastating everything within a huge radius.
Utility Experimentals
Additional powerful utilities include:
Smoke Grenades
Protective Dome
Amplifier
Reflector
Smokeless Energy Rod
Modified Energy Rod
Among them, the Reflector stands out because it cannot be destroyed while active, completely blocking incoming fire for an extended period.
Step 11: Farm Experimental Loot Efficiently
Finding Experimental equipment requires targeting the right locations.
Best farming spots include:
Dreadnought
Forts
Lighthouse rooftops
Hidden red-door rooms
Black tarp loot locations
Storm Dive events
Ironclads also have a chance to drop Modified Energy Rods.
Running these high-value locations consistently greatly increases your chances of acquiring top-tier gear.
Step 12: Organize Your Trampler Like a Professional Crew
Organization often decides battles before they begin.
Separate storage by purpose:
Cannons
Ammunition
Repair Kits
Experimental Utilities
Energy Rods
Respawn Kits
Each crew member should maintain a personal re-kit containing:
Weapons
Armor
Explosives
Medical supplies
After every death, players should be able to fully re-equip within seconds.
Food should also be distributed across multiple storage containers.
If all food is stored in one cargo bay and it's destroyed, your crew loses the ability to respawn.
Step 13: Assign Dedicated Crew Roles
Large crews become significantly stronger when responsibilities are divided.
Essential roles include:
Cannon Reload Specialist
Spotter
Repair Engineer
Ammunition Manager
After every battle, repairing the Trampler should always come before looting.
A fully repaired vehicle is far more valuable than rushing to collect supplies while vulnerable to another attack.
Final Thoughts
PvP in SAND: Raiders of Sophie rewards preparation, teamwork, and tactical decision-making more than raw shooting skill. Mastering naval combat with the 70mm Shotgun Cannon, coordinating effective boarding actions, knowing when to engage or disengage, and taking full advantage of Experimental equipment can dramatically increase your win rate. Combine these strategies with a well-organized Trampler and clearly defined crew roles, and you'll be ready to dominate both small skirmishes and massive fleet battles across the desert seas. Whether you're chasing loot, defending your convoy, or hunting rival crews in SAND: Raiders of Sophie Crown for sale, these techniques provide a strong foundation for becoming one of the most feared Raiders in the world of SAND: Raiders of Sophie.