Weekend Drop -













Summary
Losing an expensive Trampler can slow down your late-game progress, especially when playing with a three-player crew. This guide explains how to build an efficient late-game Great Chassis Trampler, which components to prioritize, how to assemble each layer correctly, and how to use it effectively during combat. If you're planning to Buy SAND: Raiders of Sophie Crown, understanding this build first can help you spend your resources more efficiently.
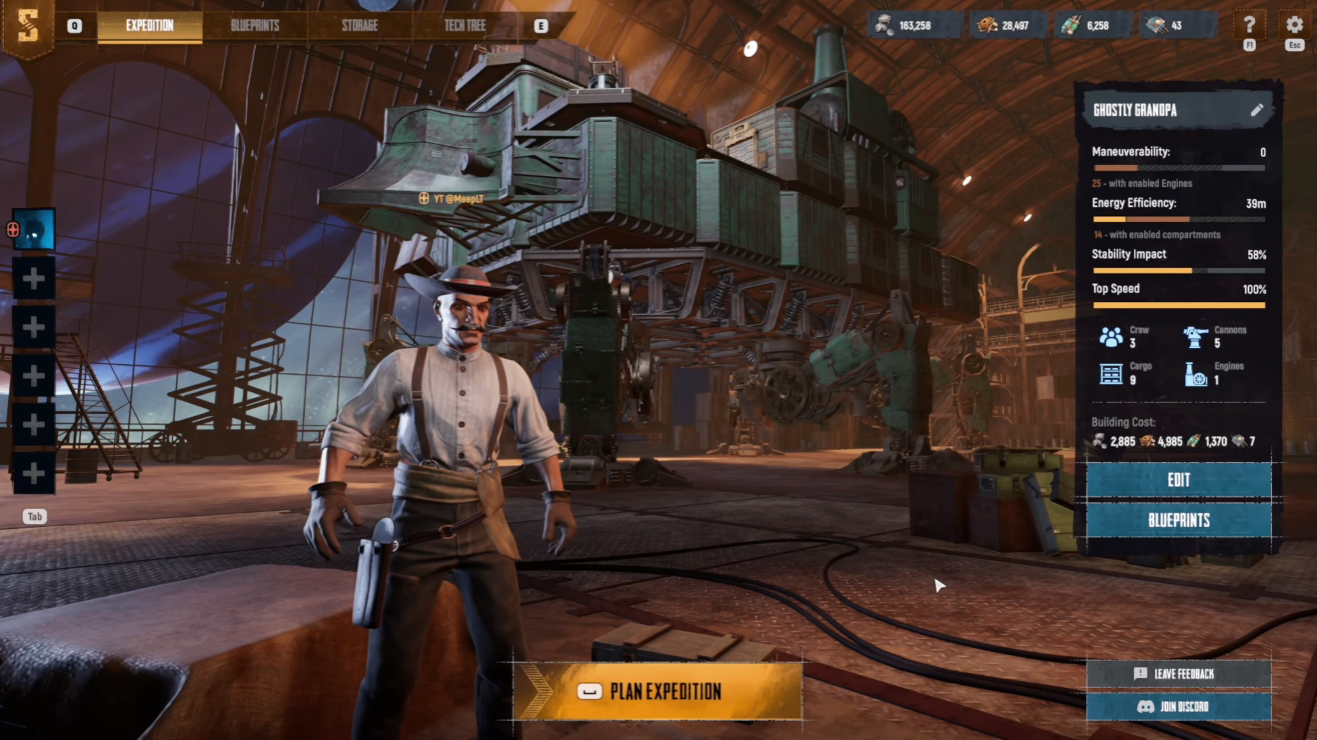
Why Choose the Great Chassis Instead of the Royal Chassis?
For small crews, the Great Chassis offers a better balance between durability, size, and cost.
The Royal Chassis is designed for much larger teams. It requires a significantly higher investment, and losing one is far more punishing. With only three players, much of its capacity goes unused.
The Great Chassis provides enough durability while remaining affordable, making it the more practical option for regular PvP encounters.
How to Prepare Before Building
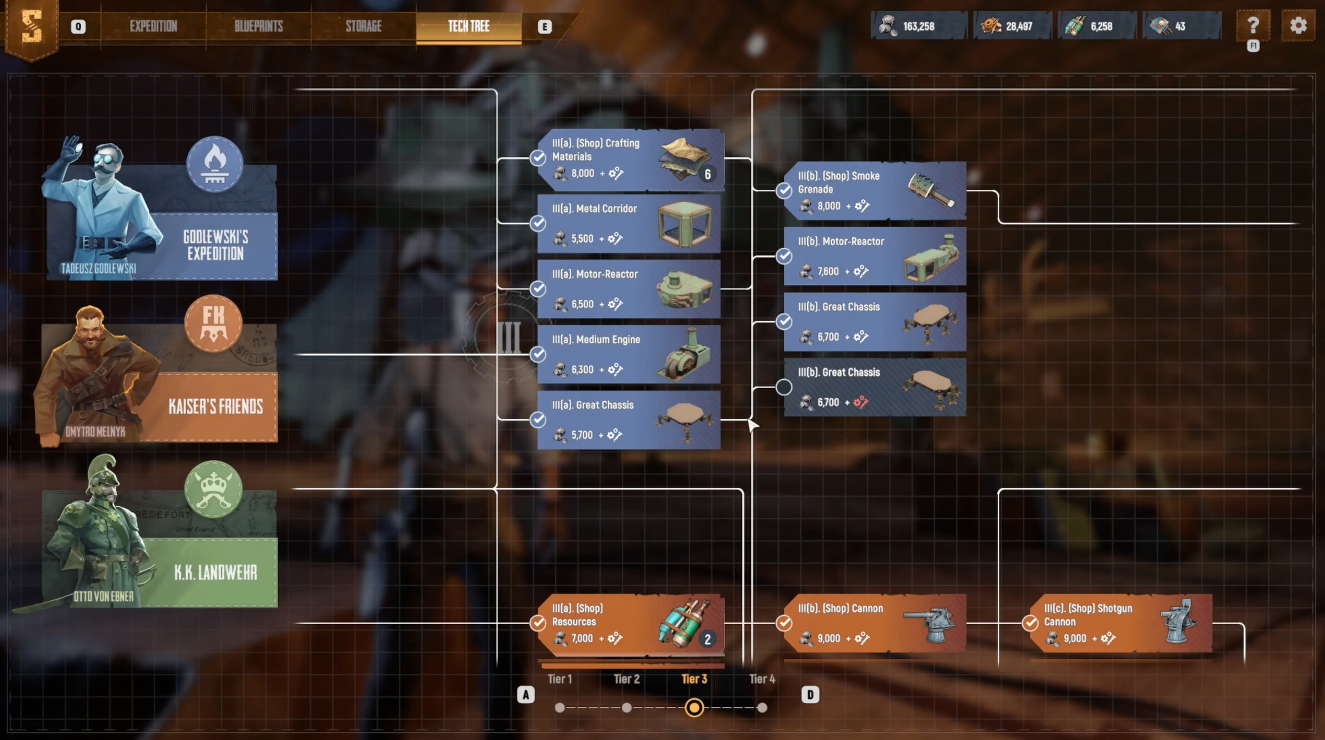
Before opening the blueprint editor, unlock the required technology.
Essential components include:
Armored Captain's Quarters
Tier 3 Maneuverability Engine
Metal Corridor
Long Motor Reactor
Great Chassis
Armored Cargo Hold
Tier 4 U-shaped Armored Cargo Hold
Armored Artillery
Armored Corner Artillery Decks
Battering Ram
Tier 3 Pilot Bridge
Regular Vestel Tube
Having every required component available avoids interruptions during construction.
How to Build Layer One
Start from the front of the Trampler and work toward the rear.
Follow this sequence:
Place the U-shaped Armored Cargo Bay.
Install the Ram directly in front.
Add a Small Cargo Bay beside it.
Place the Long Armored Reactor.
Add an Armored Auxiliary Corridor.
Install an L-shaped Armored Cargo on the opposite side.
Place Small Armored Compartments on both sides.
Add Large Parallel Cargo Bays to both sides.
Finish with the Tier 1 Vestel Tube entrance.
Before moving on, verify the Vestel Tube orientation. The metal plates must connect to the Trampler; otherwise, the structure will report an error.
Finally, replace every large open doorway with proper doors before continuing.
Correct Method vs Incorrect Method
Correct Method
Build from front to back.
Check the Vestel Tube orientation.
Replace all open doorways with doors after finishing each layer.
Incorrect Method
Ignore structure warnings.
Leave open passages between compartments.
Continue building without fixing placement errors.
Correcting these issues early prevents rebuilding later.
How to Build Layer Two
Once the first layer is complete:
Install the Tier 3 Pilot Bridge in the center.
Place Armored Turret Deck Corner Pieces on both sides.
Add Standard Decks directly behind them.
Install a regular L-shaped Cargo Bay behind the helm.
Place a regular Parallel Cargo Bay beside it.
Add the Armored Captain's Quarters.
Finish with a standard Two-Person Crew Cabin on the opposite side.
Afterward, once again replace every temporary opening with proper doors before proceeding.
Why Reduce Weight Before the Final Layer?
Before constructing Layer Three, replace the two rear Armored Parallel Cargo Bays with standard versions.
Although the armored versions provide more HP, they also consume valuable weight capacity.
Since this is a front-facing build, the rear compartments are less likely to receive heavy damage. Saving weight here leaves room for other upgrades while maintaining enough durability.
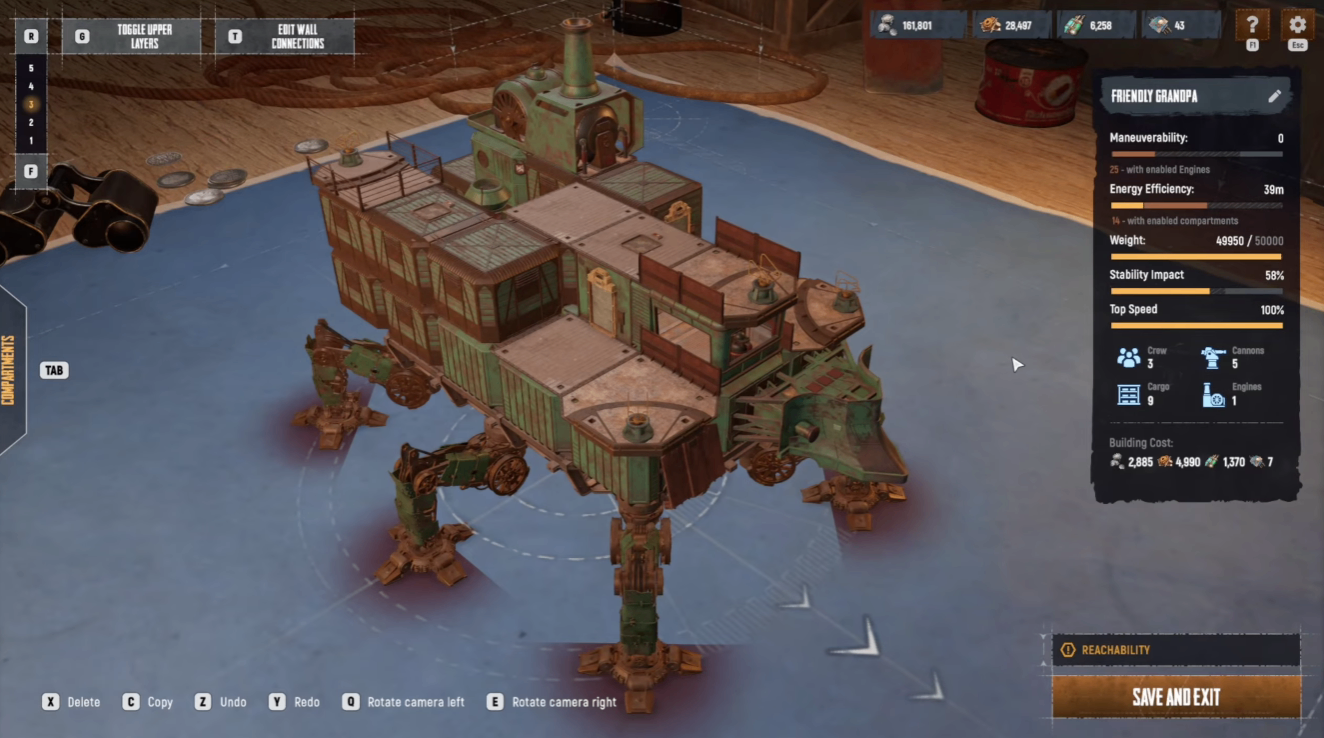
How to Finish Layer Three
Complete the final layer in this order:
Place the Armored Turret Deck.
Add a standard floor behind it.
Install the Tier 3 Maneuverability Engine.
Finish with a standard Cannon Deck at the rear.
If weight remains, consider adding a walkway to improve movement or install additional armor plating at the front for a small defensive boost.
How to Use the Build in Combat
After construction, equip the Trampler with:
Shotgun Cannon on top.
Two Auto Cannons at the front.
80mm Cannon at the rear for emergency situations.
During combat, prioritize ramming enemy Trampers whenever possible, as ramming remains highly effective in small-crew battles.
Facing a Royal Chassis? Instead of charging directly, target its legs while continuously maneuvering around it.
Coordinate your crew roles:
One player operates the Shotgun Cannon to pressure the enemy deck.
A second player continuously fires the front Auto Cannons.
The captain joins weapon fire whenever steering allows to maximize damage output.
Key Takeaways
Choose the Great Chassis for cost-effective late-game small crew play.
Unlock every required Tier 3 and Tier 4 component before building.
Assemble each layer in order without skipping placement checks.
Replace incorrect cargo bays to stay within the weight limit.
Build from the front toward the rear and verify every door and entrance orientation.
Use aggressive ramming tactics against similar-sized Trampers, but fight Royal Chassis by targeting their legs instead.
Conclusion
This Trampler build focuses on efficiency rather than unnecessary cost, making it well suited for late-game three-player crews. By following the construction order, correcting weight issues before finishing the blueprint, and using the recommended combat roles, you can field a durable and practical vehicle without overspending. If you're preparing for more challenging expeditions, remember to Buy SAND: Raiders of Sophie Items only after your core build is complete so your resources are invested where they provide the greatest benefit.