Weekend Drop -













Summary
This SAND: Raiders of Sophie Solo Trampler build is designed for solo players who want a durable ship with strong cargo capacity, reliable defenses, and enough firepower to handle dangerous encounters. The setup focuses on protecting the Reactor, keeping weapons close to the driver, and maintaining a rear escape option. It requires roughly 6,200 Coin and 200 Thread for the first Tech Tree tier, making it a realistic upgrade for players moving beyond a basic starter ship. If you're short on resources, SAND: Raiders of Sophie Items can be traded to fast-track your progression and get this build online without the lengthy grind. With the right positioning and movement, this Trampler is especially effective for Solo activities and Voyage farming.
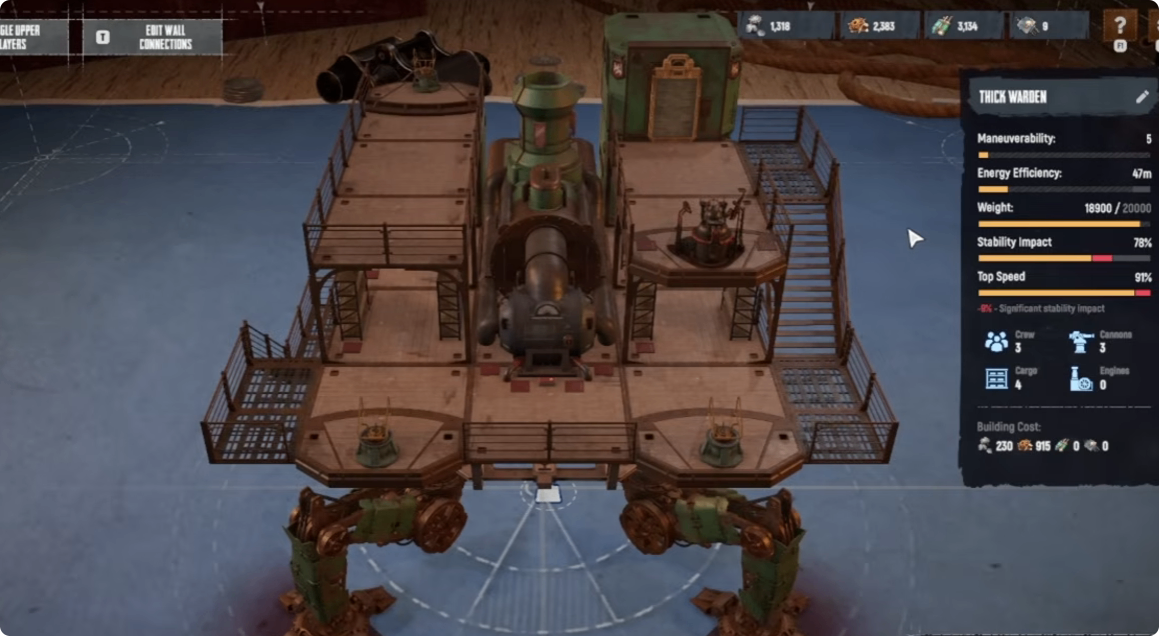
Start with the Small Chassis 77B Q
Build the Foundation Around the Reactor
The foundation of the build is the Small Chassis 77B Q. This provides the basic structure needed for the rest of the Trampler and creates a compact platform for the Reactor.
Add the Entrance Vestibule
The first major addition should be the Entrance Vestibule because it provides an airlock. Without one, enemies can climb onto the ship and gain access too easily. Using another Crew Cabin for an entrance takes up valuable space, making the vestibule a more efficient option.
When placing the Entrance Vestibule, make sure the small silver threads on the front face toward the ship. These are the connection points. Place the vestibule directly in the middle of the front section so the rest of the ship can be built around it.
Create the Supporting Frame
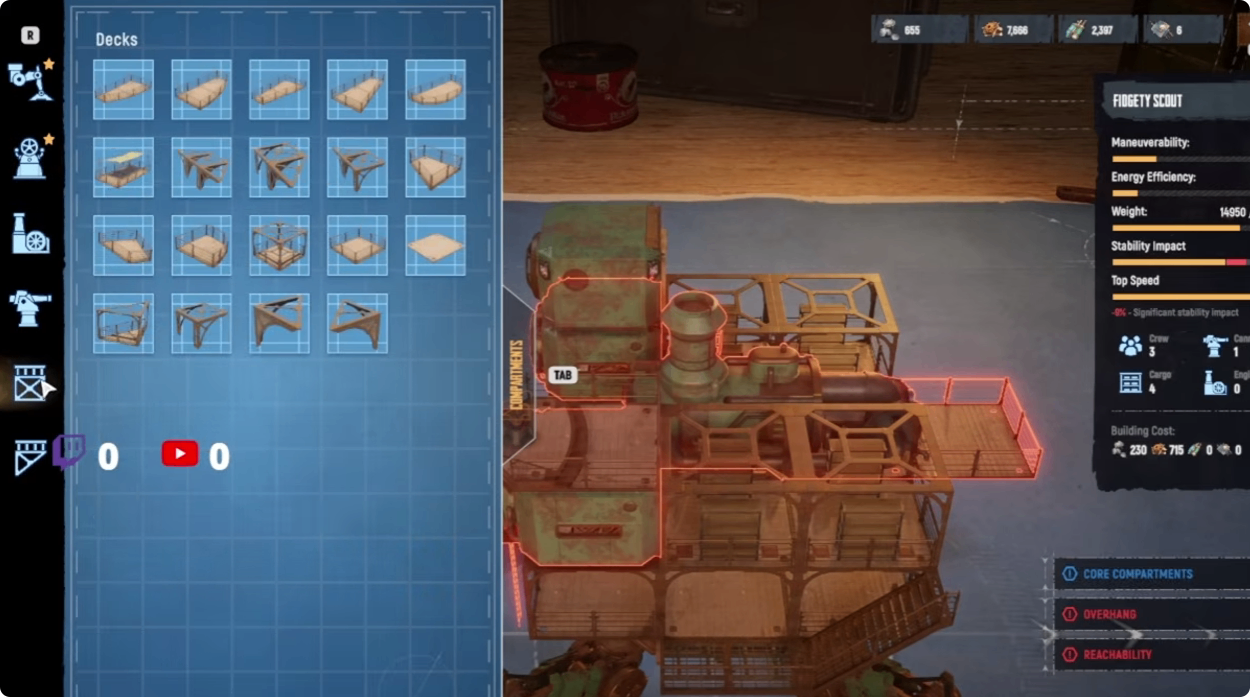
Next, surround the Trampler with Framed Supporting Frames to create a complete circle around the structure. Leave the middle section available for the main systems. You can use the copy function to duplicate pieces and rotate them into position.
This creates a clean foundation for the upper decks and defensive components while keeping the central area available for the Reactor and other critical systems.
Add the Balcony and Upper Access
Position the S&H Standard Balcony
After completing the main supporting frame, add the S&H Standard Balcony to the middle section. Rotate it to the side and attach it to the central structure.
Build Access to the Second Floor
Use the H Mounted Stairs Left to create access to the second floor. This upper level will become important because the Captain's Quarters and steering area will be positioned above the main body of the Trampler.
The goal is to create a compact ship where you can move quickly between the driver, weapons, and critical systems. Solo players cannot rely on teammates to operate different parts of the ship, so an efficient layout is extremely important.
Protect the Reactor with Cargo Deck Frames
Why Reactor Protection Matters
One of the most important parts of this build is protecting the Reactor.
Instead of relying heavily on Crew Cabins as armor, use S&H Cargo Deck Frames around the Reactor. These pieces have approximately 2,500 HP compared to around 2,000 HP for standard options. They also do not require additional crew slots or extra energy consumption.
Surround the Reactor with Stronger Frames
Place the Cargo Deck Frames around the central Reactor area. The Reactor should sit directly in the center of the ship, surrounded by stronger structural pieces.
This creates multiple layers of protection and forces enemies to destroy several components before they can reach your most important system.
The Reactor used in this setup is the Deck Motor Reactor, Long. You can use another option if you prefer a heavier setup, but the standard version works effectively for this build.
Close the Open Attack Angles
Move the Reactor toward the front until its rear section lines up with the beginning of the Cargo Deck area. You will notice two open spaces behind it. Fill these gaps with Crew Cabin Singles to prevent enemies from having a direct attack angle toward the Reactor.
Reinforced Tier 2 Crew Cabins can be used if you already have them, but standard Crew Cabins also work. The key point is to remove open paths toward the Reactor.
Place the Captain's Quarters on Top
Keep the Captain's Quarters Away from Easy Breaches
For a solo Trampler, the Captain's Quarters should be placed on the upper section rather than directly beside the Reactor.
A lower Captain's Quarters placement can create a dangerous situation where enemies gain access after breaching only one section of the ship. If an opponent boards your ship, an exposed Captain's Quarters can potentially be captured very quickly.
Create a Safe Route to the Captain's Quarters
Placing the Captain's Quarters on top makes it more difficult for enemies to reach. At the same time, you remain close enough to repair it quickly when necessary.
Build a balcony and stair connection that allows you to reach the Captain's Quarters efficiently. This creates a defensive advantage while keeping the critical control area accessible during combat.
Use a Rear Cannon for Escape
Turn the Rear Weapon into an Escape Tool
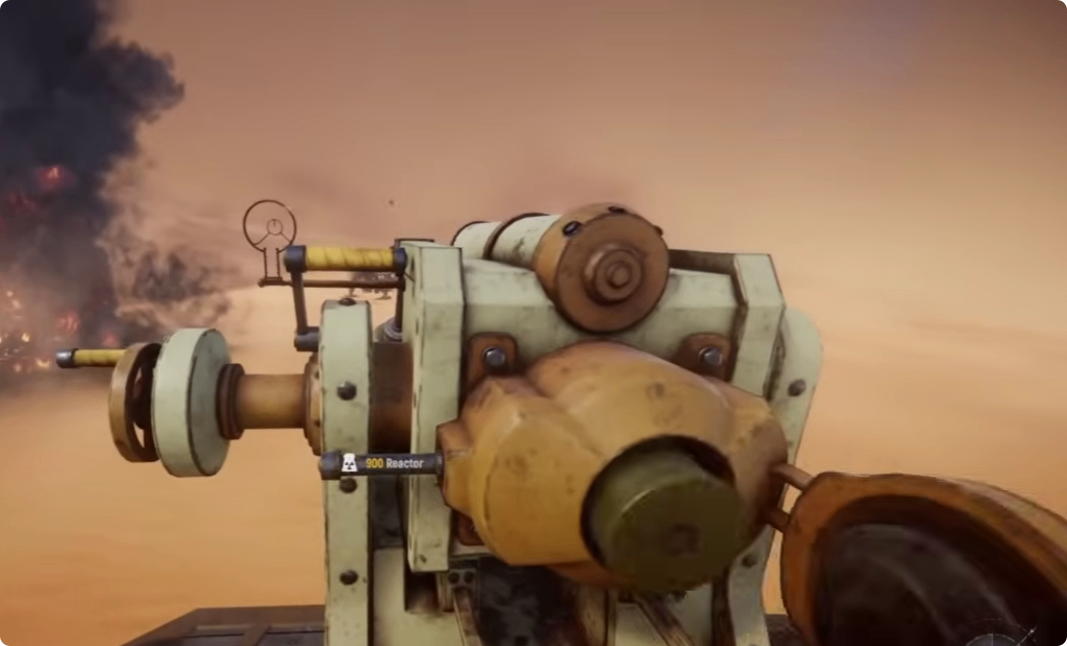
The rear cannon is one of the most useful parts of this solo build.
It is not primarily designed to win every fight. Instead, it gives you an option when you need to retreat. If an enemy is chasing you, a rear-mounted weapon can continue dealing damage while you create distance.
Smoke ammunition can help break line of sight, while ammunition capable of damaging enemy legs can slow pursuers and create an opportunity to escape.
Why Solo Players Need a Rear Weapon
This is especially valuable for solo players because you cannot rely on teammates to cover your retreat. A rear weapon allows you to fight while moving away instead of turning the entire ship around.
Put Two Front Cannons Near the Driver
Build a Strong Forward-Facing Attack Zone
The front of the Trampler should have two forward-facing cannons positioned close to the steering area.
This layout is particularly effective in Solo because you do not need to constantly run across the ship to operate your weapons. When your cannons are close to the steering wheel, you can quickly aim, fire, adjust your movement, and return to driving.
Complete the Front Structure
Use Standard Deck pieces and Lower Supporting Frames to complete the front structure. Add balconies where necessary to create stable platforms for the cannons.
The two front weapons should be positioned on either side of the front section. This gives you a strong forward attack angle while keeping the weapons close enough to the driver's position to remain practical during combat.
Complete the upper section with another balcony, stairs, and a Standard Deck. The steering wheel should be positioned above the Cargo Hold area.
Once everything is connected, check for overhangs or unsupported sections. If you see an exposed gap, add another Lower Supporting Frame to complete the structure.
Recommended Weapon Layout
Use Front Weapons for Damage
A practical weapon setup for this Trampler is to use strong front-facing cannons and a utility-focused rear weapon.
For the front, an 80-caliber weapon can be combined with another suitable cannon. The goal is to create a strong forward attack zone for engaging enemies directly.
Use the Rear Weapon for Utility
For the rear, a 70-caliber weapon with smoke or an 80-caliber option designed to damage enemy legs can be extremely useful.
The exact weapon choice can vary depending on your inventory, but the overall principle remains the same: front weapons are for attacking, while the rear weapon is for surviving a bad engagement.
How to Handle the Trampler's Movement
Use Q and E to Improve Positioning
The main weakness of this build is maneuverability. The Trampler is not the most agile vehicle, so you should not expect it to turn like a smaller ship.
However, the movement can still be managed effectively. Use Q and E to rotate and sidestep the Trampler while combining those controls with your normal turning speed. This allows you to adjust your position without relying entirely on traditional turning.
The build reaches approximately 92% top speed and has around 78% stability impact, giving it respectable performance despite its size.
Avoid Prolonged Turning Battles
The most important movement rule is to avoid getting trapped in a prolonged turning battle.
If an enemy gets behind you, use the rear cannon and create distance instead of immediately trying to turn the entire ship around. This is usually safer and allows you to maintain control of the engagement.
Why This Build Is Excellent for Solo Farming
Maximize Cargo Capacity
The biggest advantage of this Trampler is its cargo capacity.
The Cargo Deck setup provides a large amount of storage, with multiple cargo sections capable of holding substantial amounts of loot. This makes the build especially effective for Voyage farming, where the goal is to collect resources and return with as much valuable cargo as possible.
Balance Combat and Farming
The ship is not only a combat platform. It is also a farming vehicle. You can fight when necessary, escape dangerous encounters, protect your Reactor, and carry large amounts of loot when a run goes well.
That combination makes this one of the most practical Trampler designs for solo players. It is not completely invincible, and its maneuverability is not perfect, but it offers a strong balance between survivability, firepower, mobility, and storage.
Final Thoughts
If you have enough resources to unlock the required components, this Solo Trampler is an excellent next step beyond a basic starter ship. To speed up the process, Buy SAND: Raiders of Sophie Items to secure the essential parts without grinding for hours.